What makes red wine braised meatballs the most satisfying dinner you can make this week? Learn how to simmer your meatballs in a truly rich sauce for a cozy, flavorful meal everyone will remember. This recipe helps you get that deep, amazing flavor into your perfect dinner setting. See how simple it is to create such a comforting meal. Tap to learn more
Print

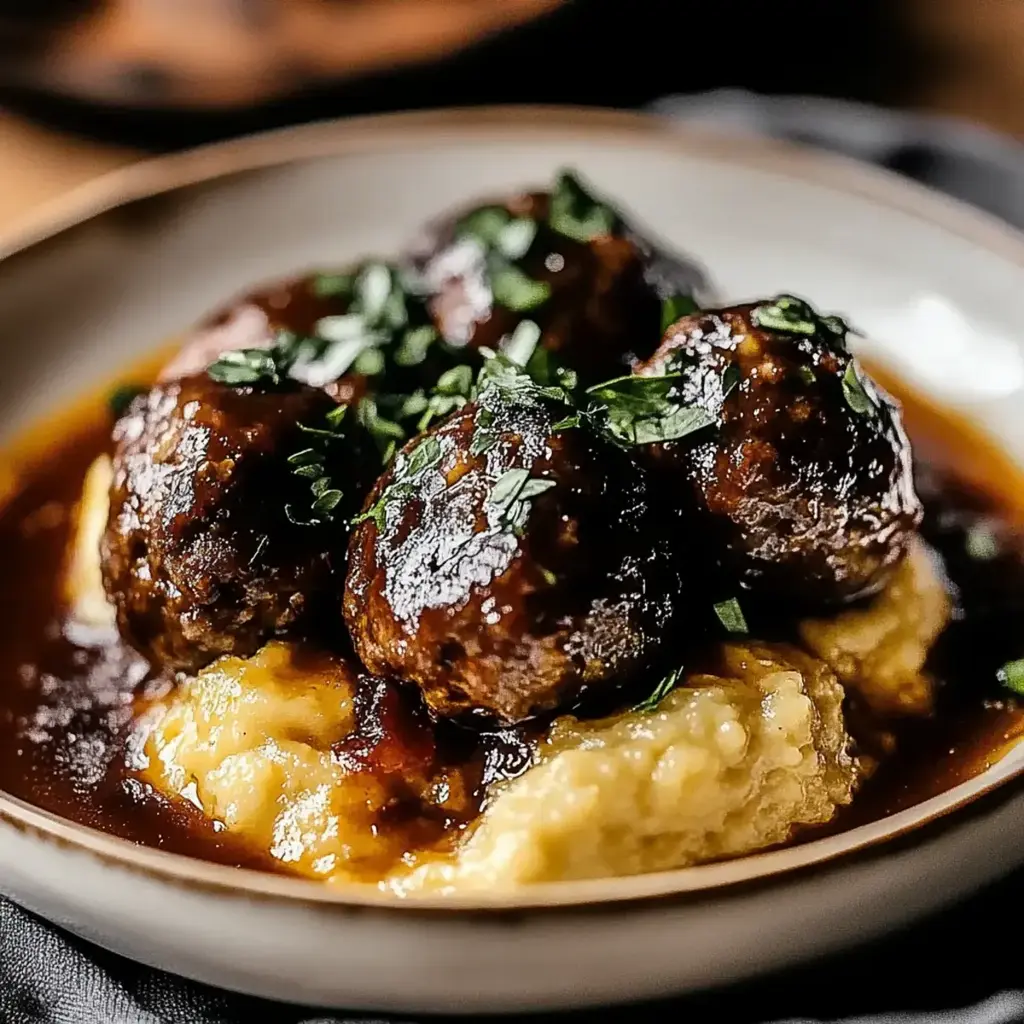
Irresistibly Delicious Red Wine Braised Meatballs for Dinner
Description
Amazing Red Wine Braised Meatballs for a Delicious Dinner are a gourmet twist on comfort food, bursting with flavor.
Ingredients
Scale
- 1 lb ground beef 80/20 recommended
- ¼ cup fresh parsley chopped
- 1 onion finely chopped
- 3 cloves garlic minced
- 1 cup red wine fruity variety like Merlot
- 14 oz canned tomatoes crushed
- 1 cup beef broth low-sodium
- to taste salt
- to taste pepper
- for browning tablespoon olive oil
Instructions
- Finely chop the onion and mince the garlic.
- In a large bowl, combine ground beef, parsley, onion, garlic, salt, and pepper. Mix by hand until just combined.
- Form the mixture into golf ball-sized meatballs.
- Heat olive oil in a large skillet over medium heat. Add meatballs, browning them on all sides until golden brown, about 8-10 minutes.
- Remove meatballs. Pour red wine into the skillet, scraping up flavorful bits. Stir in crushed tomatoes and beef broth, then bring to a simmer.
- Return meatballs to the sauce, cover, and let simmer on low for about 30 minutes.
Notes
Serve with crusty bread or over pasta. Allow leftovers to cool before storage.
Nutrition
- Calories: 350kcal
- Sugar: 5g
- Protein: 25g