Table of Contents
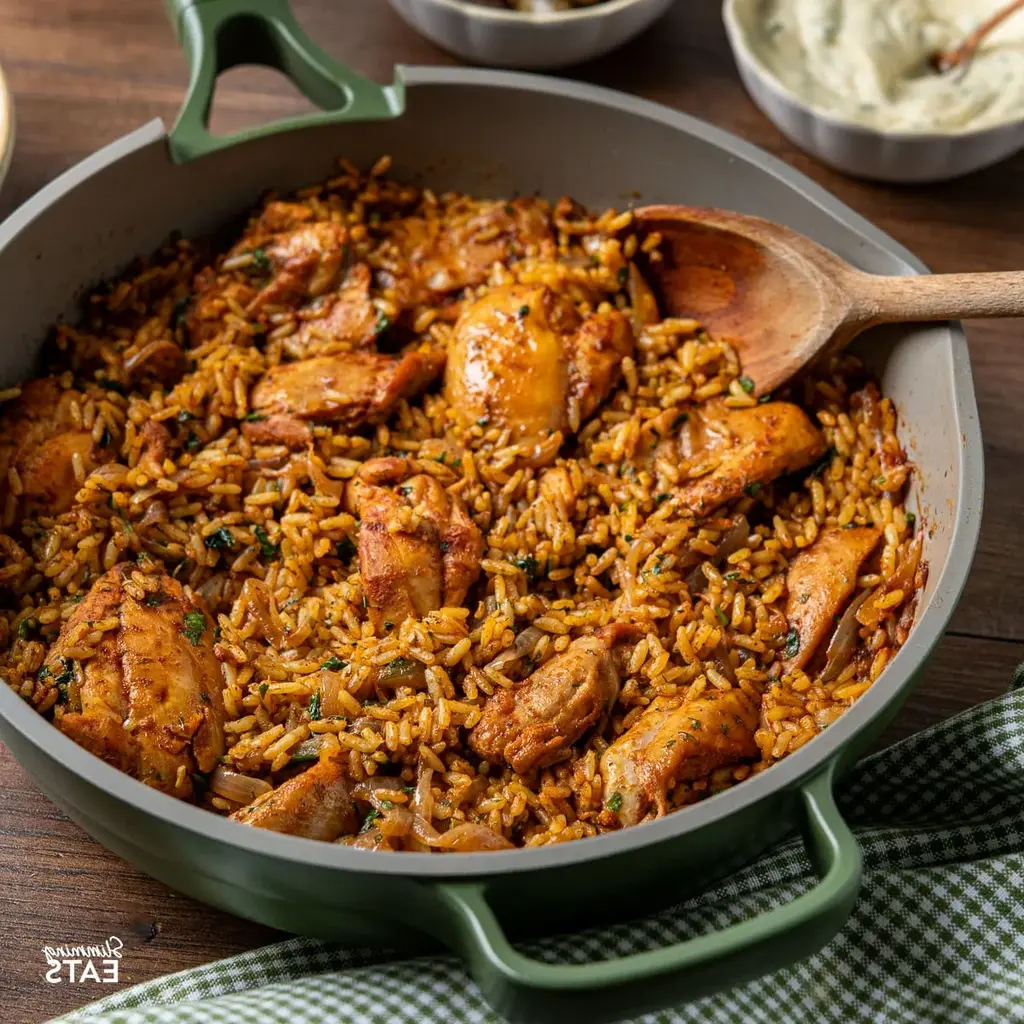
Moroccan Chicken One‑Pot Wonder – A Burst of Flavor
Growing up in the bustling souks of Fez, I always dreamed of a dish that could take a modest pantry and turn it into a festival of flavor. My time in Paris taught me the power of technique, while the rhythm of New York’s food scene kept me adventurous. That’s why I bring you the Moroccan Chicken One‑Pot Wonder—a single‑pot marvel where spices mingle with olive oil, chicken, and a scattering of raisins, creating a depth of taste that feels both exotic and comforting. In the first minute of this recipe, you’ll notice that the aromatic blend of cumin, cinnamon, and ginger starts to dance, foreshadowing the layers of flavor that will emerge.
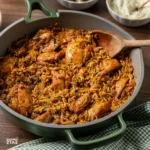
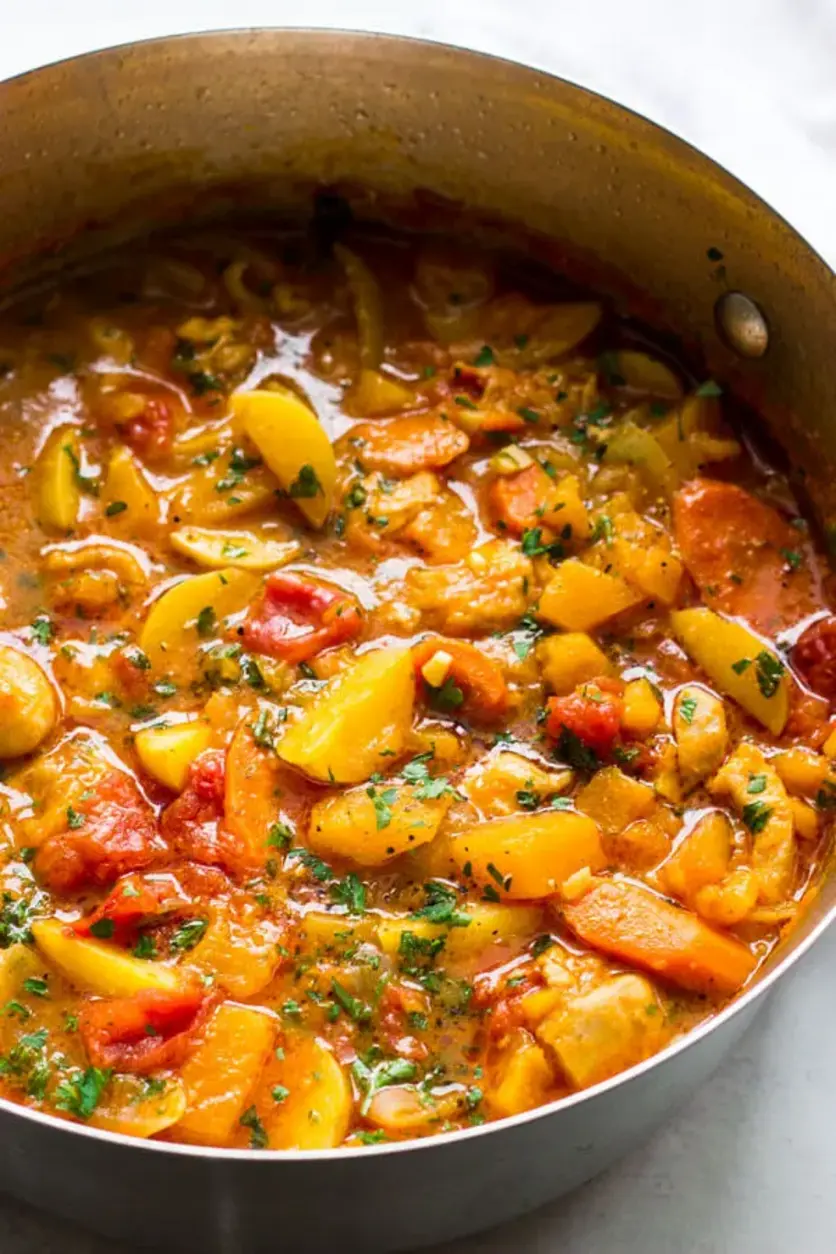
Imagine a dish whose color is a warm, sunset‑tan glaze, a splash of green from olives, and delicate bursts of golden raisins that peek through like hidden gems. As the chicken sears, its skin crisps to a caramelized finish while the air fills with the nutty scent of toasted spices. The broth thickens to a silky sauce that coats every piece, and the faint citrus zest of lemon offers a bright contrast that keeps the mouth moving. The texture is a gentle, buttery tenderness from the slow simmer, with just enough bite from the skin to bring an authentic Moroccan bite‑feel. Every bite feels like a memory of a Moroccan evening, yet a piece of New York sparkle, because the olive oil and herbs hit the American palate in a familiar, yet adventurous way.
My calling as a chef is to merge homescapes and avant‑garde techniques, and this recipe exemplifies that philosophy. I tested each step in my kitchen, picking bone‑in, skin‑on thighs for juiciness, and using fresh pitted olives sourced from the New York farmers’ market. To achieve the perfect one‑pot depth, I pre‑brown the chicken to lock in juices, then simmer it with a blend of aromatic spices and floral raisins to create a sauce that is both comforting and dramatic. A pro tip, which I’ll share in the steps, is to let the sauce thicken just before adding the olives to keep their texture bright. One common mistake I see from quick cooks is to add the olives too early, causing them to lose their bite; I’ll point that out in the instructions. Get ready for a dish that will bring the spice market to your stove and a Moroccan twist to your plate.
Why This Moroccan Chicken Recipe Is the Best
The heart and soul of this dish lies in the “One‑Pot Wonder” concept—a technique my grandmother perfected in Morocco and that I refined with a French touch of searing. By browning the chicken before adding the broth, the dish develops a caramelized flavor that deepens the sauce, turning a simple stew into a gourmet experience that requires no additional pans.
The texture is accomplished through a slow simmer that allows the juices to redistribute, leaving the bones slightly tender so that each bite feels like a pat of melt‑in‑your‑mouth richness. The olives contribute brine and a slight bite, while the raisins release a sweet nuance that balances the spices, creating a symphonic flavor profile that is breathtakingly harmonious.
Even if you’re a kitchen novice, this recipe is a testament to how simple steps can produce extraordinary results. The decrease in cleanup and the strategic layering of flavors are foolproof, so you can confidently host a Moroccan dinner that feels like a celebrity chef plating, while still being a quick go‑to weeknight dinner.
Moroccan Chicken Ingredients
I love sourcing these colors from a humble corner of Brooklyn’s Union Market. The spices are a fragrant blend of cumin, paprika, cinnamon, ginger, coriander, and turmeric—all fresh and fragrant. The olives come from California farms where they’re hand‑pitted to re‑capture their bright green essence, and the raisins are golden, a sweet treat you can’t find in every grocery store but irresistible for a Moroccan palate. I always keep a stash of fresh cilantro for that final herb finish that gives the dish a bright, peppery lift.
Ingredients List
- 1 teaspoon ground cumin
- 1 teaspoon paprika
- 1/2 teaspoon cinnamon
- 1/2 teaspoon ground ginger
- 1/2 teaspoon ground coriander
- 1/4 teaspoon ground turmeric
- 1 tablespoon olive oil
- 6 bone‑in, skin‑on chicken thighs
- salt and pepper to taste
- 1 onion (halved and sliced)
- 1 1/2 teaspoons minced garlic
- 2 tablespoons all‑purpose flour
- 1 1/2 cups chicken broth
- 1/4 cup golden raisins
- 1/2 cup pitted green olives
- 2 teaspoons lemon juice
- 1/4 cup chopped cilantro leaves
Ingredient Spotlight
Chicken thighs: These are the backbone of the dish, offering a juicy, flavorful bite. When buying them in New York, look for thighs with a slightly marbled fat that’ll render as the sauce thickens. A tested substitution is chicken drumsticks, which will produce a slightly sweeter flavor profile but require a marginally longer cook time.
Green olives: The olives from the Mediterranean provide a briny counterpoint to the sweet raisins. When selecting olives in the supermarket, choose pitted ones to avoid the extra salt content. If you prefer a mild twist, substitute green olives with Kalamata olives for a richer, more robust flavor, noting they’ll overpower the younger raisins.
Golden raisins: These sweet gems contrast beautifully with the toasted spices. Look for pure, non‑seed raisins from an organic supplier to keep the texture light. If you’re short on raisins, dried apricots chopped into rounds establish a similar sweetness but with a firmer bite that stands out during cooking.
| Original Ingredient | Best Substitution | Flavor / Texture Impact |
|---|---|---|
| Chicken thighs | Chicken drumsticks | Slightly sweet grainy texture, longer cook time |
| Green olives | Kalamata olives | Rich, deeper brine flavor, can dominate dish |
| Golden raisins | Dried apricots (mini) | Similar sweetness, firmer bite, visually appealing |
How to Make Moroccan Chicken — Step-by-Step
Follow this straightforward sequence, and you’ll have a fragrant, hearty meal that feels like a Moroccan banquet prepared from scratch.
Step 1: Add All Spices
Place the cumin, paprika, cinnamon, ginger, coriander, and turmeric in a small bowl, whisking until the spices mingle. This dry blend will form the aromatic base for the sauce.
💡 emy’s Pro Tip: Mix the spices a few hours before cooking to let the flavors sit together—this boosts the depth of the sauce.
Step 2: Heat the Oil
Heat the olive oil in a large pot over medium heat. Preheat the oven to 375 °F (190 °C) so you can bake the chicken while it’s maturing in the pot.
⚠️ Common Mistake to Avoid: Rushing the oil to a high heat can smoke it, introducing a bitter note. Keep the oil gently warmed until the chicken sizzles on contact.
Step 3: Season Chicken
Season each thigh both sides with salt and pepper, letting the seasoning cling to the skin as you cook.
💡 emy’s Pro Tip: Pat the skin dry before seasoning; a dry surface ensures crispness as the chicken sears.
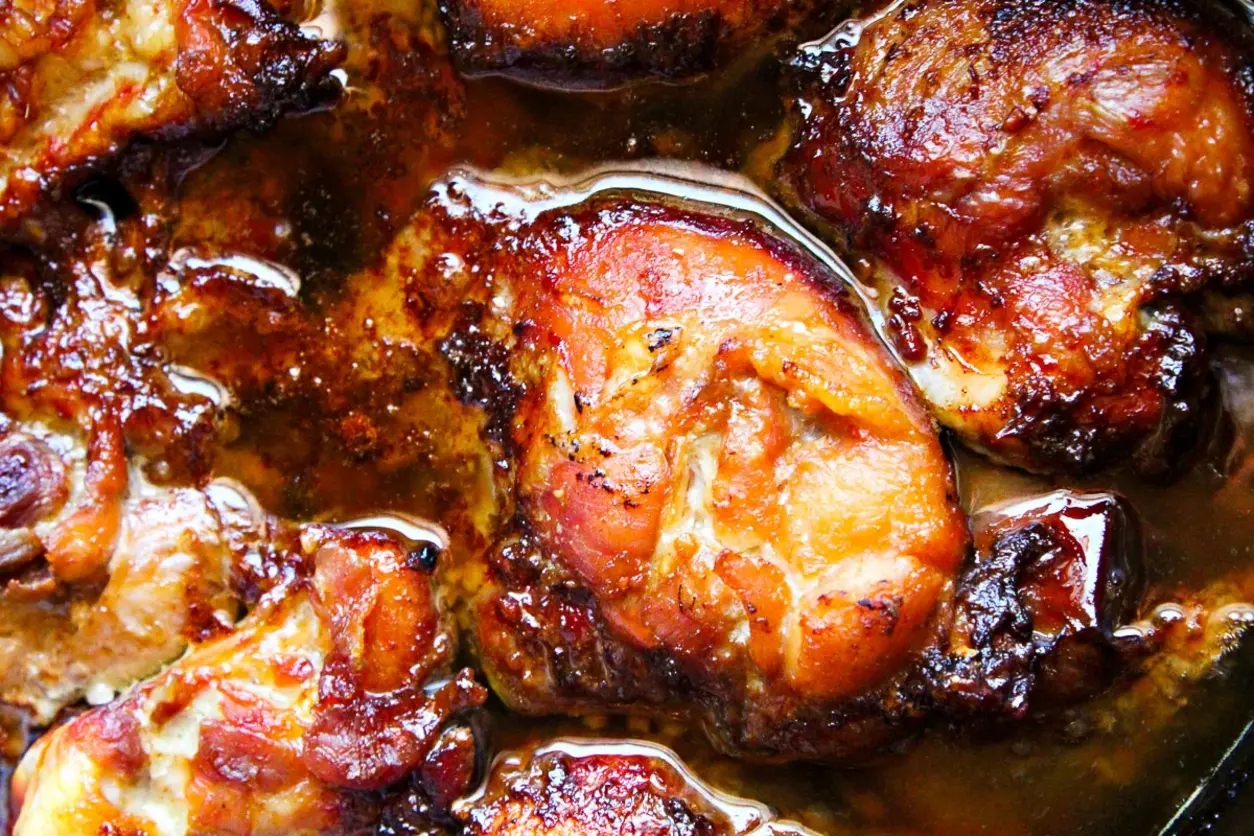
Step 4: Brown Chicken
Place the chicken skin side down in the pot. Cook for 4–5 minutes on each side until beautifully browned, then remove to a plate.
⚠️ Common Mistake to Avoid: Overcrowding the pot can steam rather than brown the thighs; give each piece room to sear.
Step 5: Cook Onion & Garlic
Add the halved onion to the pot and cook for 4–5 minutes until softened. Then toss in the minced garlic, cooking for 30 seconds until fragrant.
💡 emy’s Pro Tip: Use a wooden spoon to stir; this reduces the chance of the onions sticking to the pan.
Step 6: Add Spice Blend & Flour
Stir the dried spice blend and the flour into the pot, cooking for 30 seconds to de‑glaze, then pour in the chicken broth. Taste for seasonings.
⚠️ Common Mistake to Avoid: Adding too much flour can create a clumpy sauce; whisk vigorously to keep it smooth.
Step 7: Reintroduce Chicken & Raisins
Return the browned chicken to the pot, spooning some of the sauce over it, and sprinkle the golden raisins evenly across.
💡 emy’s Pro Tip: The raisins should be a small, distant sprinkle that doesn’t overpower the dish with sweet flavor.
Step 8: Bake
Cover the pot and transfer it to the preheated oven. Bake for 25–30 minutes until the chicken is tender and fully cooked through.
⚠️ Common Mistake to Avoid: Opening the lid too early can release the heat and extend the cooking time; wait until the last 5 minutes.
Step 9: Finish & Serve
Remove the pot from the oven, uncover, and stir in the olives and lemon juice. Slide the sauce over the chicken, sprinkle fresh cilantro, and serve hot.
💡 emy’s Pro Tip: Finish the dish with a drizzle of extra virgin olive oil for a glossy finish and extra rim of flavor.
| Step | Action | Duration | Key Visual Cue |
|---|---|---|---|
| 1 | Combine spices | 1 min | Spices look uniform |
| 2 | Heat oil, pre‑heat oven | 1 min | Oil shimmering, no smoke |
| 3 | Season chicken | 30 s | Seasoning clings, skin clean |
| 4 | Brown chicken | 4‑5 min each side | Golden brown crust |
| 5 | Cook onion & garlic | 4‑5 min onion, 30 s garlic | Translucent onions, fragrant garlic |
| 6 | Add spice & flour | 30 s | Aroma release, glaze |
| 7 | Chicken + raisins | 1 min | Sauce glossy over chicken |
| 8 | Bake | 25‑30 min | Chicken tender, sauce reduce |
| 9 | Finish | N/A | Olives bright, citrus bright |
Serving & Presentation
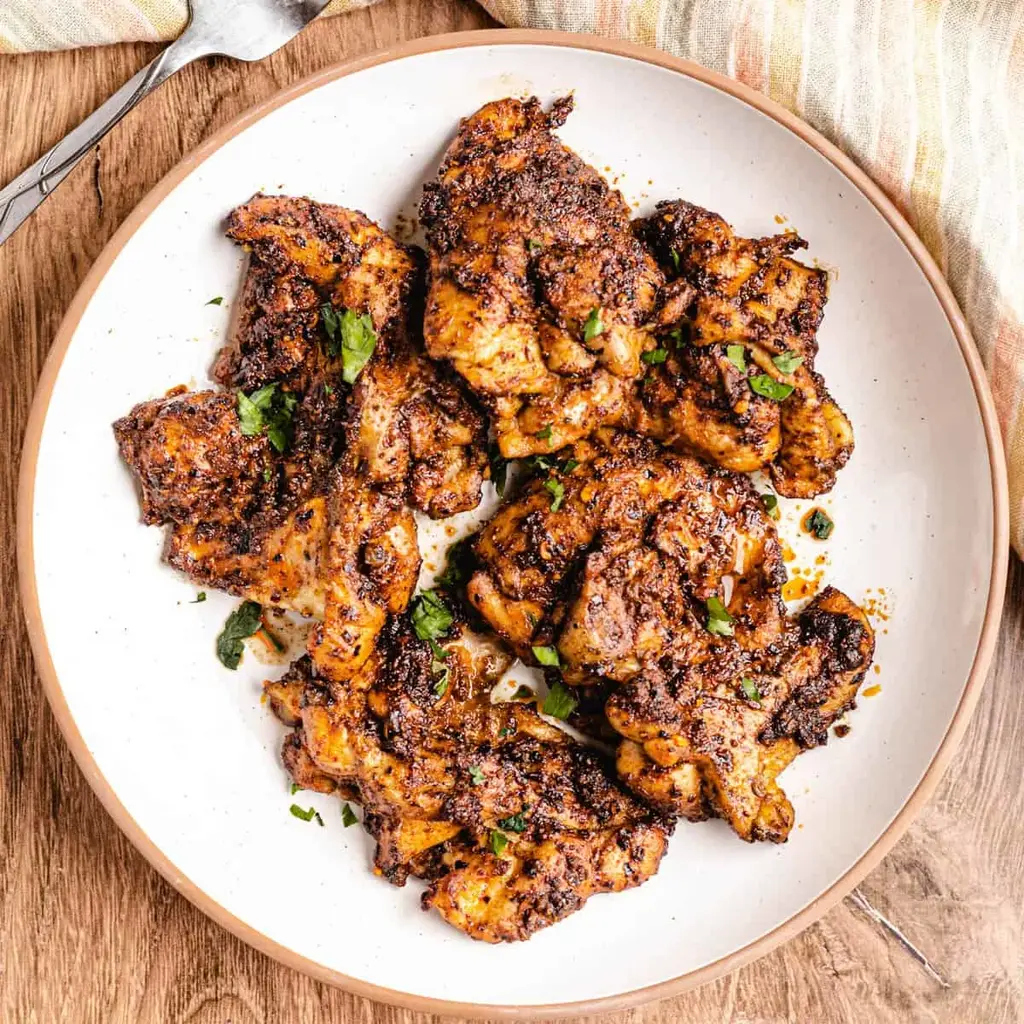
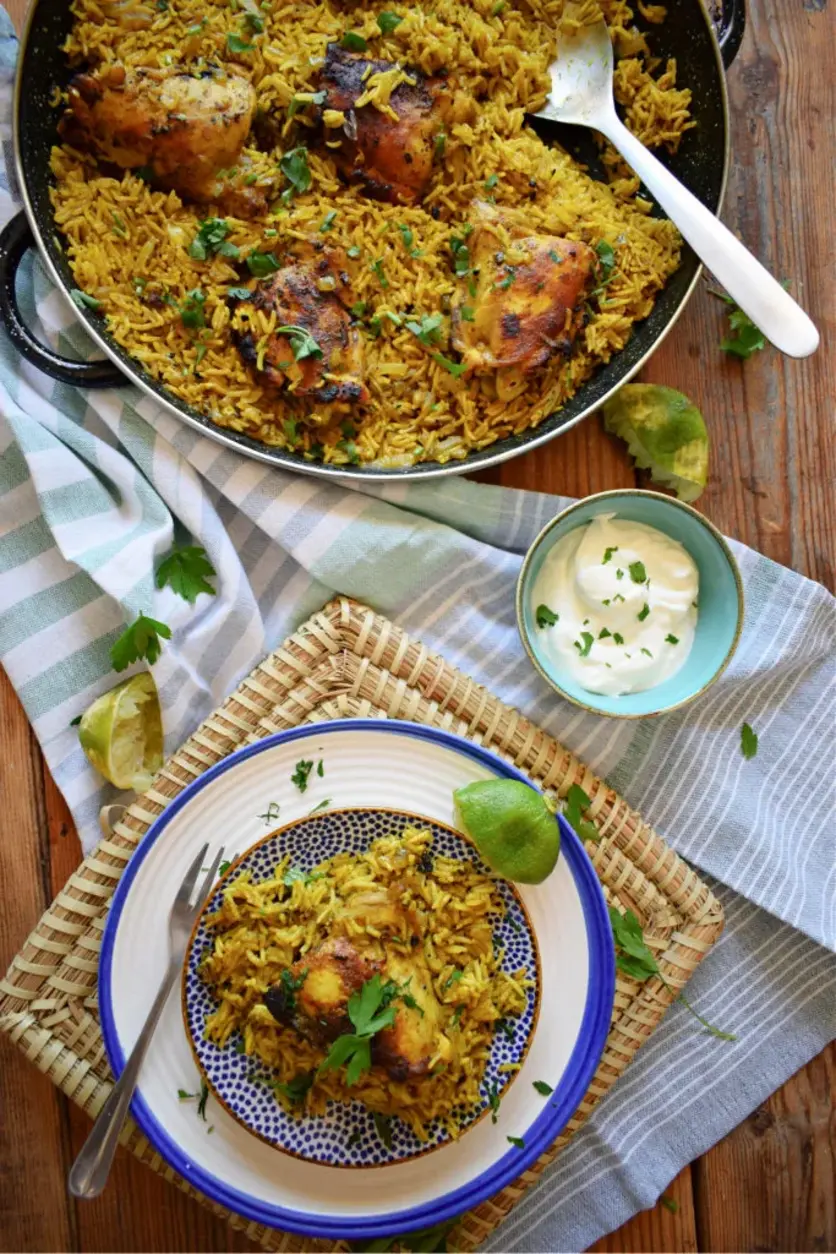
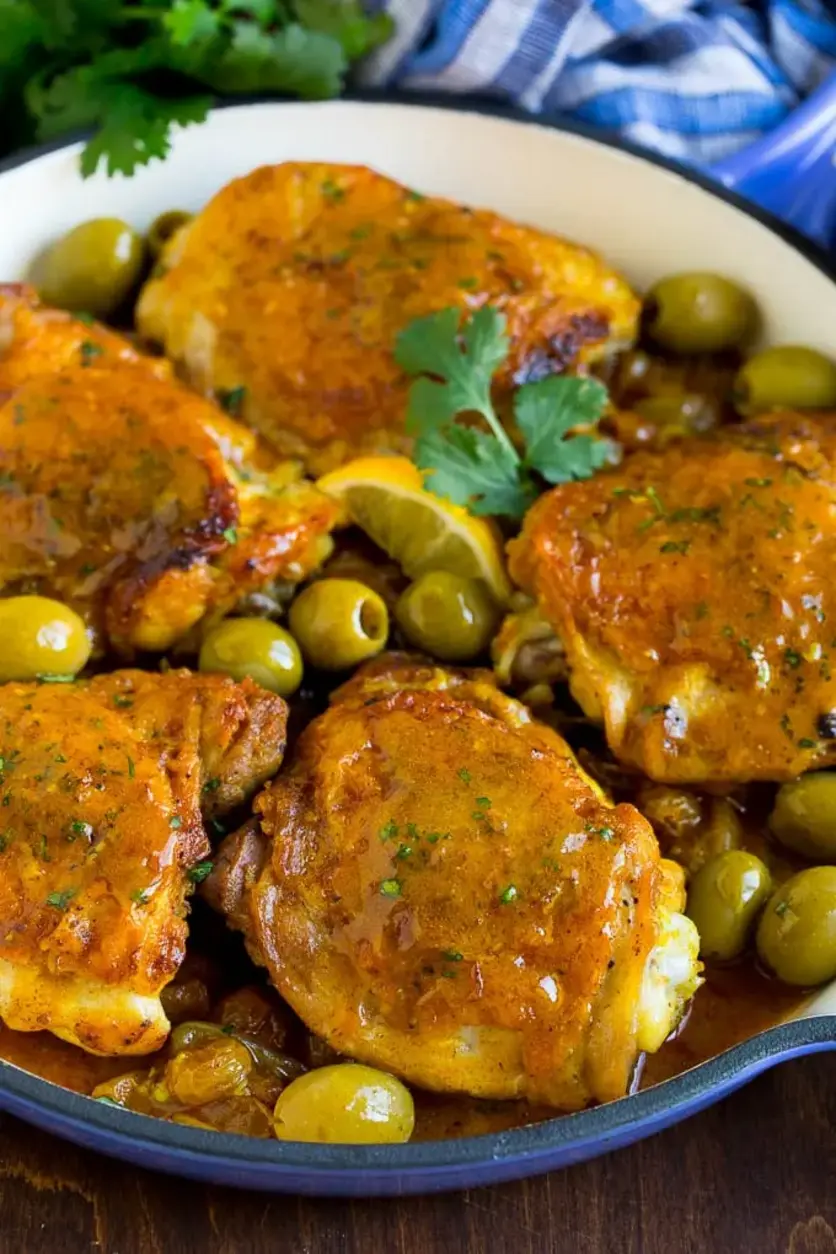
Plate the chicken thighs on a shallow white dish, letting the sauce pool around them like a golden glaze. Top with a handful of fresh cilantro for a pop of green, and sprinkle a few extra olives on the side for an accent of brine. Pair this vibrant entrée with fluffy couscous or herbed rice, and a chilled glass of rosé for a luxurious taste of Marrakech in your New York apartment.
For an extra touch of elegance, finish with a light drizzle of high‑quality extra virgin olive oil. The glossy sheen not only enhances the dish’s visual appeal but also provides a subtle citrus note that complements the lemon used in the sauce.
Visualize the dish as a canvas: a deep, tan broth soaked by savory chicken, flecked with bright green olives, and speckled with golden raisins. The contrast of colors and textures is a feast before it even touches the palate.
| Pairing Type | Suggestions | Why It Works |
|---|---|---|
| Side Dish | Couscous, quinoa pilaf, or roasted vegetables | Neutral grains absorb the sauce; vegetables add crunch |
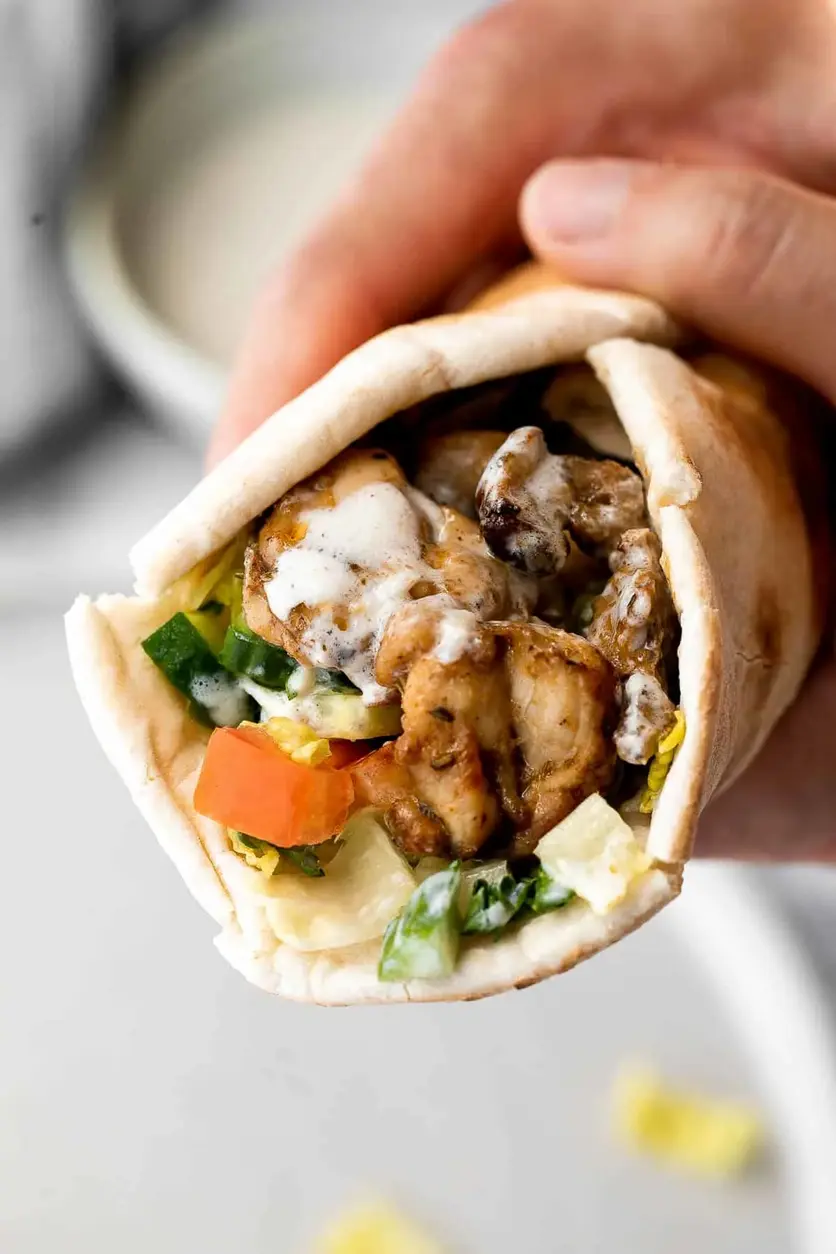
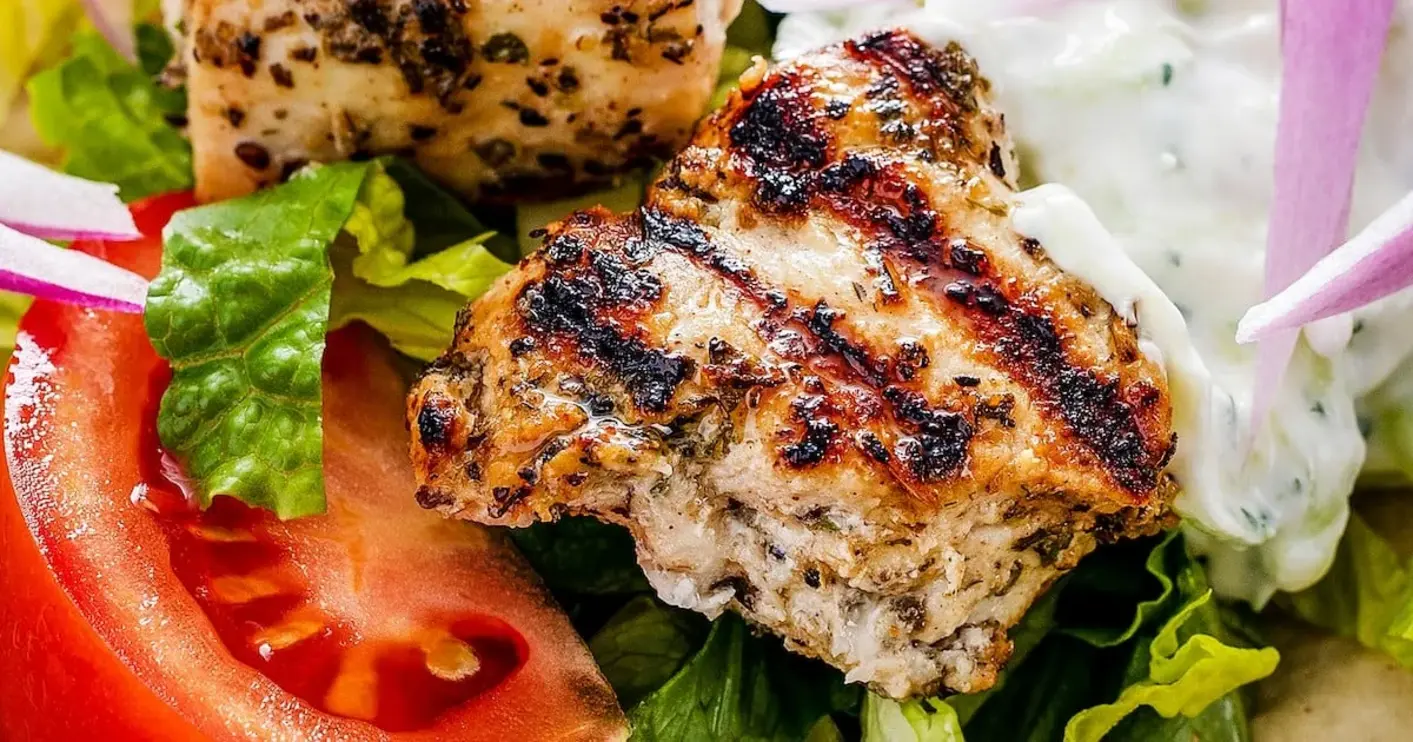
| Sauce / Dip | Flatbread with harissa, tzatziki, or roasted garlic yogurt | Balance heat, add creaminess, complement broth |
| Beverage | Rosé, Sauvignon Blanc, or a crisp sparkling water with lemon | Acid cuts richness, complements citrus notes |
| Garnish | Fresh mint, microgreens, or toasted almonds | Add herbal freshness, crunch, or nutty aroma |
Make‑Ahead, Storage & Reheating
New York schedules can be brutal, but this one‑pot dish stays fresh and flavorful for days. I’ll show you how to prep ahead for maximum convenience without sacrificing flavor.
| Method | Container | Duration | Reheating Tip |
|---|---|---|---|
| Refrigerator | Airtight glass jar | 3 days | Reheat over low heat, add a splash of broth |
| Freezer | Vacuum‑sealed bag | 1 month | Thaw overnight, simmer gently with extra broth |
| Make‑Ahead | Separate chicken and sauce in sharing dishes | 2 days | Reheat separately, then combine in a skillet |
When reheating, always keep the sauce loosely covered to stage moisture loss. Adding a splash of chicken broth or water will prevent the sauce from thickening too much and keep its silky texture alive. To keep the chicken’s moisture, reheat at a gentle simmer rather than on a high flame.
Variations & Easy Swaps
| Variation | Key Change | Best For | Difficulty Impact |
|---|---|---|---|
| Lemon‑Rosemary Chicken | Add fresh rosemary, replace lemon juice with freshly squeezed lemon zest | Weekend brunches | Easy |
| Gluten‑Free & Dairy‑Free | Replace all‑purpose flour with cornstarch slurry, use dairy‑free yogurt instead of cilantro | Health‑conscious dinners | Medium |
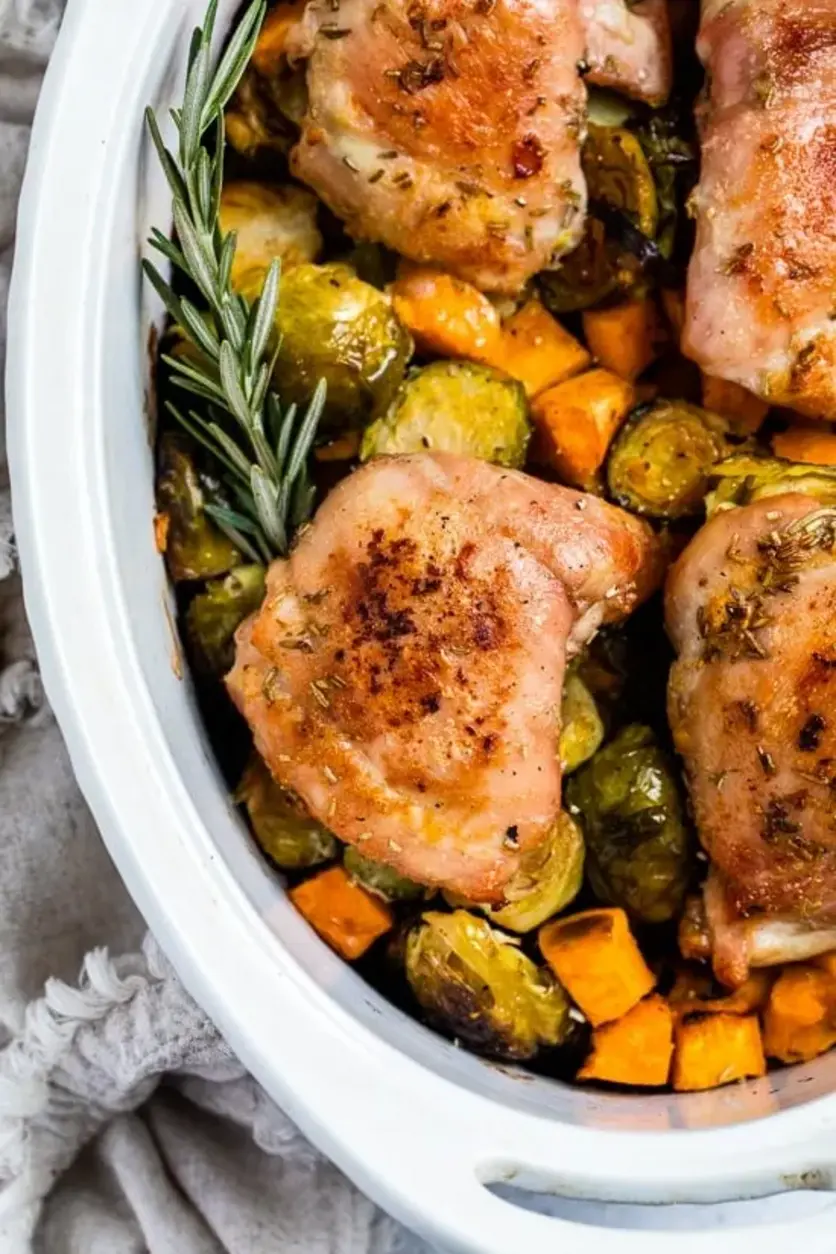
| Late‑Season Harvest | Swap raisins for dried apricots, add chopped roasted sweet potato cubes | Fall gatherings | Easy |
Lemon‑Rosemary Chicken
In this bright variation, fresh lemon zest replaces the lemon juice for a punchier citrus note, while fresh rosemary joins the spice blend, adding a piney aroma reminiscent of summer Moroccan gardens. The result is a light yet aromatic dish that pairs wonderfully with a crisp rosé.
Gluten‑Free & Dairy‑Free
To keep this recipe free from gluten and dairy, simply swap the all‑purpose flour for a cornstarch slurry and use a dairy‑free yogurt to finish. The sauce still thickens beautifully, and the yogurt adds a creamy tang that balances the spiciness.
Late‑Season Harvest
Replace the raisins with sweet, chopped dried apricots and add roasted sweet‑potato cubes that bring hope and warmth. This version feels like a cozy autumn dinner, especially when served over a nutty millet porridge.
FAQ
How do I keep the sauce from becoming too thick if I use more broth?
When you need to thin out a thick sauce, the simplest way is to add a liquid gradually while stirring. In this recipe, you can replace a portion of the chicken broth with cold water, a splash of white wine, or even a bit of dry sherry. Stir vigorously to ensure the mixture emails into a silky consistency, and keep the pot on low heat to prevent it from curdling. Adding a pinch of flour or cornstarch later will help maintain body without thickening too quickly. By gradually thinning the sauce, you preserve the depth of flavor while ensuring it glides over the chicken instead of clinging heavily to the skin.
Is it safe to use canned olives in this recipe?
Yes, canned olives are perfectly safe for this dish and can offer a convenient shelf‑stable option, especially during the off‑season. The key is to rinse them well and drain thoroughly to remove excess sodium from the brine; this prevents the dish from turning too salty. If you prefer a more authentic Mediterranean taste, choose bagged or jar‑packed olives that come ready to eat, but for practicality, canned can be substituted with minimal impact on flavor as long as you reduce the additional salt in the seasoning step.
Can I use boneless chicken instead of bone‑in thighs?
Using boneless chicken works well, but you’ll lose some of the flavor that comes from the bones while the chicken braises. If you choose boneless thighs, keep the cooking time slightly shorter—about 20‑25 minutes in the oven—to avoid drying them out. Alternatively, you can add a small amount of low‑salt chicken stock or broth to enhance moisture. The sauce will still capture the essence of the spices, but the meat will be a bit less robustly flavored compared to bone‑in thighs.
What de‑glazing liquid works best for this recipe?
To de‑glaze the pot, you want a liquid that complements the brothy base and keeps the sauce cohesive. Traditional chicken broth is perfect, but you can also use a mixture of broth and white wine for an extra layer of acidity. If you’re looking for a lighter option, a splash of water or a seasoning‑laden vegetable stock works, but remember to reinvest in the broth to maintain the depth that makes the dish iconic. When you add the liquid, allow the roux to settle for a few seconds before fully mixing; this guarantees an even texture.
What side dishes pair best with Moroccan Chicken?
Classic Moroccan cuisine often pairs well with couscous, which acts like a neutral sponge for the sauce. Other options include fragrant rice pilaf, matzo ball soup mash, or a crunchy salad of cucumber, tomato, and fresh herbs. If you’re feeding a crowd, a simple flatbread—like a warm pita or thin maghrebi bread—helps scoop up every last glaze point. For a New York twist, serve the dish with roasted veggies or a quick avocado salsa that adds creamy texture to the meal.
Can I add extra olives before baking?
While it’s tempting to fold olivier in earlier, adding them too soon can reduce the green, bite‑like crunch they bring. The best approach is to add the olives after the chicken has finished baking so that the olives stay crisp and maintain the bright burst of brine in the sauce. If you prefer a more integrated flavor, slice the olives finely before tossing them in the pot with the raisins; this will release their oils into the sauce while still keeping most of their texture intact.
How do I store leftovers?
Store leftovers in airtight silicone or glass containers. Because the chicken contains a lot of fat, it will keep best in the refrigerator for up to three days. To avoid the sauce drying out, place a small splash of broth in the container or cover the top of the pot with a bit of oil before sealing. When reheating, add a splash of extra broth or water and heat gently on low, stirring occasionally until everything is warmed through and the sauce regains its silky sheen.
What spices can I omit if it’s over‑spiced?
This dish relies on a balanced spice blend. If you prefer a milder palate, start by reducing the amounts of cumin or coriander to half the recipe’s suggestions, then taste before adding other spices. Removing the cinnamon or turmeric also lightens the overall flavor. Keep the paprika for color and mild heat, and always experiment by adding spices gradually. A good rule of thumb: start with one‑quarter portions and taste after the broth is added; this ensures you control the potency and keeps the dish approachable for anyone who’s still getting comfortable with spices.
Can this recipe be made vegetarian?
Absolutely! Replace the chicken thighs with marinated tofu cubes or thick slices of eggplant and follow the same browning technique. The moist, hearty texture of tofu absorbs the spices wonderfully, while the sauce still sings the same aromatic profile. For a completely plant‑based version, swap the chicken broth for a vegetable stock and add extra diced root veggies—carrots, parsnips, or butternut squash—to create a depth that’s equivalent in richness to the original dish.
What time will this dish be ready for a dinner party?
Including prep time, the dish will be ready in roughly 55 minutes. The majority of the time—about 40 minutes—occurs while the Chicken steams in the oven; the prep includes chopping aromatics, mixing spices, and browning the chicken. If you multitask (e.g., roasting the veggies in a separate pan or prepping couscous in the same time), you can shave a few minutes off the total. By planning ahead and using a timer, you’ll have a stellar, fragrant meal served right on schedule.
Share Your Version!
If you love this Moroccan Chicken One‑Pot Wonder, I’d love to hear how you tweaked it—feel free to leave a star rating or a short comment below. Snap a photo, share it on Instagram, or tag me on Pinterest at @cookingwithemi so I can see your culinary creations. I’m especially curious about what you’ll add to make it your own—perhaps a unique spice blend or a fun side dish. Let me know!
From my NYC kitchen to yours — I hope this recipe brings as much warmth to your table as it does to mine. — emy 🧡
Love This Recipe? Save It to Pinterest!
If you enjoyed this Moroccan Chicken recipe, don’t let it get lost in your browser tabs! 😄 Pin it now so you can find it again anytime — and explore hundreds more tried‑and‑tested recipes waiting for you on my Pinterest boards.
👉 Follow emy on Pinterest @exorecipe
📌 Pin this recipe · 🔁 Re-pin your favorites · 💬 Tag me when you make it — I love seeing your creations!

Moroccan Chicken
Description
This Moroccan chicken is a one pot meal with chicken thighs, green olives and spices, all simmered together until tender. A unique and unexpected dinner option that’s full of bold flavors.
Ingredients
- 1 teaspoon ground cumin
- 1 teaspoon paprika
- 1/2 teaspoon cinnamon
- 1/2 teaspoon ground ginger
- 1/2 teaspoon ground coriander
- 1/4 teaspoon ground turmeric
- 1 tablespoon olive oil
- 6 bone-in, skin-on chicken thighs
- salt and pepper to taste
- 1 onion (halved and sliced)
- 1 1/2 teaspoons minced garlic
- 2 tablespoons all purpose flour
- 1 1/2 cups chicken broth
- 1/4 cup golden raisins
- 1/2 cup pitted green olives
- 2 teaspoons lemon juice
- 1/4 cup chopped cilantro leaves
Instructions
- Add all the spices to a small bowl. Stir until combined.
- Heat the oil in a large pot over medium heat. Preheat the oven to 375 degrees F.
- Season the chicken thighs on both sides with salt and pepper.
- Place the chicken skin side down in the pan. Cook for 4-5 minutes per side, or until browned.
- Remove the chicken from the pan. Add the onion and cook for 4-5 minutes or until softened. Add the garlic and cook for 30 seconds.
- Add the spice blend and flour to the pan. Cook, stirring constantly, for 30 seconds. Stir in the chicken broth. Add salt and pepper to taste.
- Add the chicken back to the pan. Stir in the raisins.
- Cover the pan and bake for 25-30 minutes or until chicken is tender.
- Remove the pan from the oven. Uncover, then stir in the olives and lemon juice. Spoon the sauce over the chicken. Sprinkle the cilantro over the top, then serve.