Table of Contents
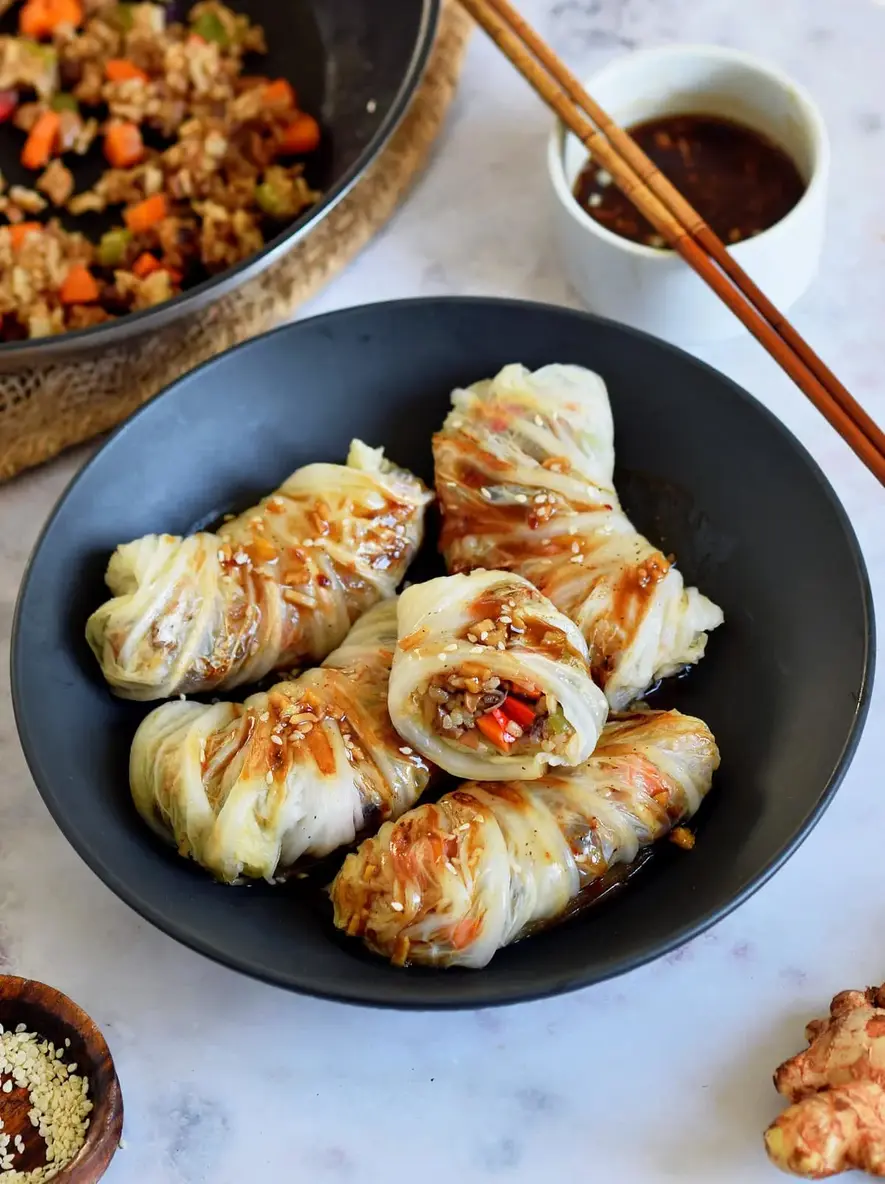
Vegan Cabbage Rolls with Chinese Brown Garlic Sauce – An Asian-Inspired, Gluten-Free Feast
Growing up in Morocco, stuffed vegetables were a weekly ritual in my mother’s kitchen—bell peppers, zucchini, and of course, cabbage leaves simmered in a fragrant tomato sauce. Years later, my culinary training in Paris taught me the art of balance and the magic of a perfectly emulsified sauce. Now, in my NYC kitchen, I’ve fused those worlds to create these Asian-inspired vegan cabbage rolls. These gluten-free wraps are stuffed with a savory rice and veggie filling and served with a rich Chinese brown garlic sauce that will make your taste buds sing. The unique angle here is that rich, glossy, umami-packed sauce—it’s the kind of French technique-meets-Asian-flavor twist that turns a humble dish into a showstopper.
Imagine tender, blanched napa cabbage leaves, their delicate ribs softened just enough to wrap around a hearty filling of sticky sushi rice, sweet carrots, crisp peppers, and earthy mushrooms, all sautéed with ginger, garlic, and tamari. The real star is the sauce: a glossy, savory-sweet brown garlic sauce with a hint of maple syrup and rice vinegar, thickened to a perfect coating consistency. The aroma of toasted sesame oil, fresh ginger, and garlic hitting the hot pan is pure kitchen therapy. Each bite offers a wonderful contrast—the soft, yielding cabbage, the slightly chewy, flavorful rice filling, and that luxurious, velvety sauce clinging to every nook and cranny.
What makes my version stand out is the focus on texture and layered flavor, a lesson from my French pastry instructors: every component must be perfect. I’ll share my pro tip for getting those cabbage leaves pliable without tearing, and I’ll warn you about the one common mistake that can make your rolls soggy. This recipe is naturally vegetarian, vegan, and gluten-free, but more importantly, it’s packed with the kind of comforting, complex flavor that will have everyone asking for seconds.
Why This Vegan Cabbage Rolls Recipe Is the Best
The flavor secret lies in that Chinese brown garlic sauce. It’s not an afterthought; it’s the centerpiece. Drawing from my French sauce training, I build layers of flavor: first toasting the ginger and garlic in sesame oil to unlock their aromatic oils, then balancing salty tamari with sweet maple syrup and sharp rice vinegar before finishing with a cornstarch slurry for a glossy, restaurant-quality glaze. This sauce transforms the dish from simple stuffed cabbage to a gourmet, Asian-inspired experience.
Perfected texture is non-negotiable. The cabbage must be blanched just until pliable—a technique I perfected to avoid the mushiness that plagues so many stuffed leaf recipes. The rice filling is another point of pride: using soaked sushi rice gives it a delightful sticky-chew that holds the roll together beautifully, while the veggies are sautéed just to al dente to maintain a pleasant bite. This attention to contrasting textures is a chef’s signature.
This recipe is foolproof & fast because I’ve streamlined the process. By soaking the rice first, it cooks in just 10-12 minutes. Blanching the cabbage in batches and using the same skillet for the filling and searing the rolls minimizes cleanup. I’ve designed the steps so you can multitask efficiently, making this a achievable weeknight meal that feels special enough for company.
Vegan Cabbage Rolls Ingredients
I love picking up my napa cabbage and fresh ginger at the Union Square Greenmarket here in NYC—there’s nothing like farm-fresh produce. The tamari and sushi rice are staples I always have on hand from my local Asian grocery, a habit formed from my time exploring the markets of Paris’s 13th arrondissement. Each ingredient here plays a specific role in building the deep, satisfying flavor profile of these gluten-free cabbage rolls.
Ingredients List
- 1 1/4 cups dry sushi rice (or any short-grain rice)
- 1 large napa cabbage (10-12 leaves)
- 1 tbsp neutral oil, divided (like avocado or grapeseed)
- 1 medium onion, diced
- 3/4 tbsp fresh ginger, minced
- 3 garlic cloves, minced
- 1 medium carrot, diced
- 2 medium bell peppers (any color), diced
- 8 white button mushrooms, diced (fresh or canned, drained)
- 2 tbsp tamari (or coconut aminos for soy-free)
- 1/2 tsp each of sea salt, ground black pepper, onion powder
- 1/4 tsp red pepper flakes (or to taste)
- Sesame seeds, for garnish
For the Chinese Brown Garlic Sauce:
- 1 tsp sesame oil (or neutral oil)
- 1/2 tbsp fresh ginger, minced
- 2 garlic cloves, minced
- 1 1/2 tbsp tamari (or coconut aminos)
- 1 tbsp rice vinegar
- 3/4 tbsp pure maple syrup
- 1/2 cup water
- 1/2 tbsp cornstarch
- Salt, black pepper, red pepper flakes, smoked paprika to taste
Ingredient Spotlight
Napa Cabbage: This is your wrapper. Its oblong, tender leaves are more pliable than green cabbage. Look for a head that feels heavy for its size with crisp, pale green leaves. The core should look fresh, not dried out. If you can’t find napa, savoy cabbage is the best substitute—its crinkled leaves are also tender.
Sushi Rice: This short-grain rice is the glue of the filling. When soaked and cooked, it becomes sticky, helping the rolls hold their shape. At the store, look for bags labeled “sushi rice” or “short-grain rice.” If you substitute with long-grain rice like jasmine, the filling will be fluffier and less cohesive, so you may need to pack the rolls tighter.
Tamari: This is my go-to for deep, rich umami without the wheat found in most soy sauces, keeping the recipe gluten-free. You’ll find it in the Asian aisle next to soy sauce. Coconut aminos are a great soy-free alternative, offering a slightly sweeter, milder flavor.
Fresh Ginger & Garlic: The aromatic foundation. Fresh is non-negotiable here for that bright, pungent kick. Look for firm ginger with smooth skin. Pre-minced jars lack the vital oils. If you’re in a pinch, 1/4 tsp of ground ginger can substitute for 1 tbsp fresh, but the flavor will be warmer and less sharp.
| Original Ingredient | Best Substitution | Flavor / Texture Impact |
|---|---|---|
| Napa Cabbage | Savoy Cabbage | Similar tender texture, slightly more pronounced ribs. Blanching time may need 30 extra seconds. |
| Sushi Rice | Jasmine Rice | Filling will be less sticky and more separate. Helps if you slightly overcook the rice to increase starchiness. |
| Tamari | Coconut Aminos | Sweeter, less salty flavor. Sauce may require a pinch more salt to balance. |
| Fresh Button Mushrooms | Canned Mushrooms or Shiitake | Canned offer convenience but softer texture. Dried shiitake (rehydrated) add a deeper, woodsy umami. |
| Rice Vinegar | Apple Cider Vinegar | Slightly fruitier tang. Use 3/4 tbsp to start, as it can be stronger than rice vinegar. |
How to Make Vegan Cabbage Rolls — Step-by-Step
Don’t let the rolling intimidate you! I’ve broken it down into simple, manageable steps. The key is organization—having your rice soaking, your veggies chopped, and your blanching station ready. Let’s create these beautiful, flavorful bundles together.
Step 1: Prep the Rice and Cabbage
Soak the 1 1/4 cups of sushi rice in a large bowl of cool water for 45-60 minutes. This step is crucial for even cooking and achieving the perfect sticky texture. After soaking, drain the rice thoroughly. Cook it in a saucepan with 1 1/2 cups of water and a pinch of salt over medium heat. Once boiling, reduce to a simmer, cover, and cook for 10-12 minutes until tender and water is absorbed. Fluff with a fork and set aside.
💡 emy’s Pro Tip: While the rice soaks, prep your cabbage and veggies. Carefully remove 10-12 whole leaves from the napa cabbage. Bring a large pot of water to a rolling boil. Blanch the leaves in batches of 3-4 for 2-3 minutes, just until they turn bright green and pliable. Immediately transfer them to a bowl of ice water to stop the cooking. This sets the color and makes them easy to handle. Pat them dry gently with a clean kitchen towel.
Step 2: Sauté the Veggie Filling
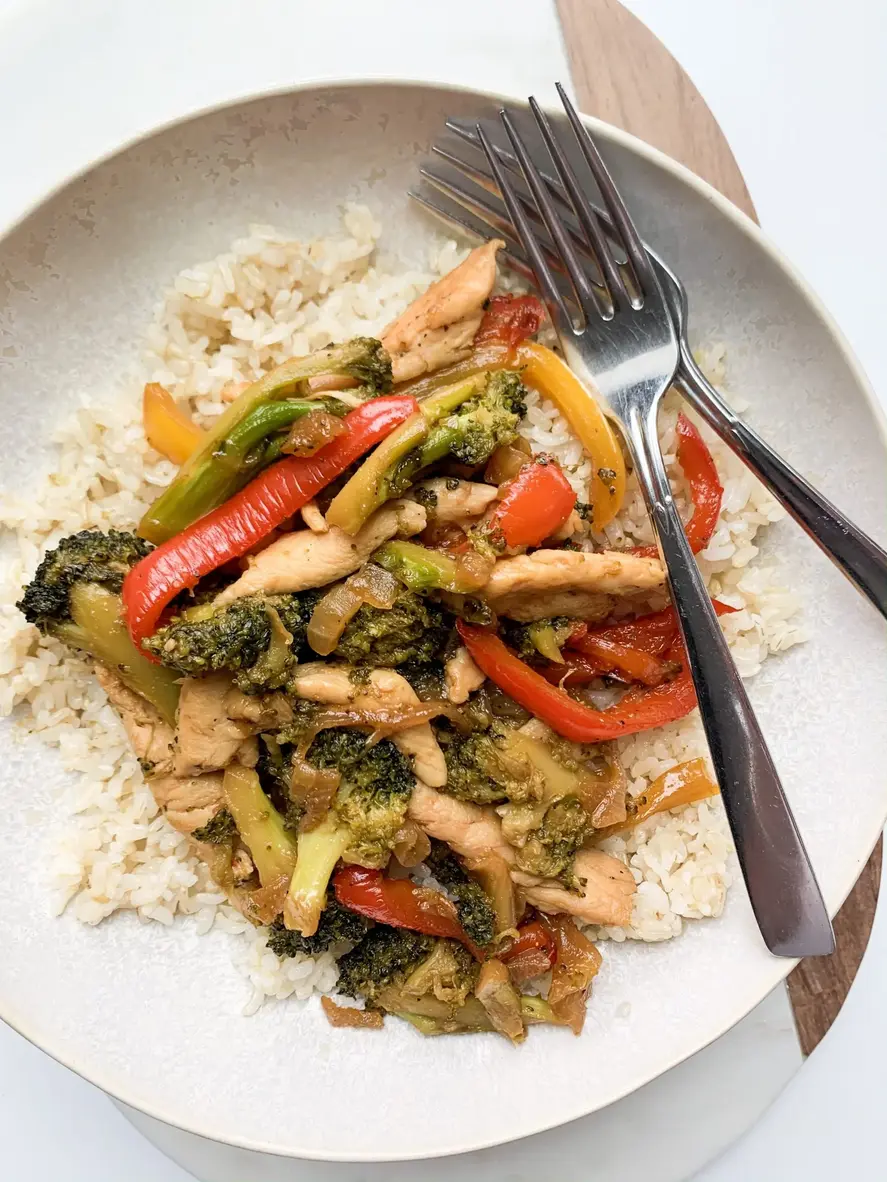
While the rice cooks, heat 1/2 tablespoon of oil in a large skillet or wok over medium-high heat. Add the diced onion, 3/4 tbsp minced ginger, and 3 minced garlic cloves. Sauté for 1 minute until fragrant. Add the diced carrot, bell peppers, and mushrooms. Cook, stirring frequently, for 3-4 minutes until the veggies are just tender but still have a slight crunch. Pour in the 2 tablespoons of tamari and add the 1/2 tsp each of salt, pepper, onion powder, and the red pepper flakes. Stir well and cook for another 1-2 minutes.
⚠️ Common Mistake to Avoid: Don’t overcrowd the skillet. If your pan is too small, the veggies will steam instead of sauté, becoming soggy and losing their vibrant color and texture. Cook in two batches if necessary, using a touch more oil.
Step 3: Combine and Season
Once the rice is cooked, add it directly to the skillet with the sautéed vegetables. Gently fold everything together until the rice is evenly coated with the seasonings and mixed with the veggies. Turn off the heat. This is your most important tasting moment. Taste the filling and adjust seasoning—you might want more tamari for saltiness, a squeeze of lime for acidity, or more red pepper flakes for heat. Remember, the sauce will add another layer of flavor, so the filling should be well-seasoned but not overpowering.
Step 4: Roll the Cabbage Leaves
Lay one blanched cabbage leaf flat on a clean surface, with the stem end facing you. Place about 1 1/2 to 2 tablespoons of the rice filling in the center of the lower third of the leaf. Fold the left and right sides of the leaf inward over the filling. Then, fold the bottom flap (nearest you) up and over the filling, and roll it away from you tightly, like a burrito. Place the roll seam-side down on a plate. Repeat with the remaining leaves and filling.
💡 emy’s Pro Tip: If a leaf has a very thick stem rib, you can shave it down with a paring knife to make rolling easier. Don’t overstuff! Using too much filling is the main reason rolls burst open during the searing step.
Step 5: Pan Sear the Rolls
Heat the remaining 1/2 tablespoon of oil in a clean non-stick or well-seasoned skillet over medium heat. Once the oil is shimmering, carefully place 5-6 cabbage rolls in the pan, seam-side down. Do not crowd them. Let them cook undisturbed for 2-3 minutes until the bottom is golden brown and slightly crispy. Gently flip them using a spatula and tongs, and sear the other side for another 2-3 minutes. Remove to a serving platter and repeat with the remaining rolls.
Step 6: Make the Chinese Brown Garlic Sauce
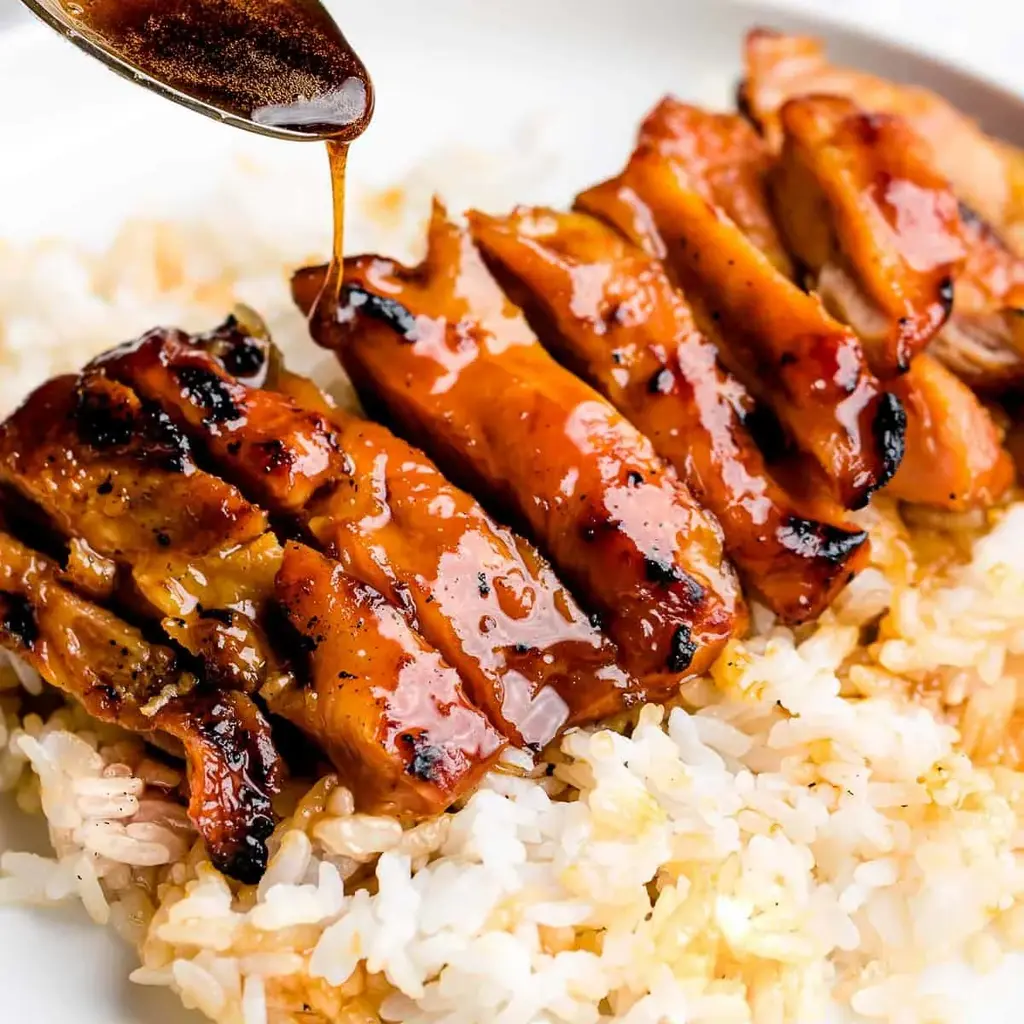
In a small saucepan, heat 1 teaspoon of sesame oil over medium heat. Add the remaining 1/2 tbsp minced ginger and 2 minced garlic cloves. Sauté for 30-60 seconds until fragrant but not browned. Pour in the 1 1/2 tbsp tamari, 1 tbsp rice vinegar, and 3/4 tbsp maple syrup. Let it simmer for 1-2 minutes. In a separate small bowl, whisk the 1/2 cup water with the 1/2 tbsp cornstarch to make a smooth slurry. While stirring the saucepan, slowly pour in the cornstarch slurry. Add salt, pepper, red pepper flakes, and a pinch of smoked paprika to taste. Continue to cook, stirring constantly, for 2-3 minutes until the sauce thickens to a glossy, coating consistency.
⚠️ Common Mistake to Avoid: Adding the cornstarch slurry directly to the hot liquid without whisking first will create lumps. Always make a slurry with cold water first. Also, cook the sauce for the full time after adding the slurry to get rid of the raw cornstarch flavor.
Step 7: Serve and Garnish
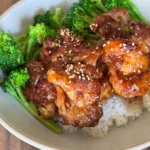
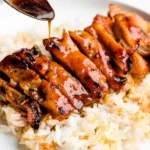
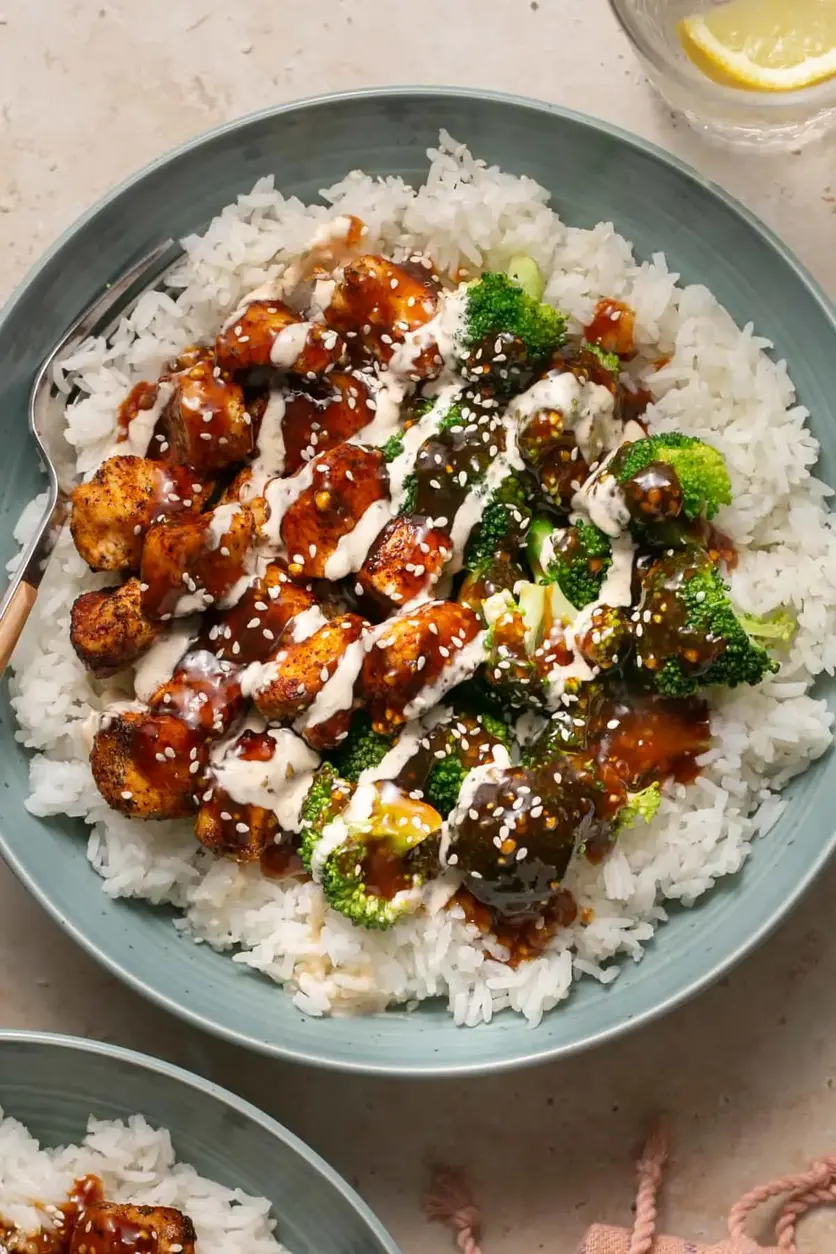
Arrange the warm, seared cabbage rolls on a platter or individual plates. Generously drizzle the warm Chinese brown garlic sauce over the top. Finish with a sprinkle of toasted sesame seeds for crunch and visual appeal. Serve immediately while everything is warm.
| Step | Action | Duration | Key Visual Cue |
|---|---|---|---|
| 1 | Soak & Cook Rice | 45-60 min soak + 12 min cook | Rice is tender, water fully absorbed. |
| 2 | Blanch Cabbage | 2-3 min per batch | Leaves turn bright green and flexible. |
| 3 & 4 | Sauté Filling & Combine | 5-6 min total | Veggies tender-crisp, rice fully incorporated. |
| 5 | Roll the Bundles | 10-12 min | Tight, burrito-style rolls that hold shape. |
| 6 | Pan Sear Rolls | 4-6 min per batch | Golden brown, crispy exterior on both sides. |
| 7 | Make the Sauce | 5-7 min | Sauce is glossy, thick enough to coat the back of a spoon. |
Serving & Presentation
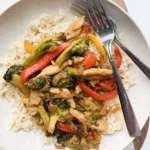
Presentation is where you can really let your inner chef shine. I love serving these on a large, rustic platter, drizzling the glossy brown sauce in a zig-zag pattern over the neatly arranged rolls. A final flourish of green scallions or fresh cilantro leaves adds a pop of color. In my NYC apartment, I often serve this family-style, letting everyone help themselves—it creates a warm, communal feeling reminiscent of meals back in Morocco.
For a complete meal, these Asian-inspired vegan cabbage rolls are incredibly versatile. They’re substantial enough to be a main course but also pair beautifully with other dishes. Think about balancing textures and flavors: something crisp, something fresh, and something with a bit of acidity to cut through the richness of the sauce.
| Pairing Type | Suggestions | Why It Works |
|---|---|---|
| Side Dish | Simple steamed broccoli, sautéed bok choy, or a cucumber salad. | Light, green sides complement the hearty rolls without competing. The crunch of bok choy is perfect. |
| Sauce / Dip | Extra brown garlic sauce, spicy sriracha mayo, or a sweet chili sauce. | Offers variety for different heat preferences. The creamy sriracha mayo adds a cool contrast. |
| Beverage | Jasmine green tea, a crisp lager, or a dry Riesling. | Tea cleanses the palate. The slight sweetness of Riesling balances the savory umami of the sauce. |
| Garnish | Toasted sesame seeds, sliced green onions, chopped cilantro, lime wedge. | Adds freshness, color, and textural contrast. A squeeze of lime brightens the entire dish. |
Make-Ahead, Storage & Reheating