Discover the rich, bold flavors of Nigerian Chicken Stew, a comforting delight perfect for rice or plantains. A must-try spicy stew recipe! #nigerianchickenstew #spicystew
Print

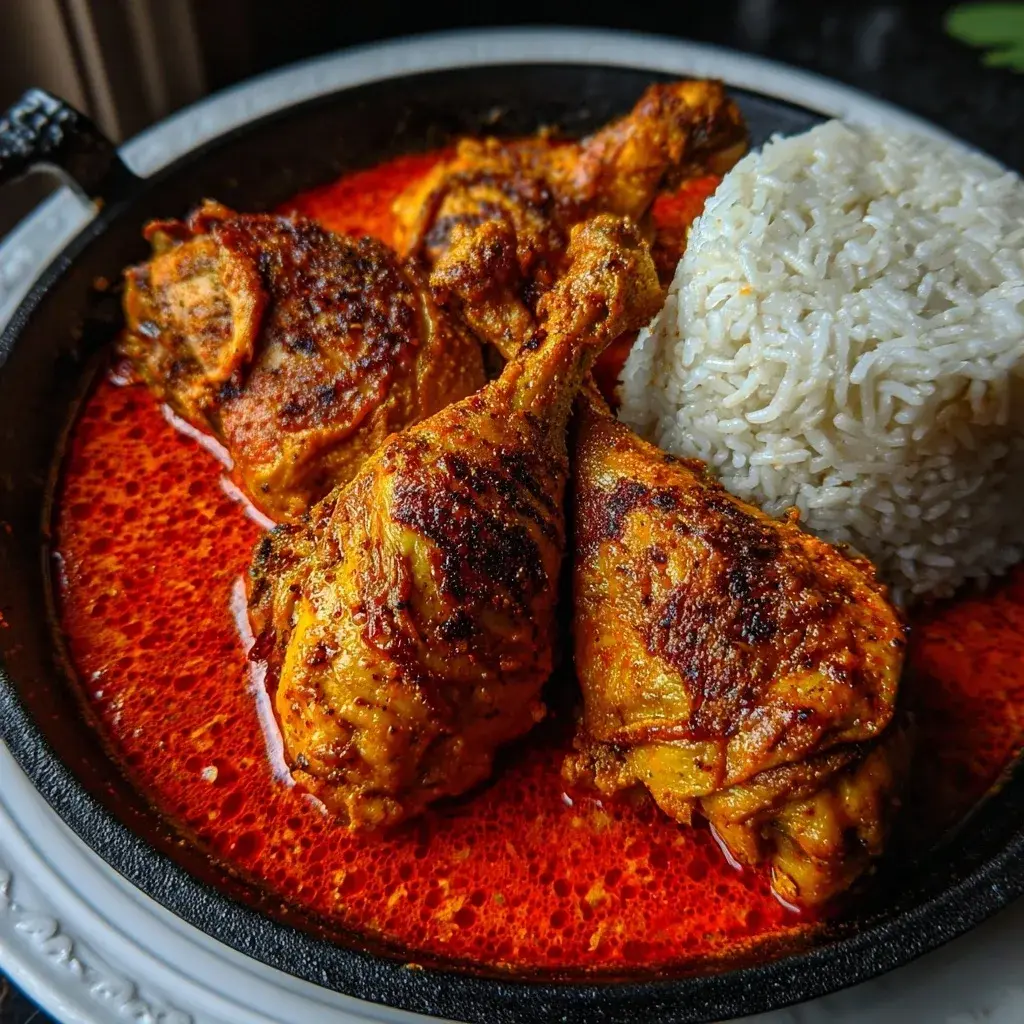
Nigerian Chicken Stew Recipe
Description
Nigerian Chicken Stew is a rich and deeply flavored West African classic made with seared chicken simmered in a bold tomato and pepper sauce. It is the perfect accompaniment to rice, plantains, or yams for a comforting and hearty meal.
Ingredients
Scale
- 2.5 lbs bone-in chicken (thighs or drumsticks), cleaned
- 1 teaspoon salt
- 1/2 teaspoon black pepper
- 1 teaspoon paprika
- 1 teaspoon curry powder
- 1 teaspoon thyme
- 1 onion, chopped
- 1/4 cup vegetable oil
- 4 large Roma tomatoes
- 1 large red bell pepper
- 1 small red onion
- 2 scotch bonnet peppers (or 1 for less heat)
- 2 tablespoons tomato paste
- 1 teaspoon garlic powder
- 1 teaspoon ginger powder
- 1 bouillon cube
- Salt to taste
Instructions
- Season the Chicken: Season the chicken with salt, pepper, paprika, curry powder, thyme, and chopped onions. Let marinate for 30 minutes.
- Sear the Chicken: In a large skillet, heat oil over medium-high heat and sear chicken pieces until browned on both sides. Set aside.
- Prepare the Sauce: Blend tomatoes, bell pepper, onion, and scotch bonnets into a smooth mixture.
- Cook the Sauce: In the same skillet, fry tomato paste for 2 minutes. Add the blended sauce, reduce heat to medium, and cook for 10 minutes.
- Season the Stew: Add garlic powder, ginger powder, bouillon cube, and salt. Stir to combine.
- Simmer: Return chicken to the pot and simmer on low for 2530 minutes, or until chicken is tender and the stew thickens.
- Serve: Serve hot with white rice, fried plantains, or cauliflower rice.
Nutrition
- Calories: 395 kcal
- Sugar: 7g
- Protein: 37g