Cozy up with this Slow Cooker Beef Manhattan — a hearty, melt-in-your-mouth pot roast slow cooked in savory gravy. This easy slow cooker beef Manhattan recipe brings comfort to any dinner table. Perfect for pot roast lovers looking for an effortless weeknight meal, this rich beef Manhattan slow cooker dinner is ideal for family dinners. Try it tonight — you’ll want seconds! #slowcooker #beef #comfortfood
Print
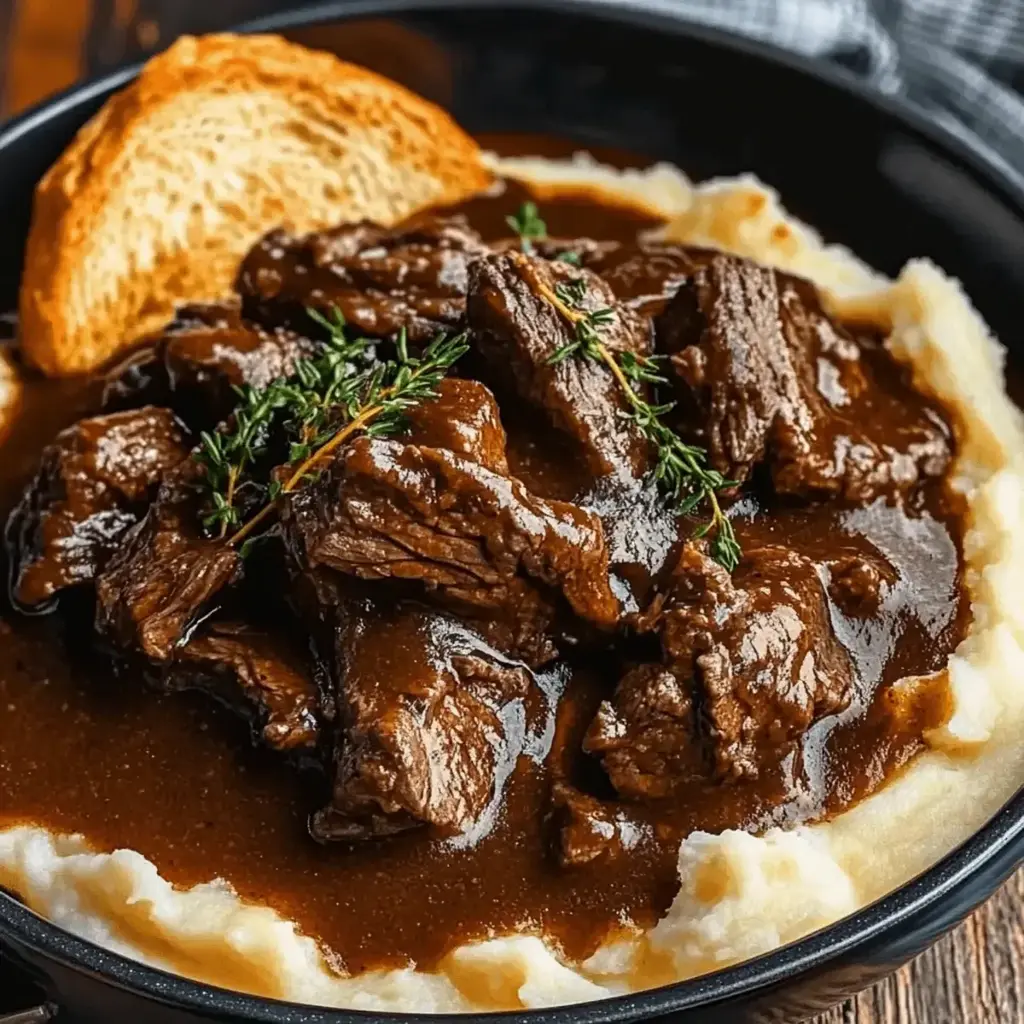
Slow Cooker Beef Manhattan: Hearty Comfort in Every Bite
Description
Experience Slow Cooker Beef Manhattan, a hearty comfort food packed with flavor and nostalgia, perfect for family dinners.
Ingredients
Scale
- 2 pounds beef roast (chuck or round) Substitute: Brisket for a slightly different flavor.
Instructions
- Step 1: Prepare the Base – Start by placing the sliced onion at the bottom of your slow cooker to create a flavorful base.
- Step 2: Add the Beef – Lay the seasoned beef roast on top of the onions, pressing down to ensure contact.
- Step 3: Pour in the Broth – Pour in the beef broth, Worcestershire sauce, and soy sauce over the beef, ensuring liquids cover at least half of the beef.
- Step 4: Season the Brisket – Sprinkle garlic powder, onion powder, dried thyme, black pepper, and salt evenly across the beef.
- Step 5: Set Up for Cooking – Cover the slow cooker and set it to LOW for 8 hours or HIGH for 4 to 5 hours.
- Step 6: Shred the Beef – Once cooking is done, remove the beef and shred it into bite-sized pieces.
- Step 7: Strain the Broth – Strain the onions from the broth, returning only the liquid back to the slow cooker.
- Step 8: Thicken the Gravy – Mix cornstarch with cold water to create a slurry and stir into broth to thicken.
- Step 9: Serve and Enjoy – Layer a slice of bread, top with mashed potatoes, shredded beef, and ladle gravy over the dish.
Notes
Choose quality beef for optimal tenderness; don’t skip the slurry for thick gravy; rest beef before shredding to retain juices.
Nutrition
- Calories: 650kcal
- Sugar: 3g
- Protein: 50g