You want weeknight dinners that feel special but do not take forever to make. Learn how to get truly indulgent Queso Chicken Enchiladas on your table when you only have limited time available. This recipe shows you straightforward ways to build rich flavor without a lot of waiting around. Stop settling for boring meals when you need something fast and comforting after a long day. Tap to learn more
Print

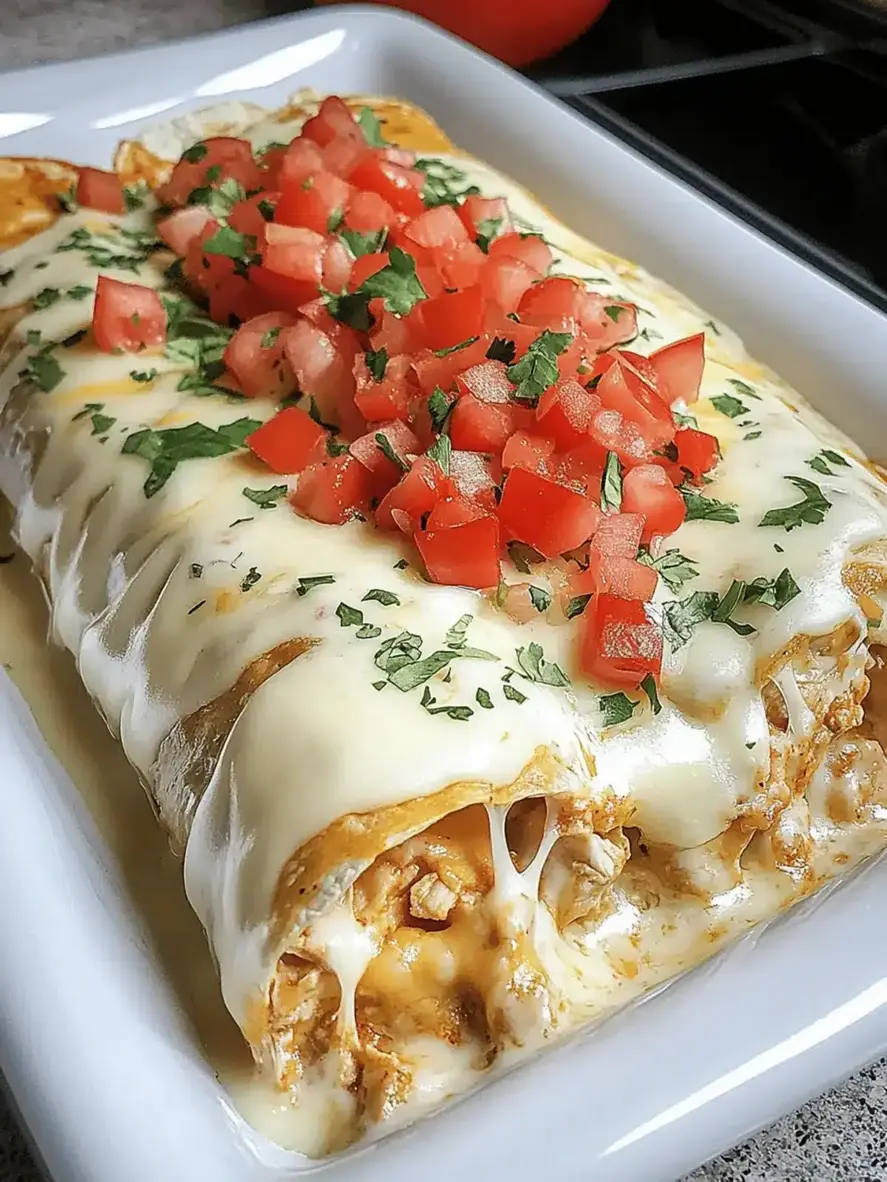
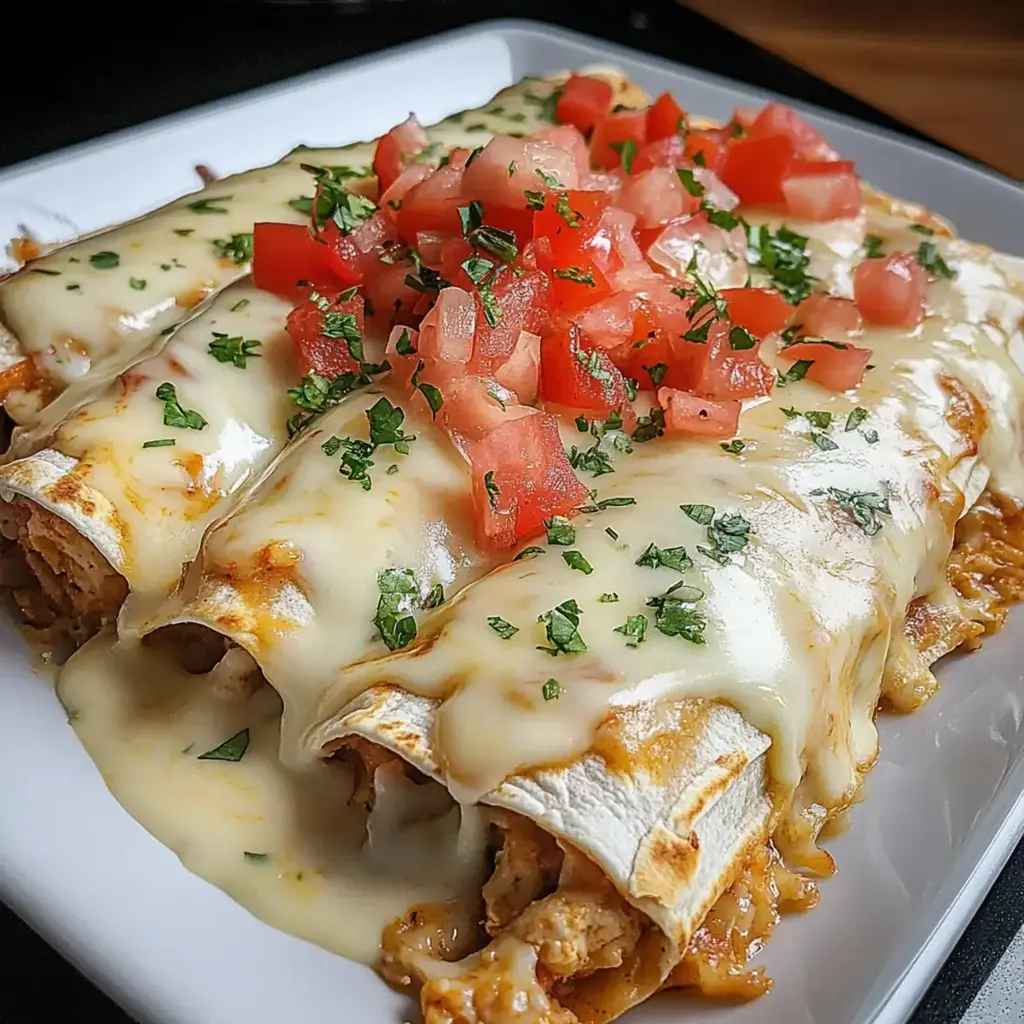
Indulgent Queso Chicken Enchiladas for Quick Weeknight Dinners
Description
Savor the delightful taste of Queso Chicken Enchiladas, a perfect comfort food for busy weeknights.
Ingredients
Scale
- 3 cups Shredded Chicken use rotisserie chicken for convenience
- 1 packet Taco Seasoning or homemade for milder taste
- 1 cup Sour Cream Greek yogurt can be a healthier alternative
- 2 cups Shredded Cheddar Cheese substitute with Monterey Jack or pepper jack
- 1 can Chopped Green Chilies omit for milder option or use jalapeños
Instructions
- Preheat the oven to 350°F (175°C).
- Mix the filling by combining shredded chicken, taco seasoning, sour cream, cheddar cheese, and green chilies in a bowl.
- Melt the Velveeta cheese along with the diced tomatoes in a saucepan over medium-high heat.
- Fill the tortillas with ½ to ¾ cup of the chicken mixture and roll them up burrito-style.
- Arrange the rolled tortillas in a 9×13-inch casserole dish.
- Pour the melted queso evenly over the top of the enchiladas.
- Bake for 2025 minutes or until the enchiladas are hot, bubbly, and golden on top.
Notes
Garnish with fresh cilantro or avocado slices for added flavor and color.
Nutrition
- Calories: 400kcal
- Sugar: 2g
- Protein: 25g