
Blackened Salmon with Mango Salsa
Description
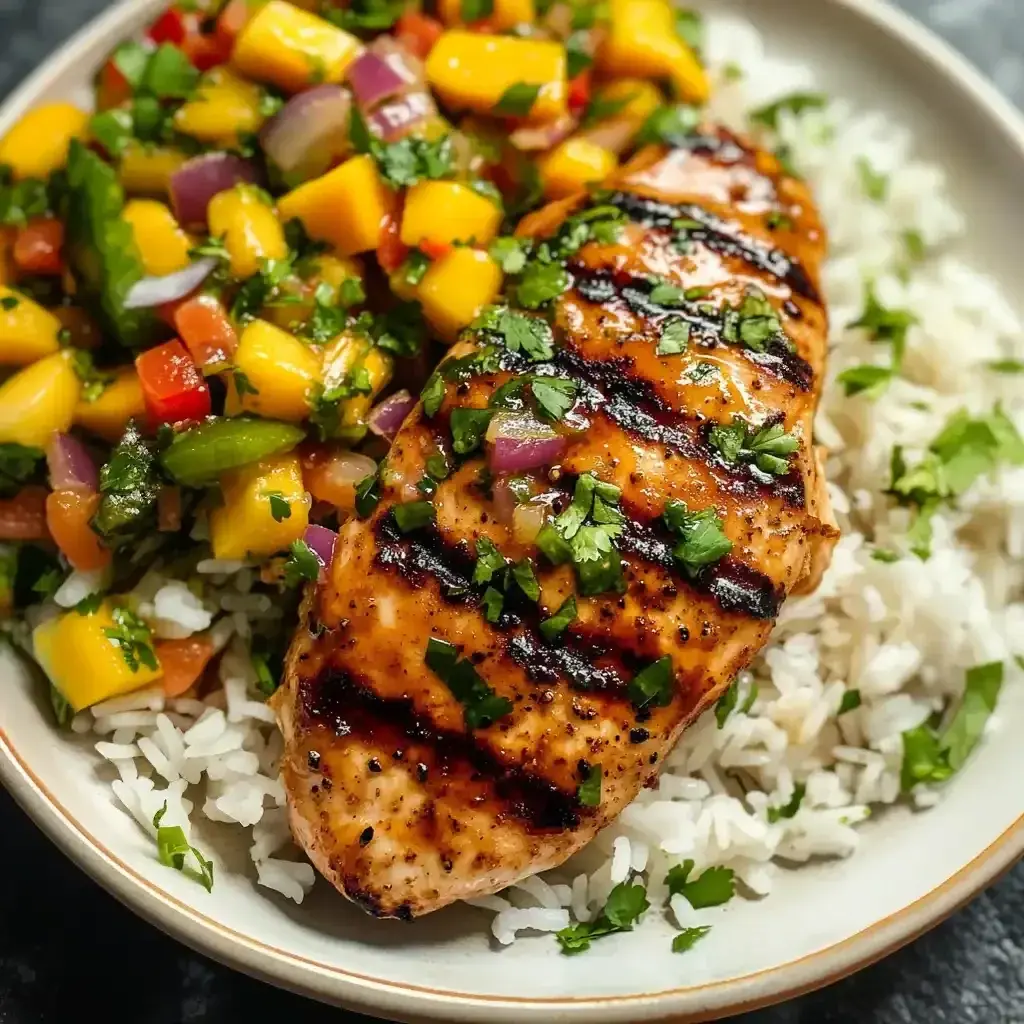
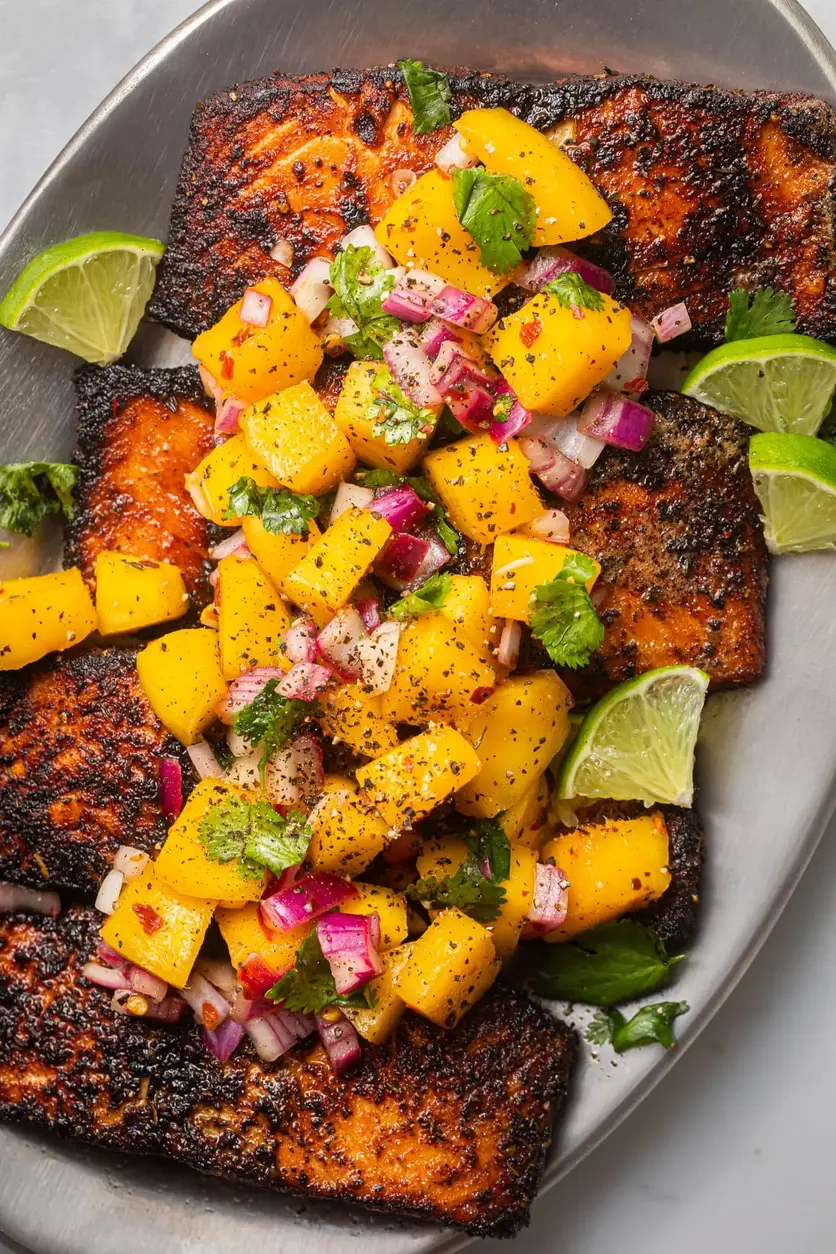
Add this Blackened Salmon with Mango Salsa to your weeknight rotation for an easy, flavor-filled dinner! Delicious, well-seasoned salmon seared to perfection in a hot cast-iron skillet and paired with refreshing, sweet mango salsa. This dish is so fresh, vibrant, and incredibly good…it’s a meal everyone will go crazy for!
Ingredients
Scale
- 2 cups freshly chopped mango
- 1/2 cup chopped red onion
- 1/4 cup fresh cilantro, roughly chopped
- 2 tablespoons fresh lime juice
- 1/2 teaspoon red pepper flakes
- kosher salt & freshly ground black pepper, to taste
- 4 (5-6 ounce) fresh salmon fillets, preferably skin-off
- 1 tablespoon packed light or dark brown sugar
- 1 teaspoon smoked paprika
- 1 teaspoon dried oregano
- 1 teaspoon dried thyme
- 1 teaspoon garlic powder
- 1 teaspoon onion powder
- 1/2 teaspoon cayenne pepper
- kosher salt & freshly ground black pepper, to taste
- 1 tablespoon olive oil
- 6 tablespoons unsalted butter
- lemon or lime wedges, for serving- optional
Instructions
- In a medium bowl, combine the chopped mango, red onion, cilantro, lime juice, red pepper flakes, and salt/pepper- to taste. Toss everything together to fully combine. Cover the bowl with a lid or plastic wrap and store in the refrigerator until ready to use.
- First, take the salmon fillets out of the refrigerator. Let them sit on the counter for 20 minutes to come to room temperature before proceeding with the recipe. This will help the salmon to cook more evenly.
- Meanwhile, prep the blackening seasoning. In a small bowl, combine the brown sugar, paprika, oregano, thyme, garlic powder, onion powder, cayenne pepper, and salt/pepper- to taste. Stir the spices together to fully combine and then set aside.
- Once the salmon is at room temperature, pat them dry with a paper towel. Place the salmon onto a small baking sheet or platter. Drizzle the oil over the fillets and use your hands to coat them completely.
- Then sprinkle the prepared blackening seasoning over the fillets, massaging the spices into the salmon on all surfaces to fully coat. Set the seasoned salmon aside for at least 15 minutes.
- Place a large cast-iron skillet over medium-high heat and add in the butter. Once the butter melts and starts to sizzle, gently swirl the skillet to evenly coat the bottom. Place the salmon into the pan. Dont overcrowd the skillet, cook the salmon in batches, if needed.
- Allow the salmon to sear, undisturbed, until a deep crust appears, about 3-4 minutes. Then use a fish spatula or slotted utensil to carefully flip the salmon over to achieve a sear on the other side; about 1-2 minutes, or until the salmon is firm yet tender to the touch. Transfer the blackened salmon to a clean plate. Repeat the process with any remaining salmon fillets, as needed.
- Spoon the prepped mango salsa over the salmon fillets. Serve immediately with a squeeze of lemon/lime wedge, and alongside your favorite sides (mashed potatoes, green beans, salad, rice, etc). Enjoy!