Table of Contents
Spicy Black Bean Soup Recipe Creamy and Flavorful Comfort in a Bowl – A Weeknight Favorite
Growing up in Morocco, some of my fondest memories are of my mother’s kitchen, filled with the aroma of cumin and paprika, comforting spices that truly define a dish. While black beans might not be a staple in North African cuisine, that rich spice blend absolutely is! Today, I’m bringing you a Spicy Black Bean Soup recipe that marries that warmly spiced essence with a creamy, satisfying texture. It’s truly a burst of flavor, making it perfect for those chilly NYC evenings or any time you need a little delicious comfort.
The magic of this spicy black bean soup lies in its depth. Starting with a vibrant sauté of fresh bell peppers, jalapeños, onion, and garlic, the kitchen quickly fills with an inviting aroma. Then, we infuse the olive oil with a carefully selected blend of chili powder, cayenne, paprika, oregano, cumin, and red pepper flakes – blooming these spices before adding the beans and broth elevates their flavor, releasing their full fragrant potential. The result is a soup that’s not just spicy, but wonderfully complex, with layers of earthy, smoky, and bright notes that dance on your palate.
What sets my version apart is how we achieve that decadent, creamy consistency without relying on heavy cream. A simple trick, a quick blend of a portion of the soup, turns an ordinary bean soup into something truly luxurious, all while keeping it healthy and hearty. This method, a technique I often played with during my culinary school days in Paris, ensures every spoonful is rich and velvety. I’ll even share a pro tip for maximizing flavor in this Spicy Black Bean Soup and reveal a common mistake to avoid when aiming for that perfect creaminess.
Why This Spicy Black Bean Soup Recipe Is the Best
The Flavor Secret: My Spice Alchemy. What truly elevates this spicy black bean soup is the careful layering of spices. Inspired by the fragrant spice markets of my Moroccan childhood, I make sure to ‘bloom’ the chili powder, cayenne, paprika, oregano, cumin, and red pepper flakes in olive oil with the aromatics. This crucial step, a core principle in many global cuisines, unlocks their full potential, ensuring a deeply aromatic and rich flavor that permeates every spoonful, rather than just tasting of raw spice.
Perfected Texture: The Creamy Blend. Achieving a luxuriously creamy texture in a bean soup often means adding dairy. However, my French culinary training taught me to create elegant textures using the ingredients themselves. By pureeing about half of the cooked soup, either with an immersion blender or in batches in a food processor, we create a velvety base without any added cream. This gives you a hearty, satisfying soup that feels indulgent but is still wonderfully wholesome—a trick I use often in my NYC kitchen to keep things light but flavorful.
Foolproof & Fast: Weeknight Perfection. This recipe is designed for maximum flavor with minimal fuss, making it perfect for even the busiest weeknights. From sautéing colorful veggies to a quick simmer, it’s straightforward enough for beginners, yet yields a soup that tastes like it’s been simmering all day. I’ve streamlined the process so you can have a deeply satisfying meal on the table in under an hour, proving that incredible food doesn’t have to be complicated.
Spicy Black Bean Soup Ingredients
Whenever I’m grabbing ingredients for this soup, I love heading to the Union Square Greenmarket here in NYC. The vibrant bell peppers and fresh jalapeños always remind me of the fresh produce my mother used to pick from our garden in Morocco. Good quality ingredients truly make all the difference in a simple dish like this.
Ingredients List
- 1 tablespoon olive oil
- 1 onion (chopped (I use a yellow onion))
- 1 bell pepper (chopped)
- 2 jalapeno peppers (chopped)
- 1 celery rib (chopped)
- 1 medium carrot (peeled and chopped)
- 4 garlic cloves (chopped)
- 1 tablespoon chili powder
- 1 teaspoon cayenne
- 1 teaspoon paprika
- 1 teaspoon oregano
- 1/2 teaspoon cumin
- 1/2 teaspoon spicy red pepper flakes (or more to taste!)
- Salt and pepper to taste
- 2 cans (15 ounces each black beans, drained and rinsed)
- 2 cups chicken broth (vegetable broth is good, too)
- Juice from 1 small lime
- FOR GARNISH: Sliced peppers (spicy chili flakes, fresh chopped parsley, crumbly white cheese, or whatever else you prefer)
Ingredient Spotlight
Black Beans: These are the star of our show, providing the robust body and earthy flavor that defines this soup. When selecting canned black beans, look for low-sodium options to control the overall saltiness of your dish. Always rinse them thoroughly to remove excess sodium and any starchy residue. If you don’t have canned black beans, you can use dried black beans; just remember they require pre-soaking and a much longer cooking time (usually 1-2 hours) until tender, so plan ahead!
Jalapeño Peppers: These provide a lovely, moderate heat that is characteristic of a good spicy black bean soup. When chopping, remember that most of the heat resides in the seeds and the white pith (ribs). For less spice, remove them thoroughly; for more heat, leave some in. If you can’t find jalapeños, a serrano pepper will provide more intense heat, so use half and adjust to taste. For a milder alternative with still great flavor, a diced poblano pepper works well but will lack the same spicy kick.
Cumin: Cumin is a crucial spice in this recipe, offering a warm, earthy, and slightly pungent flavor that is deeply rooted in Moroccan cuisine. It enhances the savoriness of the black beans beautifully. When purchasing, opt for whole cumin seeds if you can, and grind them yourself just before use for the freshest flavor. If you’re out of cumin, ground coriander can offer a similar warm, citrusy note, though it will be milder and slightly sweeter. Remember, a little goes a long way!
Lime: The fresh lime juice added at the end is non-negotiable for me! It’s that final bright, acidic touch that awakens all the flavors in the soup, preventing it from tasting flat or overly heavy. It’s like the perfect squeeze of fresh lemon I’d add to tagines back home. Always use fresh lime juice—never bottled—for that authentic zing. If limes are unavailable, a splash of fresh lemon juice or even a tiny amount of apple cider vinegar can provide some acidity, but the distinct citrusy aroma of lime is truly unique to this soup.
| Original Ingredient | Best Substitution | Flavor / Texture Impact |
|---|---|---|
| Black Beans | Pinto Beans or Kidney Beans | Pinto beans have a creamier, milder flavor. Kidney beans are firmer with a distinct flavor; both will slightly alter the soup’s profile. |
| Jalapeño Peppers | Serrano Pepper (more heat) or Poblano Pepper (milder) | Serrano will increase spiciness; use sparingly. Poblano offers less heat but a nice earthy flavor. |
| Chicken Broth | Vegetable Broth or Water | Vegetable broth keeps it vegetarian/vegan. Water can be used but will result in a less flavorful, thinner soup. |
| Lime Juice | Lemon Juice or Apple Cider Vinegar (small amount) | Lemon juice provides similar acidity but a different citrus note. ACV offers tartness but lacks the fresh citrus aroma. |
| Olive Oil | Avocado Oil or Grapeseed Oil | These are neutral oils suitable for sautéing. Butter would add a rich, savory flavor but changes the fat profile. |
How to Make Spicy Black Bean Soup — Step-by-Step
Making this delicious spicy black bean soup is incredibly straightforward, even if you’re new to cooking! Just follow these steps and you’ll have a hearty meal ready in no time.
Step 1: Sauté the Aromatics
Heat the olive oil in a large pot or Dutch oven over medium heat. Add the chopped peppers (bell and jalapeño), onion, celery, and carrot. Cook for about 10 minutes, stirring occasionally, until the vegetables soften and become fragrant. Don’t rush this step; properly softened aromatics build the foundation of flavor for your soup.
💡 emy’s Pro Tip: Sweat your vegetables gently without browning to release their natural sweetness and create a smooth base. A low to medium heat for a longer time is better than high heat for a short time.
Step 2: Bloom the Spices
Once the vegetables are softened, add the chopped garlic, chili powder, cayenne, paprika, oregano, cumin, red pepper flakes, and a good pinch of salt and pepper. Stir constantly and cook for just 30 seconds. This short period allows the spices to “bloom” in the hot oil, intensifying their aromas and flavors for a truly rich soup. Be careful not to burn the garlic or spices.
Step 3: Simmer the Soup
Add the drained and rinsed black beans and the chicken (or vegetable) stock to the pot. Stir everything together until well combined. Bring the mixture to a quick boil, then reduce the heat to low, cover, and let it simmer gently for at least 20 minutes. You can simmer it longer, up to an hour, to allow the flavors to meld even further and deepen, which I often do if I have the time.
⚠️ Common Mistake to Avoid: Not rinsing your canned beans. This can leave an unpleasantly metallic or starchy taste and adds unnecessary sodium. Always rinse well!
Step 4: Creamy Finish (Optional)
For that extra creamy texture I love, carefully transfer about half of the soup to a food processor or blender and blend until completely smooth. Alternatively, use an immersion blender directly in the pot. Then, stir the blended portion back into the remaining soup. This technique thickens the soup naturally and gives it a wonderful velvety mouthfeel without adding any dairy. Use caution when blending hot liquids—never fill a blender more than halfway, and remove the center cap of the lid to allow steam to escape.
Step 5: Adjust and Serve
Taste the soup and adjust the seasoning with additional salt and pepper as needed. Just before serving, swirl in the fresh juice from one small lime. Ladle the hot soup into bowls and garnish with your favorite toppings, such as sliced peppers, a sprinkle of spicy chili flakes, fresh chopped parsley, or a bit of crumbly white cheese. Enjoy it while it’s warm and comforting!
💡 emy’s Pro Tip: The fresh lime juice at the very end is transformative. Don’t skip it! It brightens all the rich flavors and adds a necessary zing that makes the soup sing.
| Step | Action | Duration | Key Visual Cue |
|---|---|---|---|
| 1 | Sauté aromatics | 10 minutes | Vegetables are softened, not browned. |
| 2 | Bloom spices | 30 seconds | Garlic fragrant, spices aromatic. |
| 3 | Simmer soup | 20+ minutes | Flavors meld, slight reduction. |
| 4 | Blend for creaminess | 2-3 minutes | Smooth, velvety texture. |
| 5 | Adjust and serve | Variable | Seasoned to taste, garnish added. |
Serving & Presentation
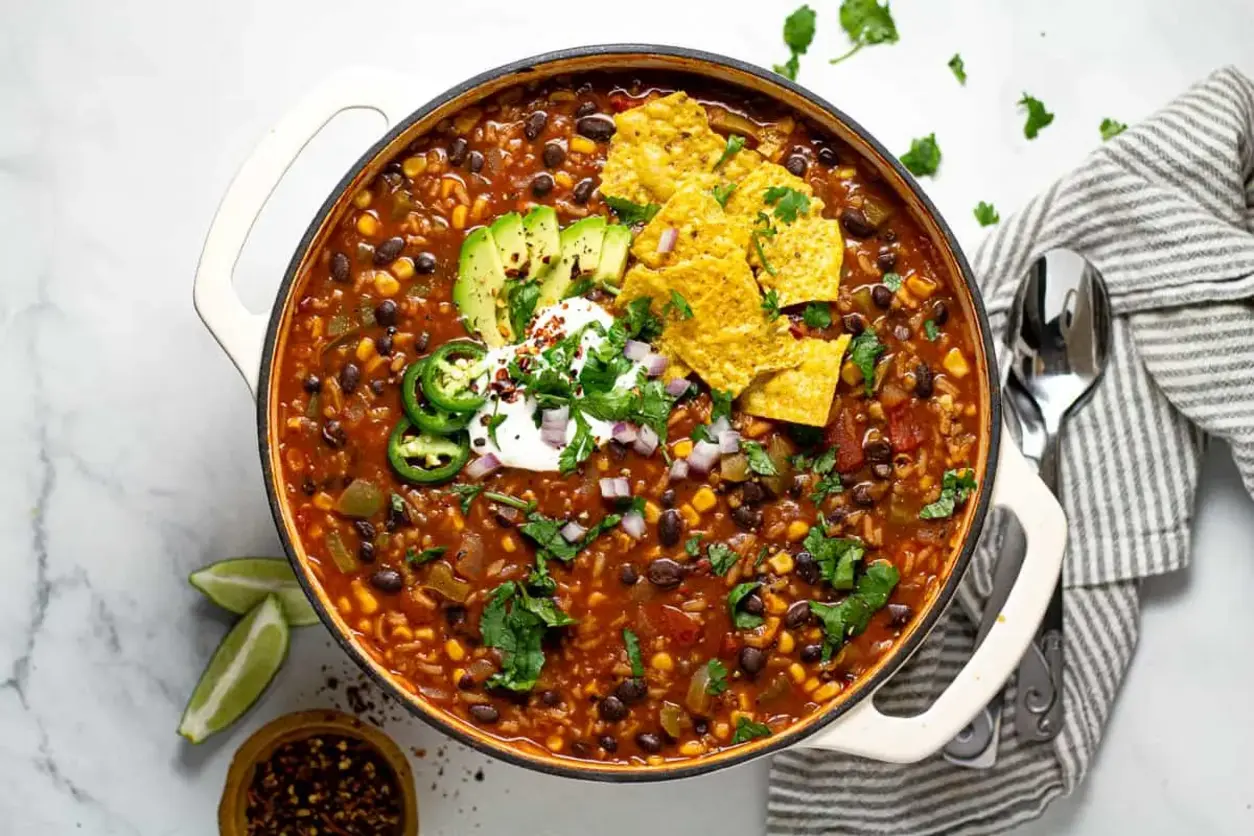
Serving this spicy black bean soup is all about adding those final touches that elevate it from a simple dish to a memorable meal. Think about the vibrant colors and fresh textures that will complement its earthy base. I love to ladle it into warm bowls, creating a comforting visual that’s perfect for a cozy evening.
For garnishes, I often take inspiration from the lively markets of NYC. A sprinkle of fresh cilantro or chopped parsley adds a bright, herbaceous contrast. Sliced avocado offers a creamy coolness that balances the spice, while a dollop of sour cream or crema adds a tangy richness. If you like an extra kick, a few pickled jalapeño slices or a dash of hot sauce bring another layer of heat. For cheese lovers, a crumbling of cotija or feta provides a salty, tangy counterpoint that truly enhances the robust flavors of the beans.
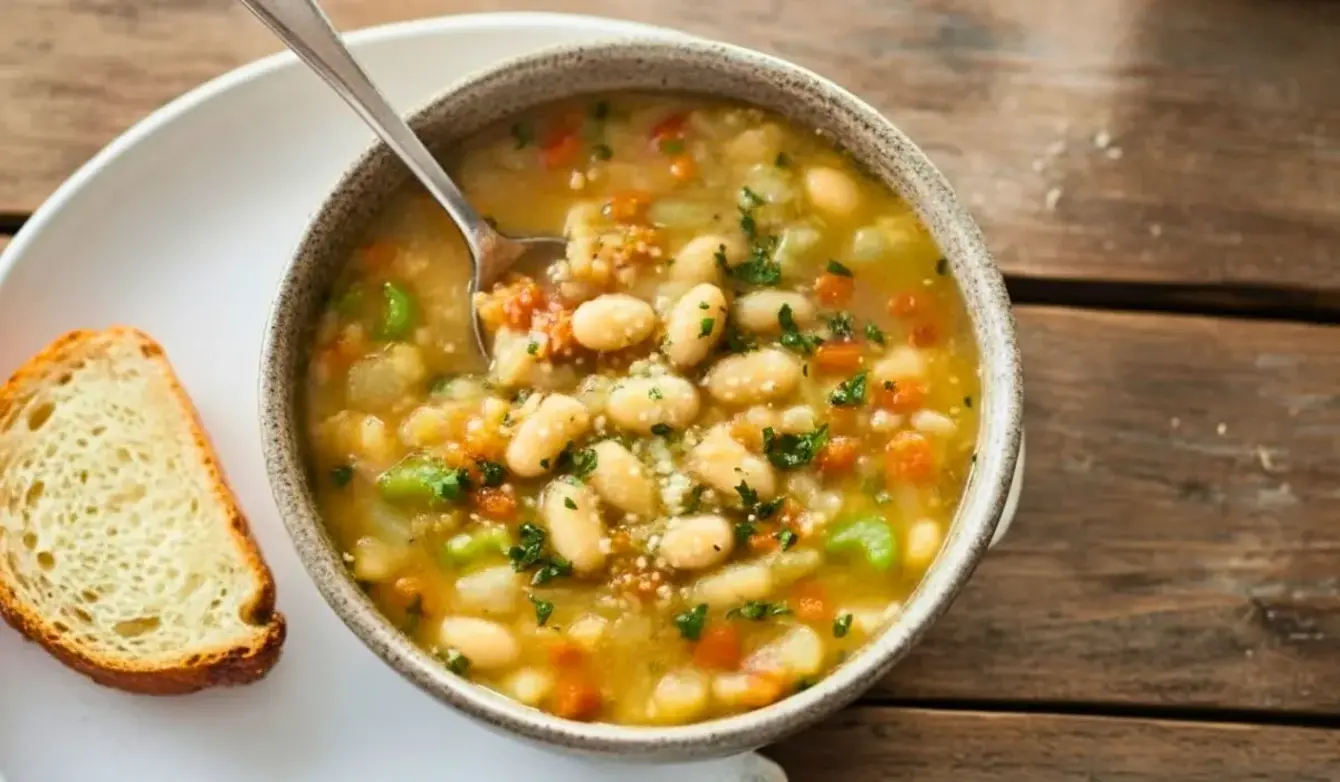
As for pairings, this spicy black bean soup is incredibly versatile. It can be a hearty main course, but it also shines as a starter. I often serve it alongside a crisp side salad with a bright vinaigrette, or with warm cornbread for dipping. You could also serve it with some rustic bread from a local bakery, perfect for sopping up every last drop of that flavorful broth. For a more substantial meal, a simple quesadilla or even a grilled cheese sandwich makes a fantastic companion.
| Pairing Type | Suggestions | Why It Works |
|---|---|---|
| Side Dish | Cornbread, Mexican Rice, Avocado Salad | Cornbread offers sweet contrast; Mexican rice makes it a full meal; avocado adds creamy coolness. |
| Sauce / Dip | Sour Cream, Greek Yogurt, Guacamole | Adds creamy texture, balances spice, and provides a fresh, tangy element. |
| Beverage | Light Lager, Margarita, Iced Hibiscus Tea | Beer and margaritas complement the spice; hibiscus tea offers a refreshing, tart counterpoint. |
| Garnish | Fresh Cilantro, Sliced Radishes, Crumbled Cotija Cheese | Cilantro adds herbaceous freshness; radishes offer crisp bite; cotija cheese provides salty tang. |
Make-Ahead, Storage & Reheating
As a professional cook in New York City, I know the value of a good make-ahead meal. This spicy black bean soup is absolutely perfect for meal prepping. Its flavors actually deepen and become even more harmonious the day after it’s made, making it ideal for busy weekdays when you want a nutritious and delicious lunch or dinner ready to go.
| Method | Container | Duration | Reheating Tip |
|---|---|---|---|
| Refrigerator | Airtight container | 3-4 days | Gently reheat on stovetop over medium-low heat, stirring occasionally, or microwave in intervals until hot. Add a splash of broth or water if too thick. |
| Freezer | Freezer-safe bags or containers | Up to 3 months | Thaw overnight in the refrigerator, then reheat on the stovetop or microwave. For quick thawing, reheat from frozen in a pot over low heat, stirring frequently. |
| Make-Ahead | Airtight container | Up to 3 days in advance | Prepare the full recipe, cool completely, then refrigerate. Reheat as desired. Garnish right before serving for freshness. |
When freezing, I often portion the soup into individual servings before freezing. This way, you can grab just what you need, reducing waste and making meal times even more convenient. Flat freezer bags work wonderfully as they take up less space and thaw more quickly than rigid containers.
If reheating on the stovetop, always do so over medium-low heat, stirring frequently to prevent sticking, especially if your soup is quite thick. If it seems too thick, a little extra chicken or vegetable broth, or even just water, can bring it back to the perfect consistency. Remember, garnishes like fresh lime juice, cilantro, or sour cream should always be added after reheating to ensure they remain fresh and vibrant.
Variations & Easy Swaps
This spicy black bean soup recipe is a fantastic canvas for creativity. Whether you’re adapting to what you have on hand or simply craving a different flavor profile, here are some of my favorite ways to switch it up, often inspired by ingredients I find at the local NYC markets.
| Variation | Key Change | Best For | Difficulty Impact |
|---|---|---|---|
| Vegetarian/Vegan | Swap chicken broth for vegetable broth, ensure no dairy in garnishes. | Plant-based diets, lighter meal. | No change. |
| Smoky Black Bean Soup | Add smoked paprika or a chipotle pepper in adobo. | Those who love a deep, smoky flavor. | Minor addition. |
| Citrus Herb Black Bean Soup | Introduce orange zest or more fresh herbs like dill or oregano. | Brighter, more aromatic profile. | Minor addition. |
Vegetarian or Vegan Spicy Black Bean Soup
Making this soup vegetarian or vegan is incredibly easy! Simply swap the chicken broth for your favorite vegetable broth. Ensure any garnishes are plant-based – skip the crumbly cheese and sour cream, opting instead for fresh avocado, cilantro, and maybe a swirl of plant-based sour cream. The rich spices, like cumin and paprika reminiscent of Moroccan tagines, provide so much flavor that you won’t miss a thing!
Smoky Black Bean Soup
If you love a deeper, smoky flavor, add 1-2 teaspoons of smoked paprika along with the other spices, or even a chopped chipotle pepper in adobo sauce. For an extra layer of richness, a small drizzle of liquid smoke (just a few drops!) can also work wonders. This variation adds a wonderfully complex depth that reminds me of slow-cooked rustic dishes from my travels, while still maintaining that core spicy black bean soup essence.
Citrus Herb Black Bean Soup
For a brighter, slightly more complex profile, consider adding a tablespoon of fresh orange zest or a mix of fresh herbs beyond just cilantro. Dill or fresh oregano could add an interesting twist. I often find unique fresh herbs at the farmers markets in NYC that inspire these kinds of variations. The added citrus brightens the earthy black beans beautifully, creating a more vibrant and aromatic soup.
How can I make my spicy black bean soup even creamier without adding dairy?
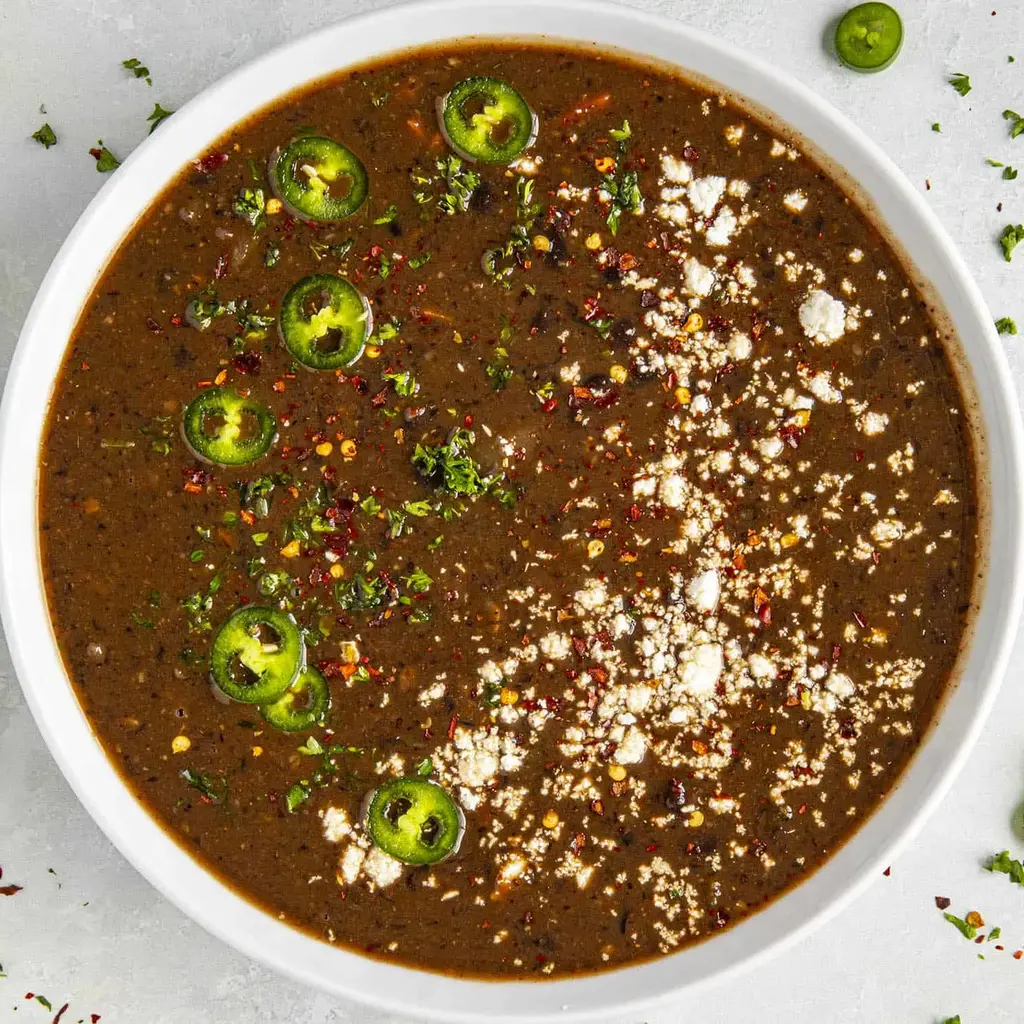
The secret to a wonderfully creamy spicy black bean soup without dairy lies in blending. After the soup has simmered and the flavors have developed, carefully transfer about half of the soup into a food processor or a blender. Blend until it’s completely smooth and velvety. Then, stir this blended portion back into the remaining chunky soup. This technique uses the natural starches and cooked beans to create a rich, thick texture that feels decadent but is entirely plant-based and wholesome. An immersion blender can also achieve this directly in the pot, which is a great time-saver.
What’s the best way to control the spice level in this black bean soup?
Controlling the spice level in this spicy black bean soup is quite straightforward. The primary heat comes from the jalapeño peppers and spicy red pepper flakes. For a milder soup, remove all seeds and white pith from the jalapeños before chopping them. You can also start with just a quarter teaspoon of red pepper flakes and add more to taste at the very end. If you prefer a lot of heat, leave some seeds in the jalapeños and increase the red pepper flakes incrementally. Always taste as you go along to perfectly tailor it to your preference.
Can I use dried black beans instead of canned for this recipe?
Absolutely, you can use dried black beans, and they will yield an even richer flavor! However, it does require a bit more planning. You’ll need to soak the dried beans overnight, or quick-soak them by boiling for 5 minutes, then letting them sit for 1-2 hours. After soaking, drain and rinse them, then cook them separately until tender before adding them to the soup as you would the canned beans. This process ensures they’re fully cooked and allows them to absorb flavors beautifully, much like how we would cook dried legumes in Moroccan cuisine.
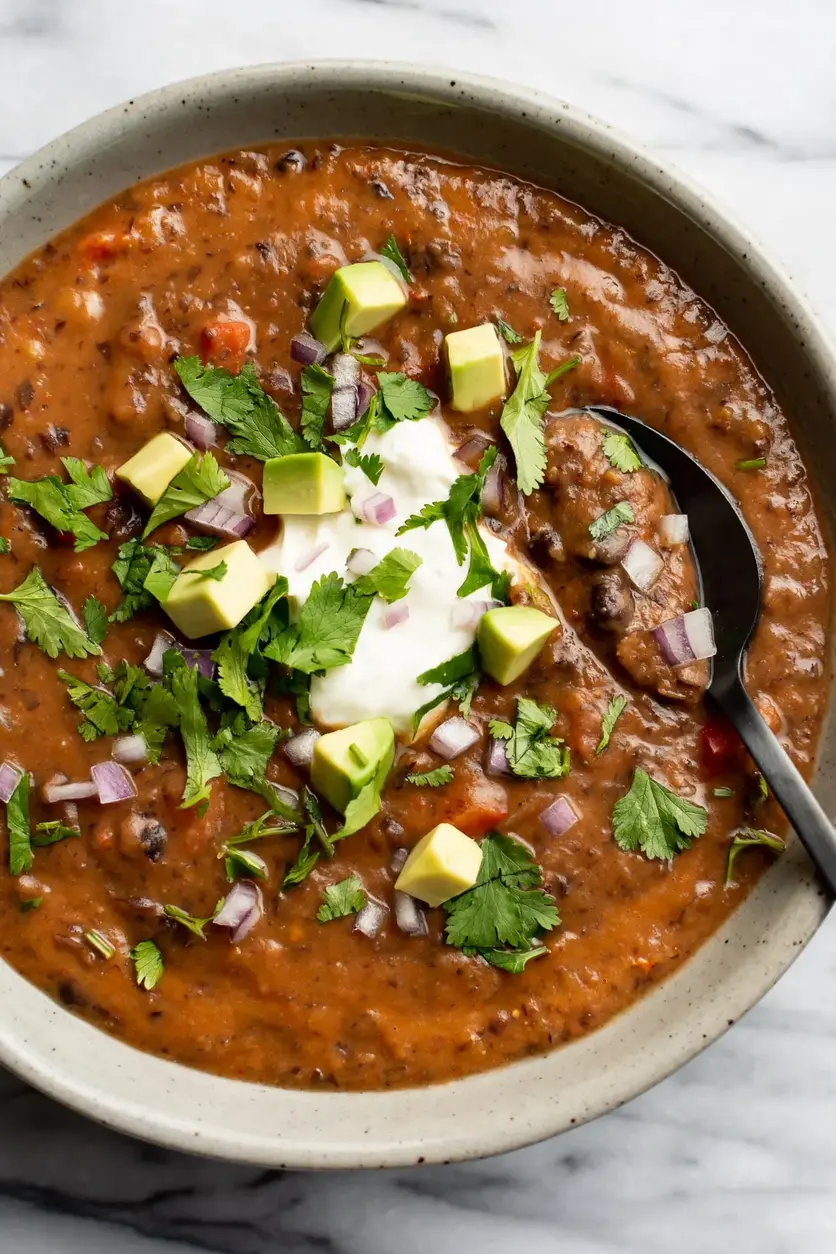
What are the best garnishes to serve with spicy black bean soup?
The right garnishes can truly elevate your spicy black bean soup! I love to add a pop of freshness and texture. Some of my favorites include a generous sprinkle of fresh cilantro or parsley, diced avocado for a creamy counterpoint, a dollop of sour cream or Greek yogurt (dairy or non-dairy) for tang, and sometimes even a sprinkle of crumbled cotija or feta cheese. For an extra kick, a dash of your favorite hot sauce or some pickled jalapeño slices work wonders. These additions not only enhance the flavor but also make for a beautiful presentation.
How long does homemade spicy black bean soup last in the refrigerator?
This spicy black bean soup is a fantastic make-ahead option! Once cooled completely, transfer the soup to an airtight container and store it in the refrigerator. It will keep beautifully for 3-4 days. In fact, many people, including myself, find that the flavors actually meld and deepen over time, making it even more delicious on day two or three. It’s a lifesaver for busy weeks, offering a quick, warm, and satisfying meal with minimal effort.
Can I freeze spicy black bean soup, and what’s the best way to reheat it?
Yes, spicy black bean soup freezes exceptionally well! Once completely cooled, pour it into freezer-safe containers or heavy-duty freezer bags, leaving a little headspace. It can be stored in the freezer for up to 3 months. When you’re ready to enjoy it, thaw the soup overnight in the refrigerator. Then, reheat it gently on the stovetop over medium-low heat, stirring occasionally until hot, or in the microwave in short intervals. If it’s too thick, add a splash of chicken or vegetable broth or water to achieve your desired consistency. Always add fresh garnishes after reheating.
Share Your Version!
I truly hope you enjoyed making this Spicy Black Bean Soup as much as I love sharing it. This recipe is a blend of comfort, spice, and simple technique, perfect for bringing warmth to your table. Don’t forget to leave a star rating and a comment below to let me know how it turned out for you!
I adore seeing your culinary creations! If you whip up this delicious soup, please share a photo on Instagram or Pinterest and tag @cookingwithemy. And tell me, what’s your favorite secret ingredient to add to a hearty soup, inspired by your own kitchen traditions?
From my NYC kitchen to yours — I hope this recipe brings as much warmth to your table as it does to mine. — emy 🧡
Love This Recipe? Save It to Pinterest!
If you enjoyed this Spicy Black Bean Soup Recipe, don’t let it get lost in your browser tabs! 😄 Pin it now so you can find it again anytime — and explore hundreds more tried-and-tested recipes waiting for you on my Pinterest boards.
👉 Follow emy on Pinterest @cookingwithemy
📌 Pin this recipe · 🔁 Re-pin your favorites · 💬 Tag me when you make it — I love seeing your creations!

Spicy Black Bean Soup Recipe
Description
This spicy black bean soup recipe is easy, creamy and huge on flavor with loads black beans and just the right amount of spice. It’s the perfect weeknight meal.
Ingredients
- 1 tablespoon olive oil
- 1 onion (chopped (I use a yellow onion))
- 1 bell pepper (chopped)
- 2 jalapeno peppers (chopped)
- 1 celery rib (chopped)
- 1 medium carrot (peeled and chopped)
- 4 garlic cloves (chopped)
- 1 tablespoon chili powder
- 1 teaspoon cayenne
- 1 teaspoon paprika
- 1 teaspoon oregano
- 1/2 teaspoon cumin
- 1/2 teaspoon spicy red pepper flakes (or more to taste!)
- Salt and pepper to taste
- 2 cans (15 ounces each black beans, drained and rinsed)
- 2 cups chicken broth (vegetable broth is good, too)
- Juice from 1 small lime
- FOR GARNISH: Sliced peppers (spicy chili flakes, fresh chopped parsley, crumbly white cheese, or whatever else you prefer)
Instructions
- Heat the olive oil in a large pot or Dutch oven to medium heat. Add the peppers, onion, celery and carrot. Cook for 10 minutes, stirring a bit, or until the vegetables soften up.
- Add the garlic, chili powder, cayenne, paprika, oregano, cumin, red pepper flakes and a bit of salt and pepper. Stir and cook 30 seconds, until the garlic becomes fragrant.
- Add the black beans and chicken (or vegetable) stock and stir. Bring to a quick boil, then reduce the heat and simmer for 20 minutes. You can simmer longer to develop more flavor if you'd like.
- Optional, for a Creamier Soup: Transfer about half of the soup to a food processor or blender and blend until smooth. Add back to the soup. You can also use an immersion blender for this. Use caution handling hot soup.
- Adjust with salt and pepper. Serve into bowls and swirl in some fresh lime juice. Garnish. Enjoy!