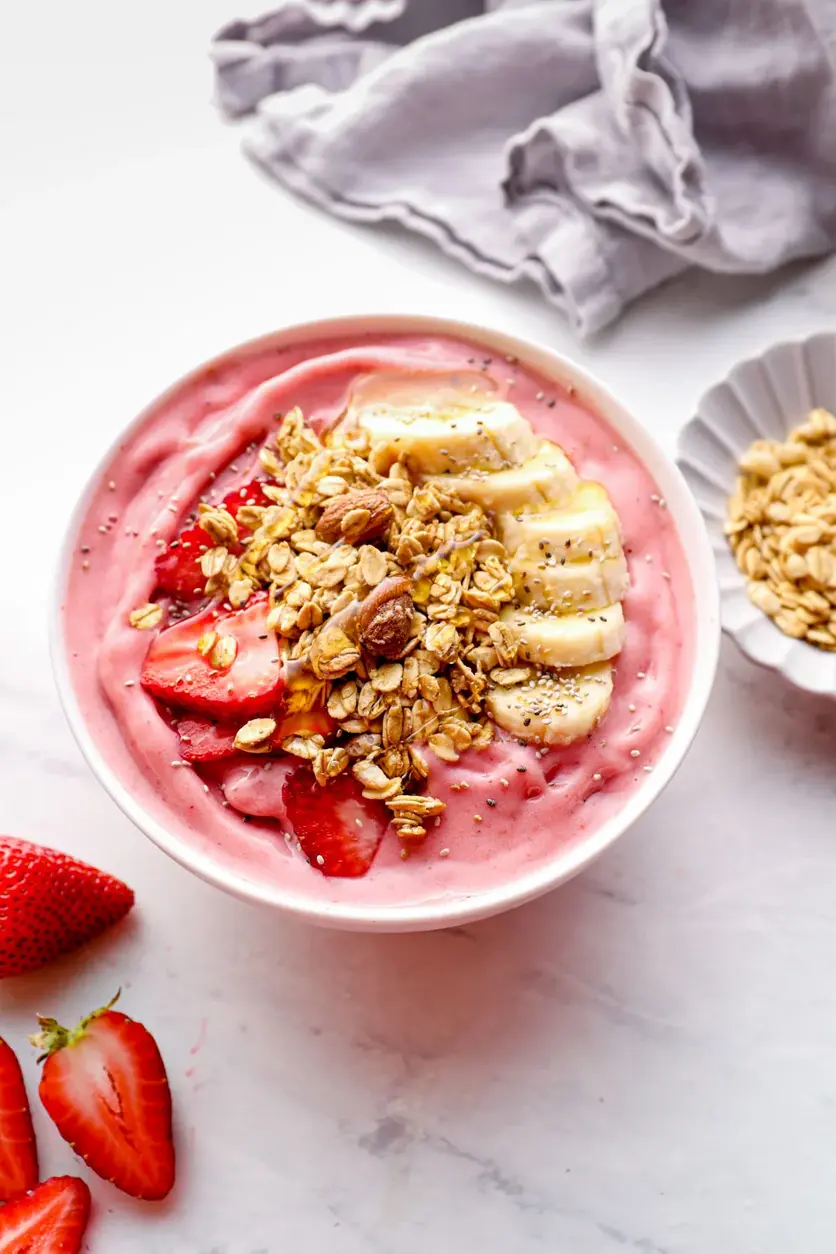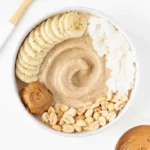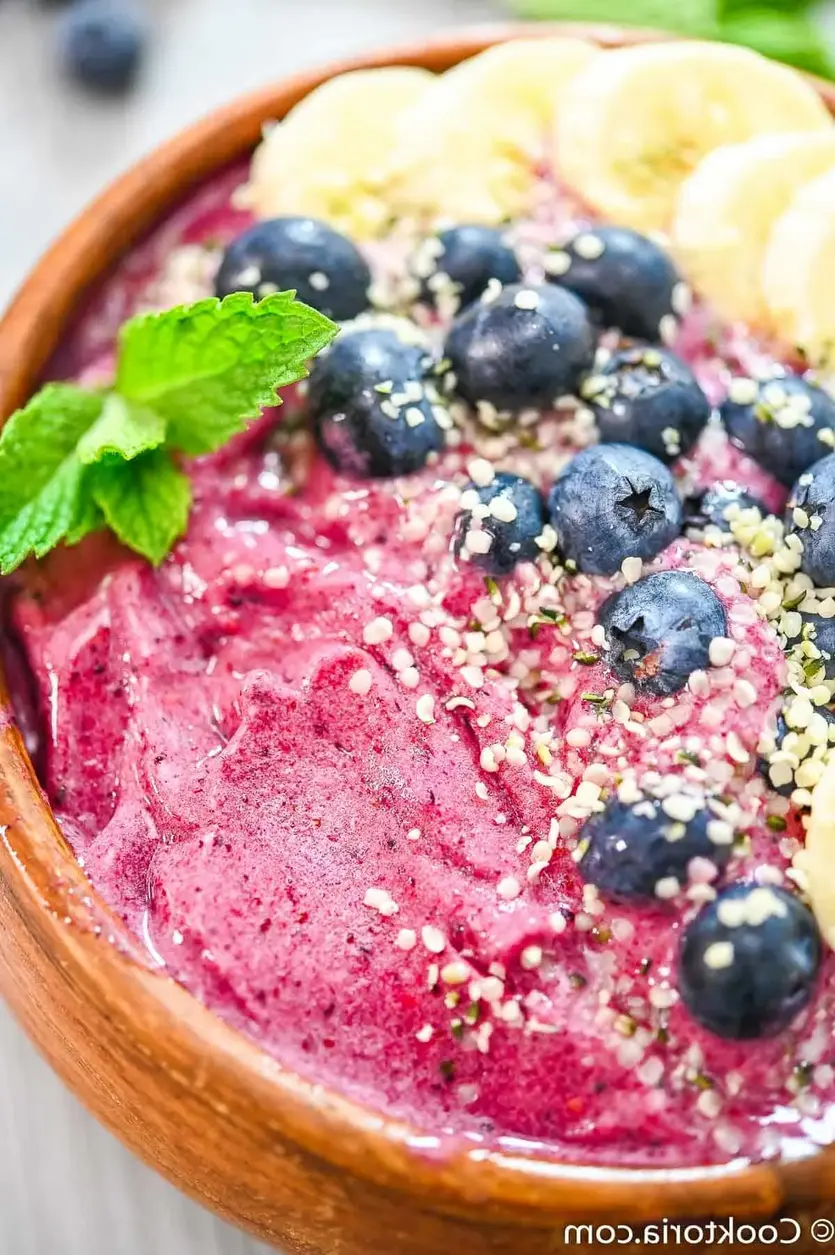
This creamy Banana Berry Smoothie Bowl is the perfect summer treat. Sweet, tart, and refreshing, it’s a tasty and healthy way to start the day. FOLLOW Cooktoria for more deliciousness! #smoothie #berries #banana #breakfast #vegan #plantbased #vegetarian #cooktoria
Print
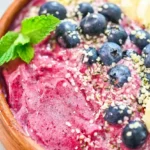
Banana Berry Smoothie Bowl
Description
This creamy Banana Berry Smoothie Bowl is the perfect summer treat. Sweet, tart, and refreshing, its a tasty and healthy way to start the day.
Ingredients
- 2 large ripe bananas sliced and frozen
- 2 cups frozen berry mix I used blueberry, raspberry, and blackberry mix
- ½ cup coconut yogurt or dairy yogurt
Instructions
- Place the frozen bananas and berries into a food processor and pulse until small crumbles are formed. Give a quick scrape to get everything off the lid and sides for better blending.
- Add the yogurt and process again until it reaches a smooth texture with no chunks.
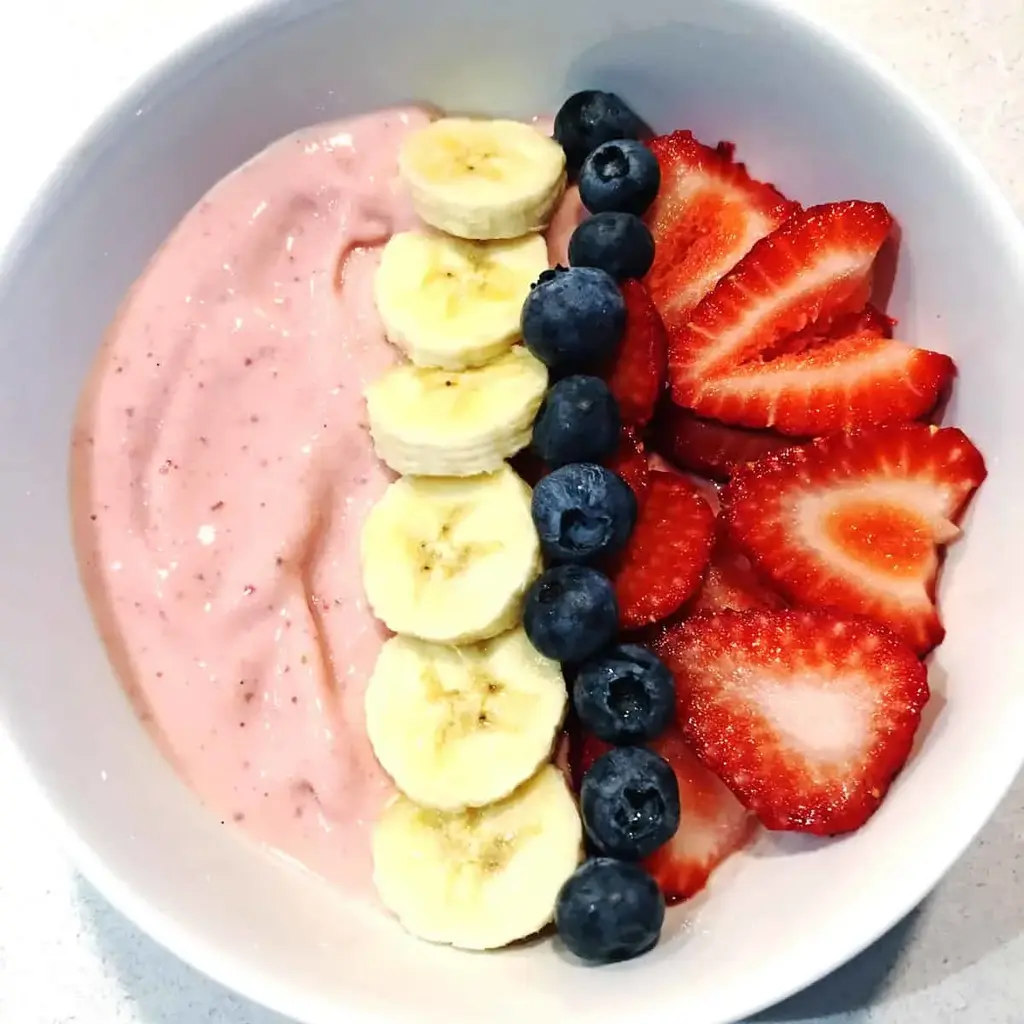
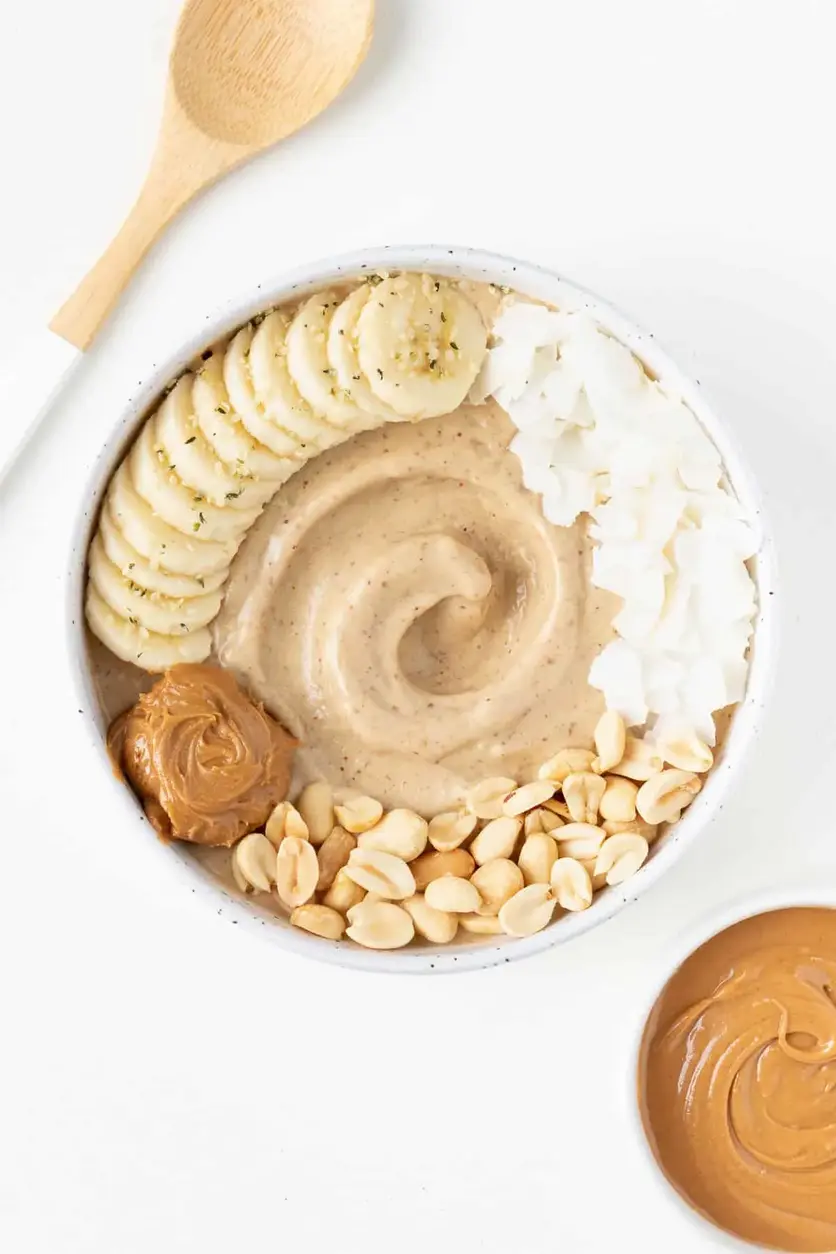
- Transfer the mixture into a bowl. Garnish this smoothie bowl with your desired toppings. Serve.
Notes
NotesTOPPING IDEAS FOR SMOOTHIE BOWLS Fruit. Add sliced bananas, strawberries, or pineapple. Layer on more berries, like blueberries and raspberries. You can also use cubes of mango or any other favored fruit. Nuts. Sprinkle almond slivers, nut butter, or cashew pieces on top of your smoothie bowl. This gives it a great protein boost that will also increase satiation. Seeds. This Banana Berry Smoothie Bowl tastes great with lots of different seeds, including hemp, chia, flax, or sesame. You could also add wheat germ.
Nutrition
- Calories: 292kcal
- Sugar: 36g
- Protein: 5g