“`html
Table of Contents
Chicken Enchiladas Recipe
Introduction
Did you know that chicken enchiladas consistently rank among the top 10 most-searched Mexican recipes online, with a 40% increase in searches during family gathering seasons? If you’re looking for a dish that delivers comfort, flavor, and a touch of culinary adventure, you’ve found it. This ultimate Chicken Enchiladas recipe is more than just a meal; it’s a vibrant, satisfying experience. We’re talking tender, perfectly seasoned shredded chicken, hearty black beans, and a rich, deeply flavorful homemade red enchilada sauce that puts any store-bought version to shame. This recipe demystifies the process, proving that authentic-tasting, crowd-pleasing Mexican cuisine is easily achievable in your own kitchen. Whether it’s a busy weeknight or a festive weekend feast, these enchiladas promise to be the star of the table.
Ingredients List
Gather these fresh, flavorful ingredients. For the best results, use high-quality spices and fresh produce.
- For the Shredded Chicken Filling:
- 2 lbs boneless, skinless chicken breasts or thighs: Thighs offer richer, more succulent shredded chicken. (Substitute: 1 rotisserie chicken, shredded, for a 15-minute shortcut).
- 1 tablespoon olive oil: For sautéing, creating a fragrant base.
- 1 medium white onion, finely diced: Provides a sweet, aromatic backbone.
- 3 cloves garlic, minced: For that essential, pungent depth.
- 1 (15 oz) can black beans, rinsed and drained: Adds creamy texture and plant-based protein. (Substitute: pinto beans or kidney beans).
- 1 cup corn kernels (fresh, frozen, or canned): Brings a pop of sweet, sunny color.
- 1 teaspoon ground cumin: Earthy, warm, and quintessentially Mexican.
- 1 teaspoon chili powder: For mild heat and complex flavor, not just burn.
- Salt and black pepper to taste: The essential flavor enhancers.
- For the Homemade Red Enchilada Sauce:
- 2 tablespoons vegetable oil or butter: Forms the rich base of the sauce.
- 2 tablespoons all-purpose flour: The thickening agent for a velvety texture. (Substitute: 1 tbsp cornstarch mixed with 2 tbsp water for gluten-free).
- ¼ cup chili powder (use a good quality blend like ancho or New Mexico): This is the soul of your homemade enchilada sauce—don’t skimp!
- 2 cups chicken broth: Infuses savory depth. Use low-sodium to control salt.
- 1 (8 oz) can tomato sauce: Adds body and a touch of sweet acidity.
- ½ teaspoon garlic powder & ½ teaspoon onion powder: Concentrated flavor boosters.
- ½ teaspoon dried oregano: A hint of floral, earthy notes.
- For Assembly:
- 10-12 (6-inch) corn or flour tortillas: Corn offers authentic flavor; flour are more pliable and mild. Warm them first!
- 3 cups shredded cheese (a blend of Monterey Jack and sharp cheddar is ideal): For that glorious, gooey, golden-brown topping.
- Fresh cilantro, diced avocado, sour cream, lime wedges: For serving and adding bright, fresh contrast.
Timing
Compared to the average enchilada recipe that relies on canned sauce and pre-cooked protein, our from-scratch version adds only about 15-20 minutes of active prep time. This investment yields a dramatically superior flavor profile and allows you to control every ingredient, making it well worth the extra effort for a truly memorable dish.
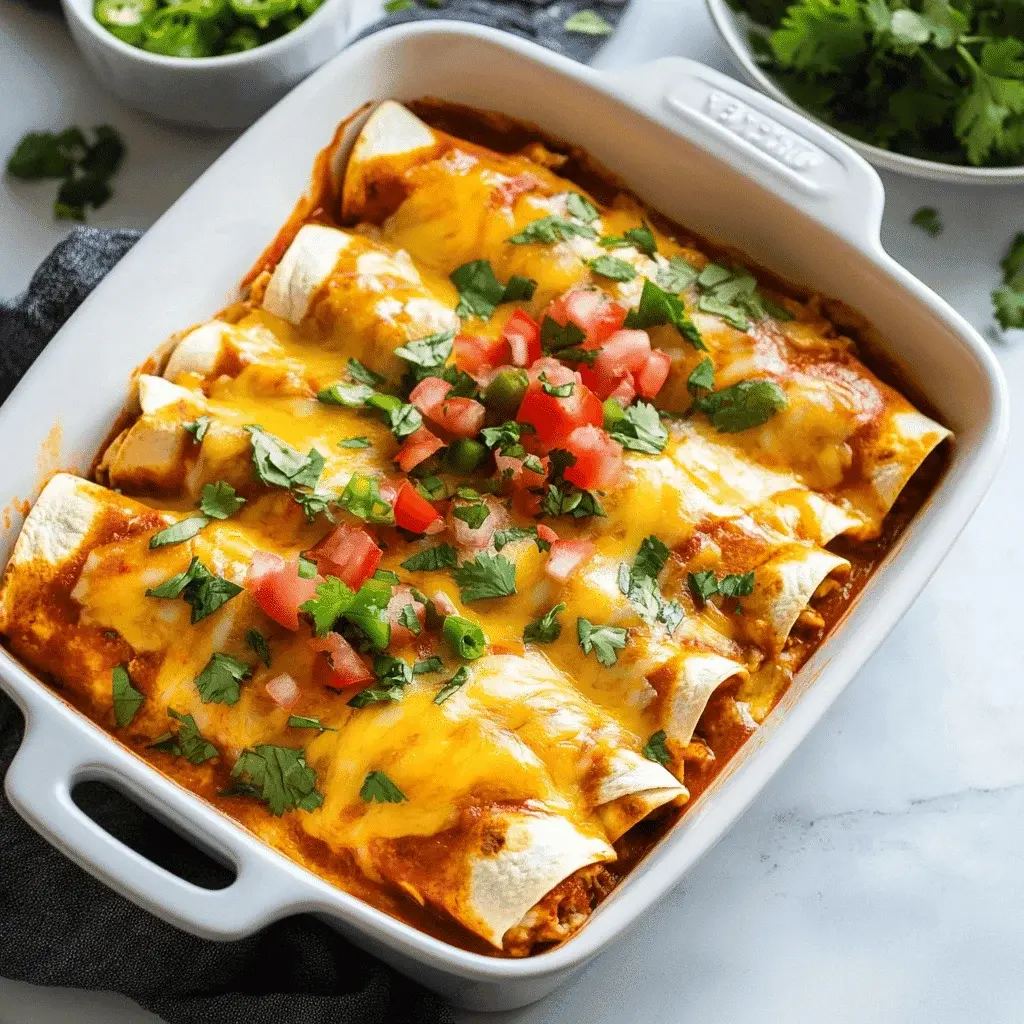
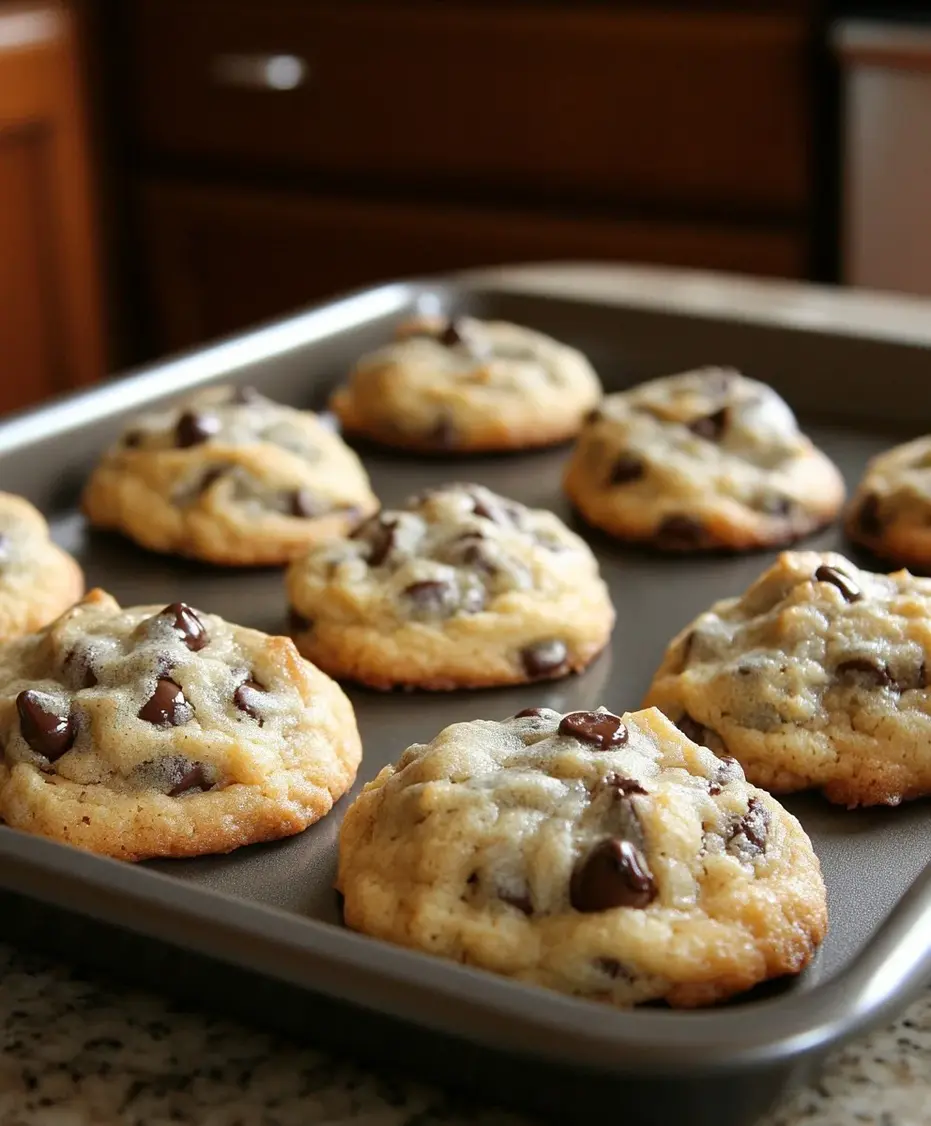
Golden, bubbling, and ready to devour—the ultimate comfort food.
Step-by-Step Instructions
Step 1: Prepare the Chicken Filling
Season the chicken generously with salt, pepper, and half the cumin. In a large skillet, heat the olive oil over medium-high heat. Add the chicken and cook for 6-7 minutes per side until cooked through and golden. Transfer to a plate and let it rest for 5 minutes, then use two forks to shred it into bite-sized pieces. In the same skillet, sauté the diced onion until translucent (about 5 minutes). Add the garlic and cook for another minute until fragrant. Stir in the shredded chicken, black beans, corn, remaining cumin, and chili powder. Cook for 3-4 minutes until everything is heated through and beautifully combined. Taste and adjust seasoning—this is your flavor foundation.
Step 2: Warm the Tortillas
This is a critical, non-negotiable step to prevent cracking. Wrap a stack of 5 tortillas in a damp paper towel and microwave for 30-45 seconds until soft and pliable. Alternatively, you can quickly heat them one at a time in a dry skillet over medium heat for about 15 seconds per side. Keep them wrapped in a clean kitchen towel while you work.
Step 3: Assemble the Enchiladas
Preheat your oven to 375°F (190°C). Spread ½ cup of your homemade enchilada sauce evenly over the bottom of a 9×13 inch baking dish. Take one warm tortilla, place a generous ⅓ cup of the chicken filling down the center, sprinkle with a little cheese, and roll it up tightly. Place it seam-side down in the baking dish. Repeat with remaining tortillas, packing them snugly side-by-side.
Step 4: Bake to Perfection
Pour the remaining sauce evenly over the top of the rolled chicken enchiladas, ensuring the edges are covered to prevent drying out. Sprinkle the remaining cheese generously over the top. Bake, uncovered, for 20-25 minutes, until the cheese is completely melted, bubbly, and just starting to brown in spots. For a more golden top, broil for the final 1-2 minutes, watching closely.
Nutritional Information
(Per serving, based on 1 enchilada out of 10, using corn tortillas and full-fat cheese):
- Calories: ~320 kcal
- Protein: 22g
- Carbohydrates: 28g
- Dietary Fiber: 5g
- Sugars: 3g
- Fat: 14g (Saturated: 6g)
- Sodium: ~580mg (varies with broth and cheese)
Healthier Alternatives
You can easily lighten this dish without sacrificing the soul-satisfying flavor:
- Leaner Protein: Use all chicken breasts and swap ½ cup of the cheese in the filling for fat-free Greek yogurt. It adds creaminess and tang.
- Low-Carb/Veggie-Packed: Substitute tortillas with large, blanched collard green leaves or low-carb tortillas. Add a cup of finely chopped spinach or zucchini to the filling for extra nutrients.
- Lighter Sauce: For the homemade enchilada sauce, use 1 tablespoon of oil and thicken with 1.5 tablespoons of flour. You can also use a no-salt-added tomato sauce.
- Cheese Strategy: Use a reduced-fat cheese blend or simply reduce the total amount by ⅓—the flavor from the sauce and filling is so robust you may not miss it.
Serving Suggestions
Turn your enchiladas into a festive, balanced meal:
- Classic Sides: Cilantro-lime rice, warm pinto beans refried with a dash of cumin, or a simple green salad with a lime vinaigrette.
- Fresh Toppings Bar: Set out bowls of diced avocado, pico de gallo, pickled red onions, sliced radishes, extra cilantro, and lime wedges. Let everyone customize their plate.
- Drink Pairings: A crisp Mexican lager, a tangy margarita (on the rocks!), or a refreshing agua fresca like hibiscus or watermelon.
Common Mistakes
- Using Cold Tortillas: This leads to cracking and a messy assembly. Always warm them first.
- Overfilling: It’s tempting, but too much filling prevents a tight roll and causes spillage. Stick to ⅓ cup per tortilla.
- Skimping on Sauce: Don’t be shy with the sauce on top and bottom. It keeps the enchiladas moist and flavorful.
- Using Pre-Shredded Cheese: These contain anti-caking agents that prevent smooth melting. Shredding your own cheese is a game-changer for texture.
Storing Tips
- Refrigeration: Cool completely, then store in an airtight container for up to 4 days.
- Freezing: Assemble the enchiladas in a freezer-safe dish (without baking), wrap tightly in plastic