“`html
Table of Contents
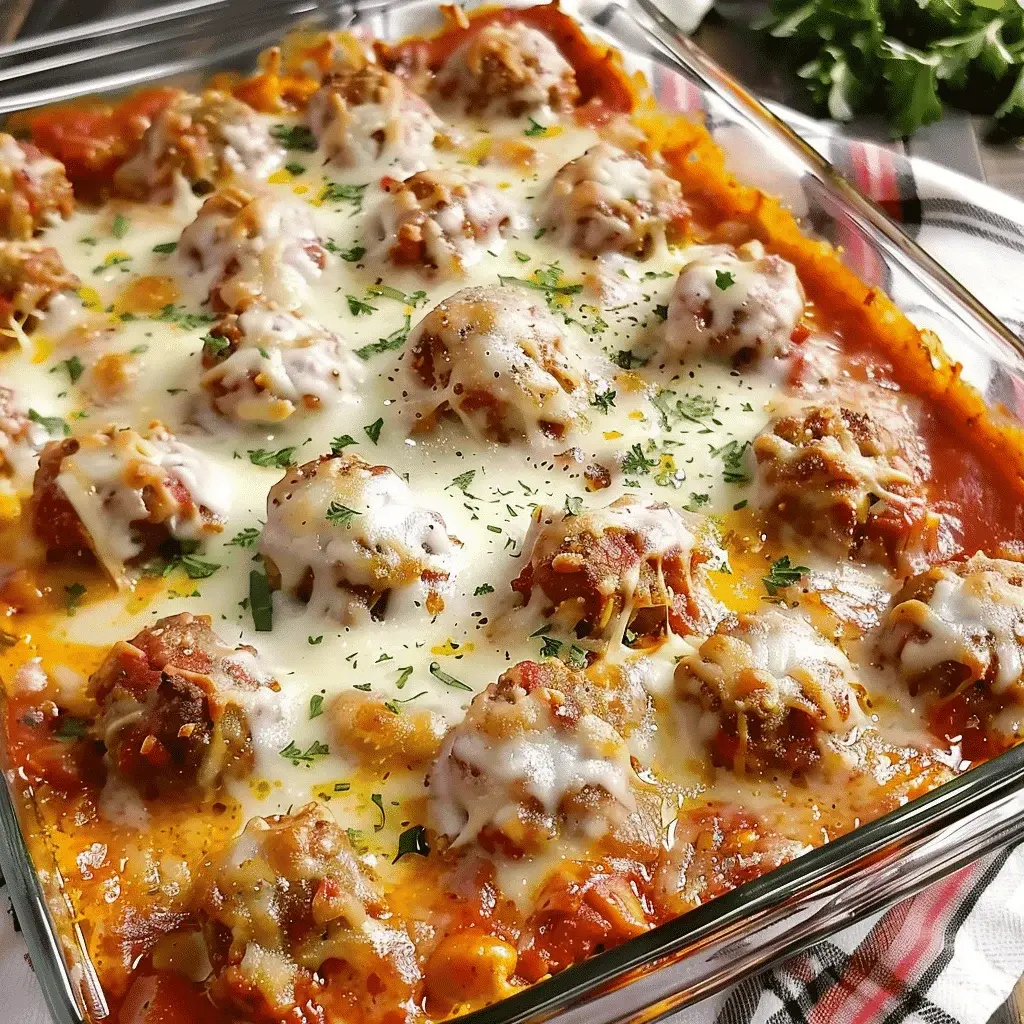
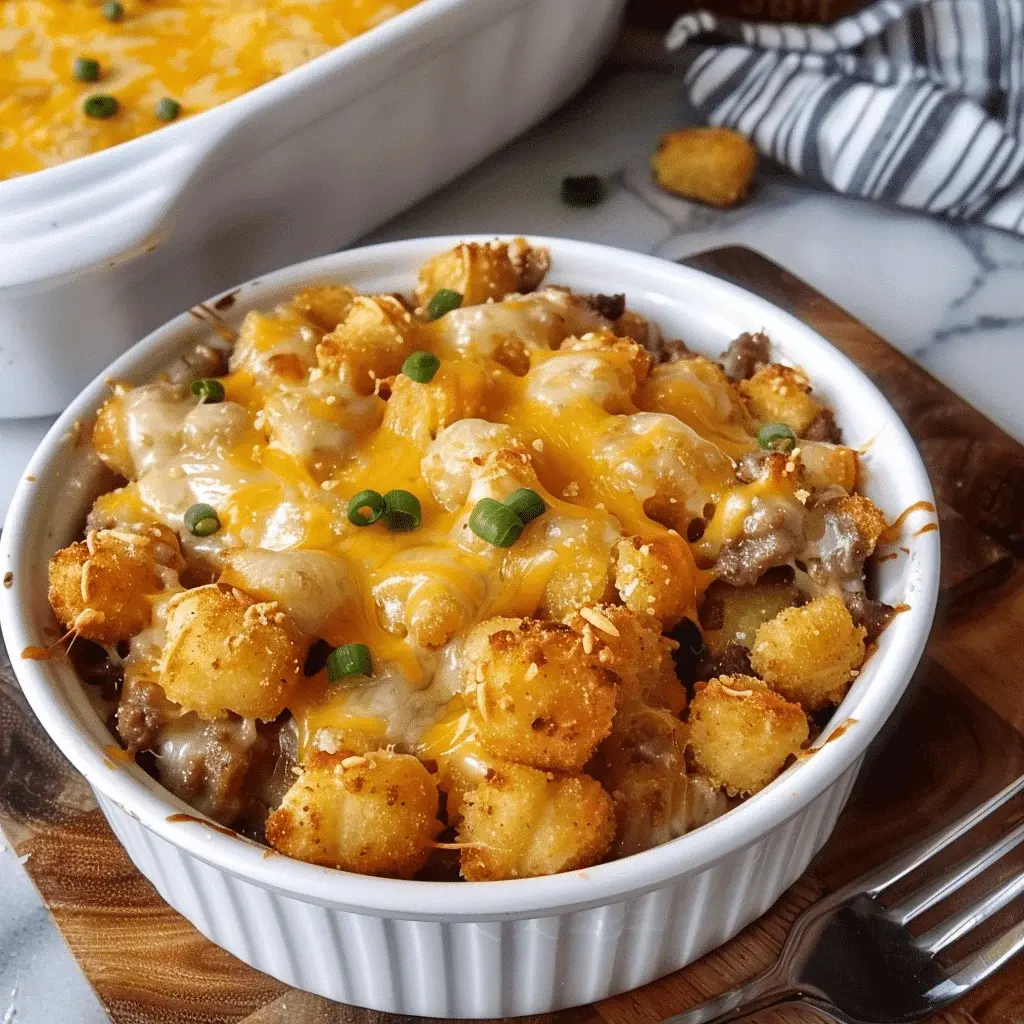
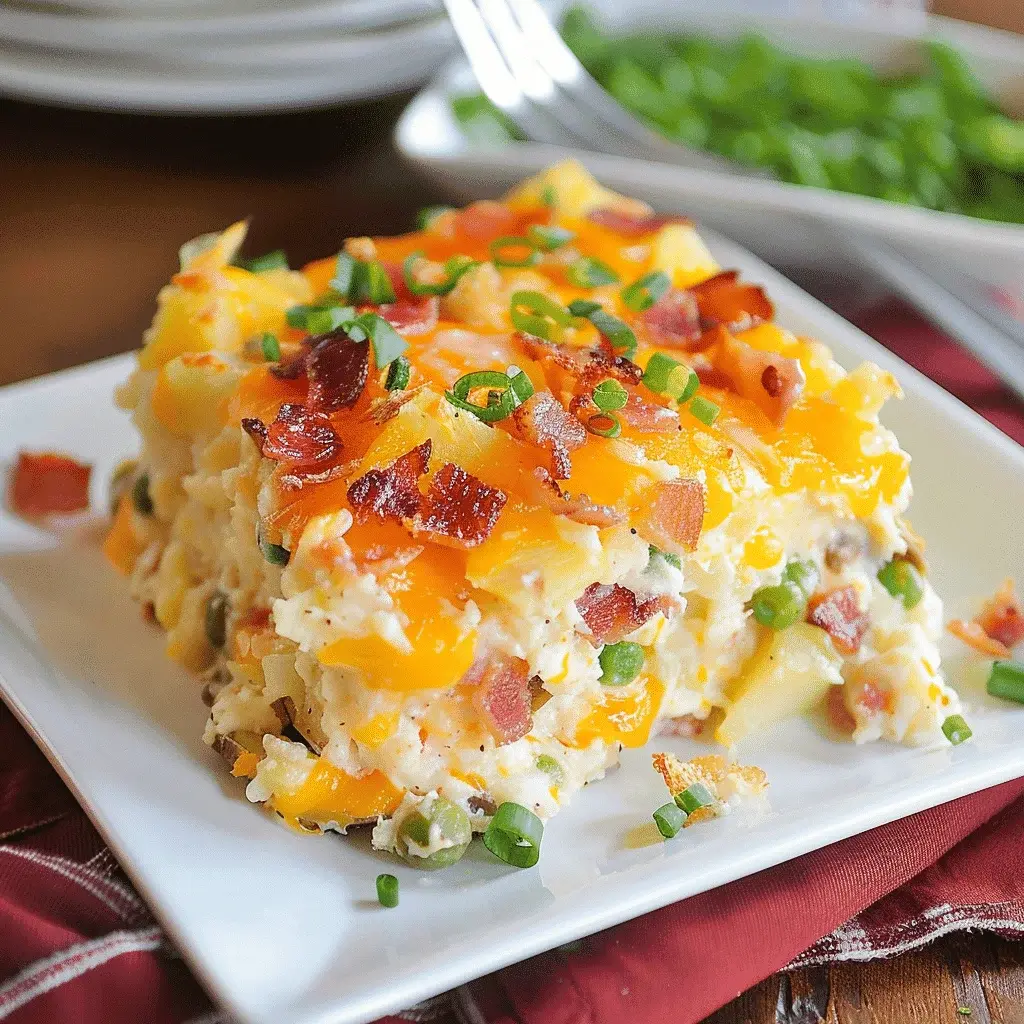
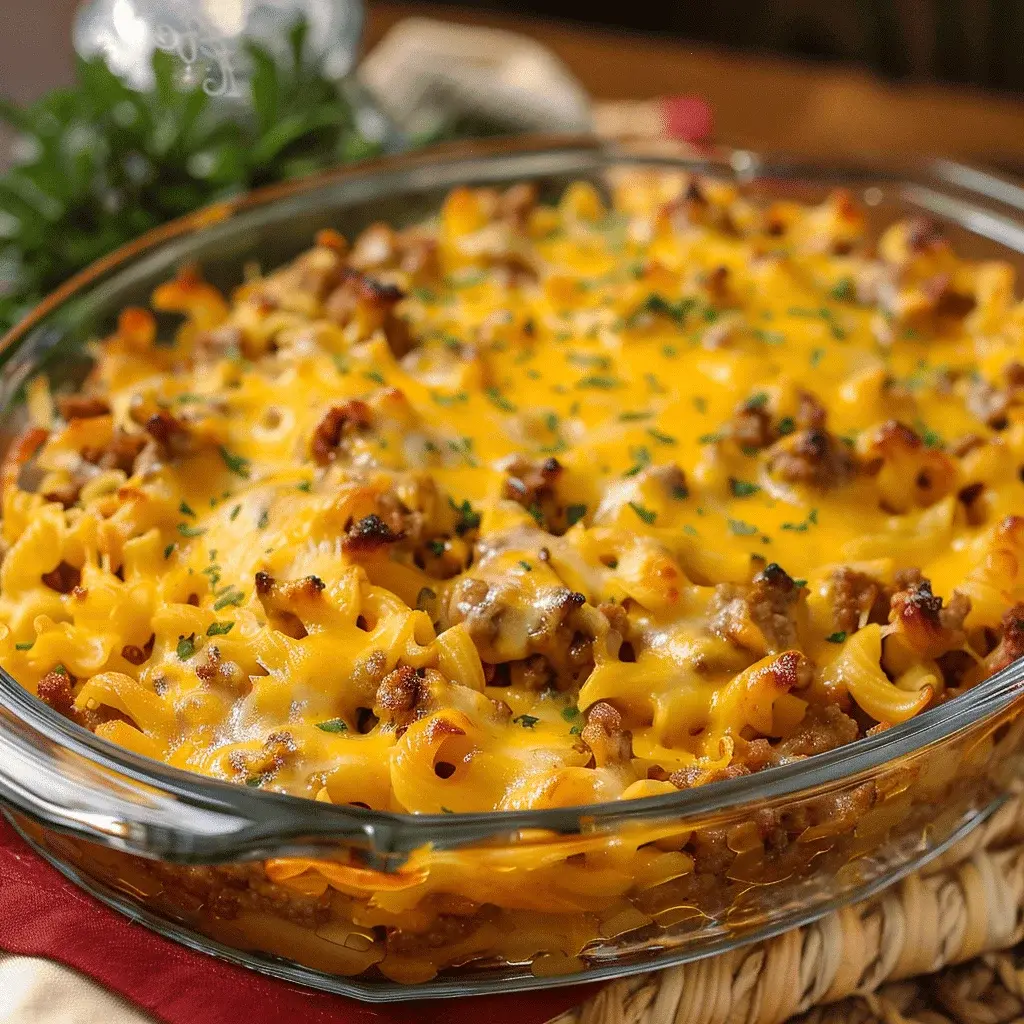
Hamburger Supreme Casserole Recipe
Introduction
Did you know that over 70% of American families seek out comforting, one-dish meals for their weeknight dinners? In the quest for the perfect family-friendly dish, the Hamburger Supreme Casserole stands out as a timeless champion. This isn’t just another ground beef recipe; it’s a symphony of savory flavors and creamy textures that transforms simple pantry staples into a meal that feels like a warm hug. With its rich combination of seasoned ground beef, tender macaroni, and a decadently creamy cheese sauce, this casserole is the epitome of home-cooked comfort.
The beauty of this Hamburger Supreme Casserole lies in its versatility and forgiving nature. Whether you’re a seasoned home cook or just starting out, this recipe guides you to a guaranteed crowd-pleaser. It’s the dish you make when you need to feed a hungry family quickly, when you’re asked to bring something to a potluck, or when you simply crave something deeply satisfying. The melty cheddar cheese creates a golden, bubbly crust that gives way to a hearty, flavorful interior in every spoonful. Let’s dive into how you can create this beloved classic in your own kitchen.
Ingredients List
Gathering the right ingredients is the first step to casserole success. Here’s what you’ll need for this hearty Hamburger Supreme Casserole:
- 1 lb (450g) Ground Beef (80/20 blend recommended): The star of the show. The 80/20 blend provides the ideal fat content for rich flavor and moist texture. Substitution: Ground turkey or a plant-based ground alternative for a lighter version.
- 1 medium Yellow Onion, finely diced: Adds a sweet, aromatic base note. You should hear a satisfying sizzle when it hits the pan.
- 2 cloves Garlic, minced: For that essential pungent, savory depth.
- 8 oz (about 2 cups) Elbow Macaroni: The classic choice for holding onto the creamy sauce. Substitution: Shells, rotini, or cavatappi work wonderfully.
- 1 can (10.5 oz) Cream of Mushroom Soup: The secret to the luxuriously creamy sauce without making a roux from scratch. Substitution: Cream of celery or chicken soup, or a homemade mushroom sauce.
- 1 cup Sour Cream: Introduces a delightful tang and incredible richness. Substitution: Plain Greek yogurt for a protein boost with a similar tang.
- 1 ½ cups Milk (whole or 2%): Thins the sauce to the perfect, spoonable consistency.
- 2 cups Shredded Sharp Cheddar Cheese, divided: Sharp cheddar melts beautifully and provides a bold, cheesy flavor that isn’t greasy. You’ll use some in the filling and some for the glorious golden top.
- 1 tsp Paprika: For a subtle, sweet warmth and a beautiful color.
- Salt and Freshly Ground Black Pepper to taste: Season in layers for the best flavor.
- Optional Garnish: Fresh chopped parsley or chives for a pop of color and freshness.
Timing
15 minutes
35 minutes
50 minutes
This Hamburger Supreme Casserole comes together in just under an hour from start to finish. Compared to the average casserole recipe, which often requires pre-cooking multiple components separately, this version is streamlined for efficiency. The 15-minute prep time is achievable because you can cook the pasta and brown the beef simultaneously. The 35-minute bake time is standard, but it’s mostly hands-off, allowing you to prepare sides or simply relax. This efficient timeline makes it a significantly faster option than many layered casseroles, putting a hearty, from-scratch meal on the table in less time than it takes for pizza delivery.
Step-by-Step Instructions
Step 1: Prepare the Base
Begin by preheating your oven to 375°F (190°C). This ensures it’s perfectly heated for baking. Bring a large pot of salted water to a rolling boil for the pasta. Cook the elbow macaroni according to package directions for al dente (usually 7-8 minutes). It will continue to cook in the oven, so slightly undercooking it now prevents a mushy final texture. Drain and set aside.
While the pasta cooks, place a large skillet or Dutch oven over medium-high heat. Add the ground beef and break it apart with a wooden spoon. Let it brown without stirring for a few minutes to develop a flavorful crust, then continue breaking it up until no pink remains. Add the diced onion and cook for 4-5 minutes until softened and translucent. Stir in the minced garlic and cook for just 30 more seconds until fragrant—be careful not to burn it. Drain any excess grease from the skillet.
Step 2: Build the Sauce
Reduce the heat to low. To the skillet with the beef and onions, add the cream of mushroom soup, sour cream, and milk. Stir gently but thoroughly until the mixture is completely smooth and creamy. You’ll notice the color change to a uniform, pale brown and the aroma will become rich and inviting. Now, stir in 1 cup of the shredded cheddar cheese until it melts seamlessly into the sauce. Season generously with paprika, salt, and pepper. Taste the sauce at this point—this is your chance to adjust the seasoning to your preference. Finally, fold in the drained cooked macaroni, ensuring every piece is lovingly coated in the creamy, cheesy sauce.
Step 3: Combine and Bake
Transfer the entire mixture to a greased 9×13 inch baking dish. Use a spatula to spread it into an even layer. Sprinkle the remaining 1 cup of shredded cheddar cheese evenly over the top. For an extra touch, you can add a light dusting of paprika over the cheese for color.
Place the dish in the preheated oven and bake, uncovered, for 30-35 minutes. You’re looking for the edges to be bubbling vigorously and the cheese on top to be completely melted, with beautiful golden-brown spots. If you want a deeper golden crust, switch the oven to broil for the final 1-2 minutes, but watch it closely! Once out of the oven, let the casserole rest for 5-10 minutes. This crucial step allows the sauce to thicken slightly, making it easier to serve perfect, neat portions.
Nutritional Information
(Approximate values per serving, based on 6 servings):
- Calories: 520-550
- Total Fat: 28-32g
- Saturated Fat: 14g
- Protein: 30-35g
- Carbohydrates: 35-40g
- Fiber: 2g
- Sugar: 6g
- Sodium: 700-800mg
Healthier Alternatives
You can easily adapt this comforting classic to fit various dietary preferences without sacrificing the soul-warming flavor.
- Leaner Protein: Swap the ground beef for 93% lean ground turkey or chicken. For a plant-based version, use a crumbled plant-based meat alternative or cooked brown lentils.
- Boost Veggies: Sneak in finely diced mushrooms, bell peppers, or spinach when cooking the onions. They’ll blend right into the sauce, adding nutrients and flavor.
- Dairy Swaps: Use low-fat sour cream or plain non-fat Greek yogurt. Substitute the milk with unsweetened almond or oat milk. Opt for reduced-fat sharp cheddar cheese—it still melts well and provides great flavor.
- Whole Grains: Use whole wheat or legume-based elbow macaroni for added fiber and protein.
- Lower-Sodium: Choose a low-sodium cream of mushroom soup and reduce added salt, relying more on garlic, paprika, and black pepper for seasoning.
Serving Suggestions
This casserole is a complete meal in one dish, but it pairs beautifully with simple sides to create a balanced dinner:
- Fresh & Crisp: A simple green salad with a bright vinaigrette cuts through the richness perfectly.
- Vegetable Side: Steamed green beans, roasted broccoli, or garlicky sautéed spinach.
- Bread: Warm, crusty garlic bread or soft dinner rolls for soaking up every last bit of sauce.
- Toppings: Offer hot sauce, a dollop of extra sour cream, or sliced green onions for personalized finishing touches.
Common Mistakes
- Overcooking the Pasta: Mushy pasta ruins the texture. Always cook to al dente.
- Not Draining the Beef Fat: Leaving too much grease can make the casserole oily. Drain well after browning.
- Skipping the Rest Time: Serving immediately leads to a soupy casserole. Letting it rest allows the sauce to set.
- Using Pre-Shredded Cheese Only: While convenient, pre-shredded cheese contains anti-caking agents that can make the sauce grainy. For the creamiest melt, shred your own block of cheese for the sauce mixture.
- Underseasoning: The canned soup and cheese contain salt, but the dish still needs layered seasoning. Taste the sauce before baking!
Storing Tips
- Refrigeration: Cool completely, then cover tightly with plastic wrap or transfer to an airtight container. It will keep for 3-4 days.
- Freezing: This casserole freezes exceptionally well. Assemble and bake as directed, cool completely, then wrap the entire dish (or individual portions) tightly in plastic wrap and foil. Freeze for up to 3 months. Thaw overnight in