Table of Contents
- Cinnamon-Sugar Pizza with Crescent Rolls: The Only Recipe You’ll Ever Need
- Why This Cinnamon-Sugar Pizza with Crescent Rolls Recipe is a Game-Changer
- Ingredient Spotlight: Quality Makes the Difference
- Step-by-Step Instructions for Cinnamon-Sugar Pizza with Crescent Rolls
- Serving & Presentation
- Make-Ahead & Storage Solutions
- Frequently Asked Questions (FAQ)
- Tried This Recipe? Leave a Comment!
Cinnamon-Sugar Pizza with Crescent Rolls: The Only Recipe You’ll Ever Need
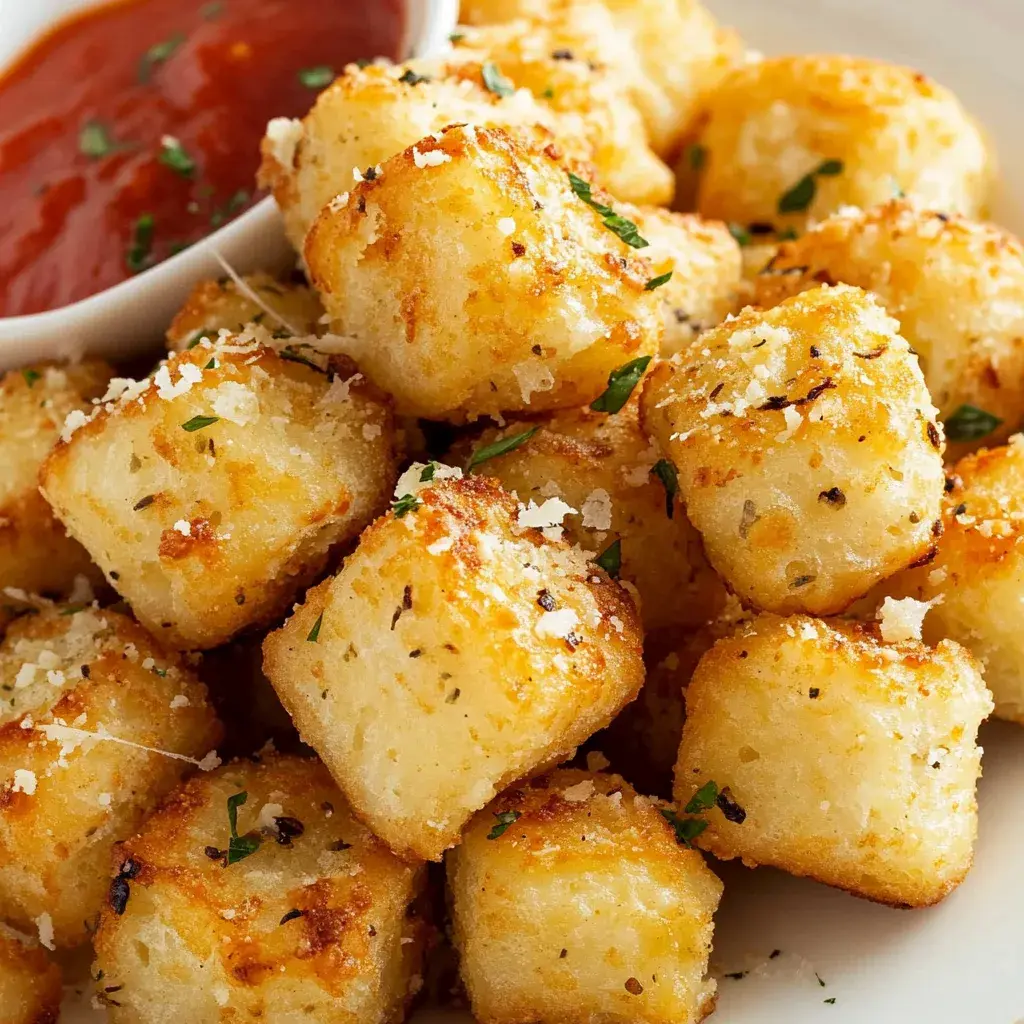
Imagine transforming a simple tube of refrigerated crescent rolls into a warm, gooey delight that satisfies your sweetest cravings in under 30 minutes—this is the magic of Cinnamon-Sugar Pizza with Crescent Rolls. As a busy home cook, I’ve always sought recipes that balance ease with indulgence, and this one hits the mark with its flaky crescent roll base, making it a go-to for family breakfasts or impromptu desserts. Not only is this Cinnamon-Sugar Pizza with Crescent Rolls incredibly simple, but it’s also budget-friendly and delivers that perfect cinnamon-sugar kiss in every bite. Whether you’re a novice baker or a seasoned pro, this recipe will become your secret weapon for quick, homemade treats that impress without the fuss.
The aroma of cinnamon wafting through your kitchen, the satisfying crunch of a golden, flaky crust giving way to a soft, buttery interior—each slice of this Cinnamon-Sugar Pizza with Crescent Rolls is a sensory explosion. Picture the caramelized sugar creating a subtle crispness on top, while the warm spices mingle with melted butter for a gooey center that melts in your mouth. The textures play off each other beautifully: the light, airy layers from the crescent rolls contrast with the sweet, sticky cinnamon-sugar topping, making every bite an irresistible blend of comfort and delight. It’s like a cinnamon roll and pizza had a delicious baby, perfect for pairing with your favorite coffee or as a fun dessert alternative.
What sets this Cinnamon-Sugar Pizza with Crescent Rolls recipe apart on cookingwithemy.com is our commitment to making it foolproof and exceptional, drawing from tested techniques that ensure consistent results every time. You’ll learn my “Chef’s Secret” for achieving that extra-flaky texture, plus tips on ingredient swaps and storage that elevate it beyond ordinary recipes. By the end, you’ll feel confident whipping this up for any occasion, from casual snacking to holiday brunches, all while enjoying the health-conscious nutrition insights we provide. Stick around for detailed instructions, FAQs, and more to make this your ultimate cinnamon-sugar pizza guide.
Why This Cinnamon-Sugar Pizza with Crescent Rolls Recipe is a Game-Changer
The Chef’s Secret: The key to elevating this Cinnamon-Sugar Pizza with Crescent Rolls lies in brushing the dough with melted butter infused with vanilla extract before adding the cinnamon-sugar mixture. This simple step creates a richer, more aromatic base that enhances the flaky crescent roll texture, turning an everyday ingredient into something extraordinary. By melting the butter slowly and stirring in the vanilla, you release deeper flavors that caramelize during baking, resulting in a pizza that’s far superior to basic versions.
Unbeatable Texture: The science behind the flaky crust comes from the laminated layers in crescent roll dough, which, when combined with the fat from melted butter, creates steam during baking. This expands the layers for that signature puffiness while the cinnamon-sugar mixture forms a crunchy topping. Our recipe ensures this by avoiding overworking the dough, preserving those delicate pockets of air for a light, airy result that’s texturally perfect.
Foolproof for a Reason: This Cinnamon-Sugar Pizza with Crescent Rolls has been tested multiple times in real home kitchens to guarantee success, even for beginners. With straightforward steps and precise timings, you’ll avoid common pitfalls like uneven baking, ensuring a golden-brown finish every time. It’s reliable, quick, and delivers consistent deliciousness, making it the best resource for anyone craving a hassle-free sweet treat.
Ingredient Spotlight: Quality Makes the Difference
Start with 1 tube of refrigerated crescent roll dough—this is the foundation of our Cinnamon-Sugar Pizza with Crescent Rolls. It provides the flaky, layered base that makes this recipe so unique and easy. Opt for a high-quality brand with no artificial preservatives for the best rise and texture; cheaper options can result in a denser crust. If you’re out of crescent rolls, substitute with puff pastry for a similar effect, but note it might alter the bake time slightly.
Granulated sugar, at 1/4 cup, delivers the sweet crunch that defines this Cinnamon-Sugar Pizza with Crescent Rolls. It’s essential for creating that caramelized topping, so use pure cane sugar for even melting and browning. If you want a healthier twist, swap with coconut sugar, which adds a subtle nutty flavor and reduces refined sugar intake without compromising the recipe’s appeal.
Cinnamon, just 1 tablespoon, is the star spice in this Cinnamon-Sugar Pizza with Crescent Rolls, infusing warm, aromatic notes that make it irresistible. Always choose fresh, ground cinnamon for potent flavor; stale cinnamon can taste flat. For a variation, try Ceylon cinnamon for a milder, sweeter profile, or add a pinch of nutmeg as a substitution to enhance complexity without overpowering the dish.
Melted butter, 1/4 cup, adds moisture and richness to our Cinnamon-Sugar Pizza with Crescent Rolls, ensuring a buttery, golden crust. Use unsalted butter to control sodium levels, and make sure it’s fully melted for even distribution—quality matters as it affects the overall flavor. A good substitute is coconut oil for a dairy-free version, which maintains the moist texture while introducing a hint of tropical taste.
Vanilla extract, at 1 teaspoon, enhances the overall flavor profile of this Cinnamon-Sugar Pizza with Crescent Rolls, adding depth and warmth to the buttery base. Always go for pure vanilla extract over imitation for authentic taste; it’s the difference between a flat and a fragrant finish. If needed, substitute with almond extract for a nutty twist, but use half the amount to avoid overwhelming the cinnamon notes.
Powdered sugar, optional for drizzling, provides a sweet finishing touch to our Cinnamon-Sugar Pizza with Crescent Rolls. It’s ideal for a light dusting or glaze, enhancing presentation and taste. Choose organic powdered sugar to avoid additives, and if you’re watching sugar intake, substitute with a mix of stevia and cornstarch for a lower-calorie option that still delivers that silky sweetness.
Step-by-Step Instructions for Cinnamon-Sugar Pizza with Crescent Rolls
Step 1: Preparing the Oven and Dough
Preheat your oven to 375°F (190°C) as specified. Unroll the crescent roll dough onto a parchment-lined baking sheet, then carefully pinch the seams together to form a smooth, even crust. This step ensures a uniform base for even baking.
Pro Tip: Use a high-quality parchment paper to prevent sticking and promote easy cleanup—lining the sheet is crucial for achieving that perfect golden finish without any burnt edges.
Step 2: Creating the Cinnamon-Sugar Mixture
In a small bowl, mix 1/4 cup granulated sugar and 1 tablespoon cinnamon until well combined. Ensure there are no lumps for an even sprinkle, which will distribute flavors uniformly across the dough.
Common Mistake to Avoid: Don’t rush the mixing; uneven blending can lead to pockets of plain sugar or overpowering cinnamon spots—stir thoroughly to maintain balance and avoid an imbalanced taste.
Step 3: Adding the Butter and Flavor
Brush the unrolled dough evenly with 1/4 cup melted butter, then stir in 1 teaspoon vanilla extract into the butter before applying for enhanced aroma. Make sure to cover the entire surface for maximum moisture and flavor infusion.
Pro Tip: Melt the butter gently over low heat to preserve its fresh taste—overheating can make it bitter, which detracts from the overall sweetness of your Cinnamon-Sugar Pizza with Crescent Rolls.
Step 4: Applying the Topping
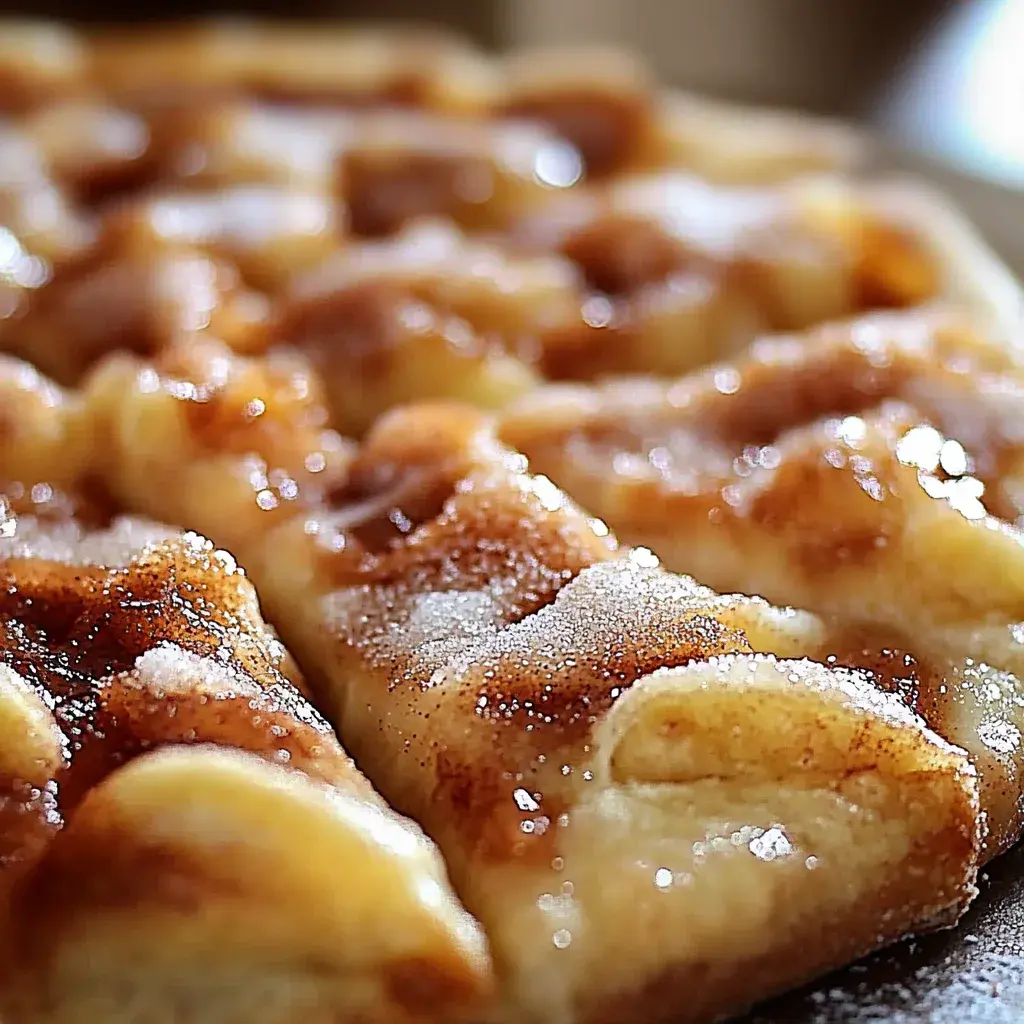
Sprinkle the cinnamon-sugar mixture evenly over the buttered dough, ensuring full coverage from edge to edge for a consistent sweet layer.
Common Mistake to Avoid: Avoid piling the mixture in the center; distribute it lightly and evenly to prevent soggy spots and ensure every bite has the ideal cinnamon-sugar ratio.
Step 5: Baking to Perfection
Bake the prepared pizza in the preheated oven for 12-15 minutes, or until it’s golden brown and fragrant. Keep an eye on it to avoid overbaking, which can dry out the crust.
Pro Tip: Rotate the baking sheet halfway through for even browning—this simple adjustment guarantees a uniformly cooked Cinnamon-Sugar Pizza with Crescent Rolls.
Step 6: Cooling and Serving
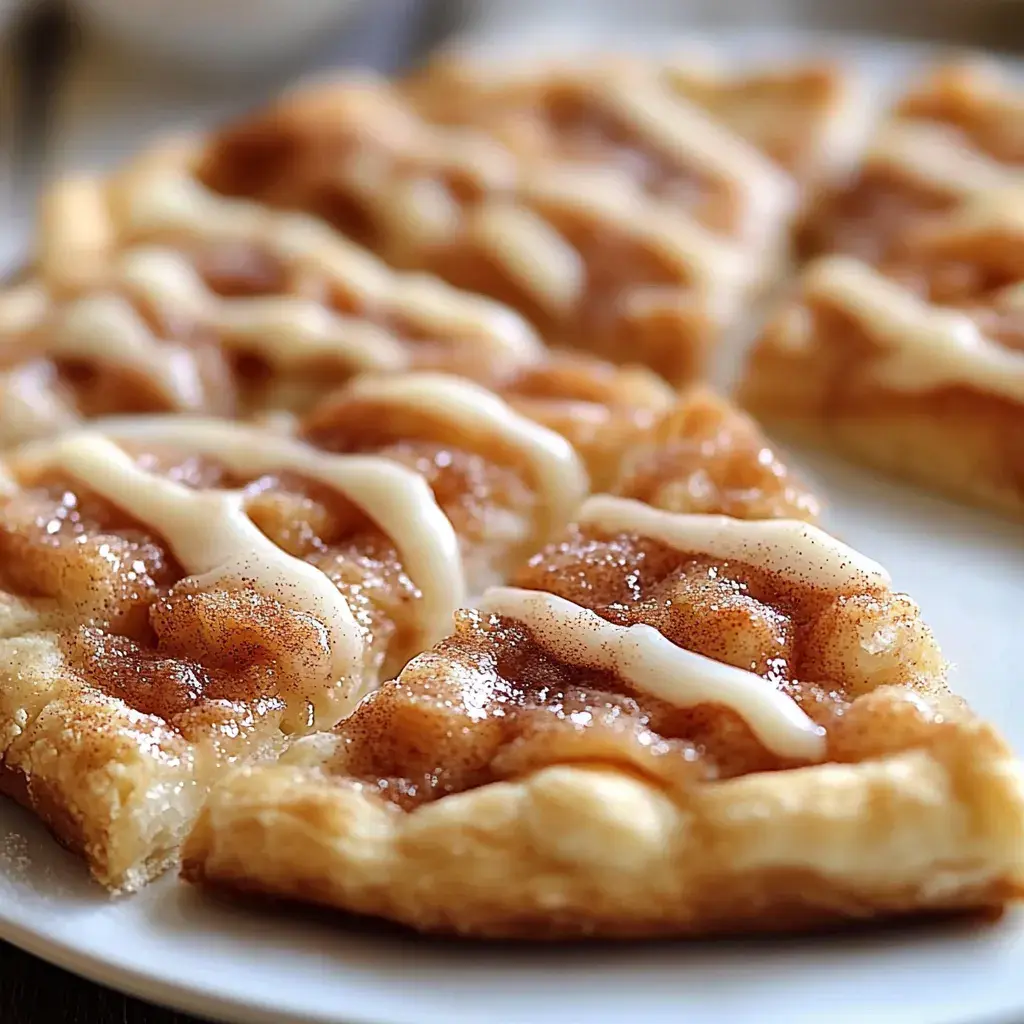
Allow the pizza to cool slightly on the baking sheet for a few minutes before slicing into squares or wedges. If desired, drizzle with powdered sugar for an extra touch of sweetness.
Common Mistake to Avoid: Don’t cut it while it’s too hot; letting it cool prevents the topping from sliding off and helps maintain that gooey texture.
Serving & Presentation
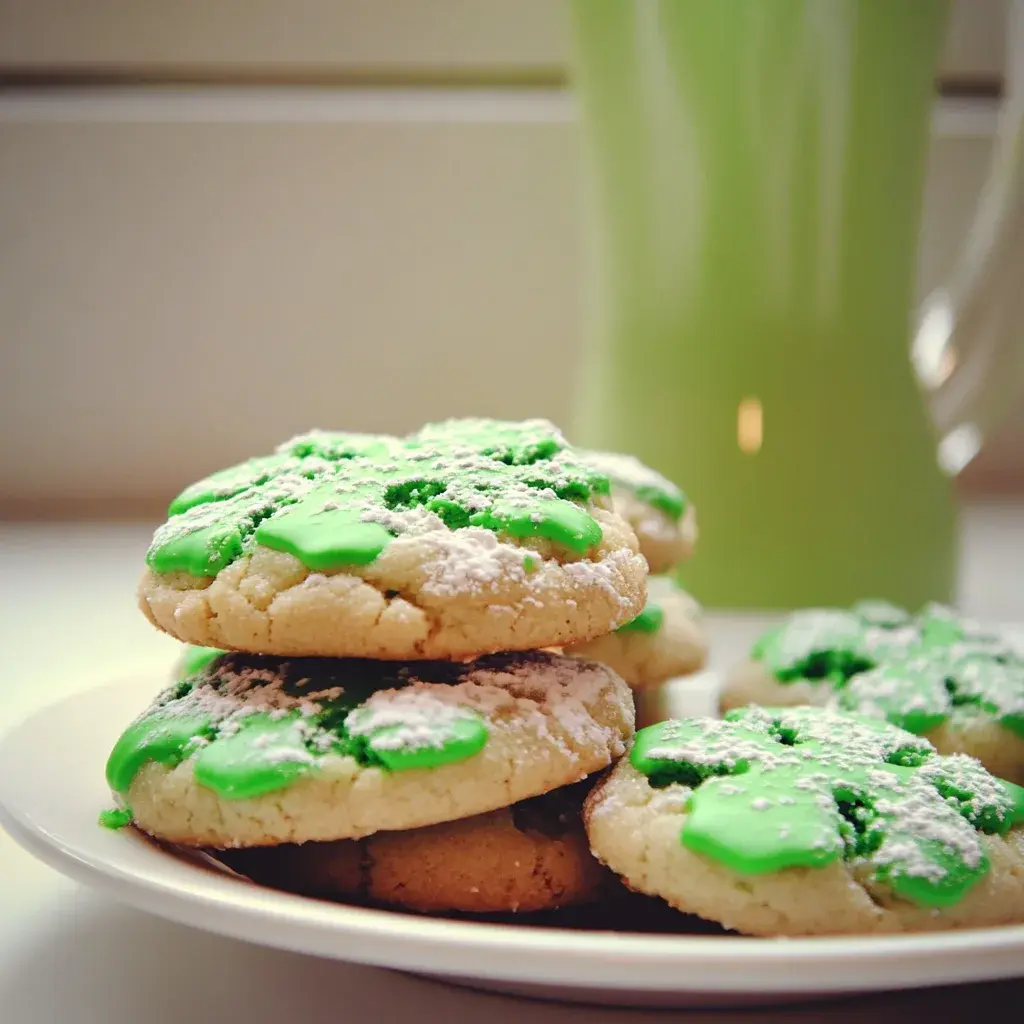
For an eye-catching presentation of your Cinnamon-Sugar Pizza with Crescent Rolls, cut it into neat wedges or squares and arrange on a rustic wooden board for a casual vibe. Dust with a light sprinkle of powdered sugar or add a dollop of whipped cream for an elegant finish that enhances its visual appeal. Pair this sweet treat with fresh fruits like sliced apples or berries to balance the richness, or serve alongside a scoop of vanilla ice cream for a decadent dessert option.
To complement the flavors, consider it as a side to brunch favorites like eggs and bacon, or as a standalone snack with coffee. The warm spices make it versatile for holidays, where it can accompany main courses like roasted meats, providing a sweet contrast that keeps everyone coming back for more.
Make-Ahead & Storage Solutions
Make-Ahead Strategy: Prepare the cinnamon-sugar mixture up to 3 days in advance by mixing the sugar and cinnamon in an airtight container and storing it at room temperature. You can also unroll and shape the crescent roll dough on the baking sheet, cover it tightly with plastic wrap, and refrigerate for up to 24 hours before adding the toppings—just bring it to room temperature for 10 minutes prior to baking.
Storing Leftovers: Once cooled, store any leftover Cinnamon-Sugar Pizza with Crescent Rolls in an airtight container at room temperature for up to 2 days, or refrigerate for up to 5 days to maintain freshness. For longer storage, freeze individual slices in freezer-safe bags for up to 2 months, which helps preserve the flaky texture.
The Best Way to Reheat: To restore the original flaky and gooey texture, reheat slices in a 350°F oven for 5-7 minutes or until warmed through—avoid the microwave to prevent sogginess. If frozen, thaw overnight in the fridge first, then reheat for the best results.
Frequently Asked Questions (FAQ)
How do you make a moist chocolate cake from scratch?
While this isn’t directly related to our Cinnamon-Sugar Pizza with Crescent Rolls, making a moist chocolate cake involves creaming butter and sugar thoroughly, using buttermilk or yogurt for acidity, and not overbaking. Mix dry ingredients like flour, cocoa, and baking soda separately, then fold in wet ingredients gently. Bake at 350°F for 25-30 minutes and let it cool in the pan for extra moisture.
What can I substitute for eggs in a chocolate cake?
For egg-free baking similar to our easy Cinnamon-Sugar Pizza with Crescent Rolls adaptations, common substitutes include 1/4 cup unsweetened applesauce, a mashed banana, or 1 tablespoon of flaxseed mixed with 3 tablespoons water per egg. These add moisture and binding, but adjust for flavor—applesauce keeps it neutral, while banana adds sweetness.
How long does it take to bake a chocolate cake?
Baking times for chocolate cake vary by size, but a standard 9-inch layer typically takes 25-35 minutes at 350°F. Use the toothpick test for doneness, similar to checking our Cinnamon-Sugar Pizza with Crescent Rolls for a golden crust, and remember that cooling is key for the best texture.
What are some good icing options for serving chocolate cake?
Great icing for chocolate cake includes classic buttercream for richness, ganache for a glossy finish, or cream cheese frosting for tang. You could even adapt the powdered sugar drizzle from our Cinnamon-Sugar Pizza with Crescent Rolls recipe for a lighter touch, ensuring complementary flavors that enhance the cake without overwhelming it.
Can I use this recipe for a larger crowd?
Absolutely! Double the ingredients for our Cinnamon-Sugar Pizza with Crescent Rolls and use two tubes of dough on a larger baking sheet, but watch the baking time to avoid overcooking—extend it by 2-5 minutes as needed.
How can I make this recipe healthier?
To lighten it up, use reduced-fat crescent rolls or swap granulated sugar with a natural alternative like honey, and opt for whole-wheat dough if available, while keeping an eye on portion sizes for balanced indulgence.
Is this kid-friendly for baking?
Yes, it’s perfect for kids! The simple steps of our Cinnamon-Sugar Pizza with Crescent Rolls make it an engaging activity, allowing children to help with mixing and sprinkling, fostering fun family time in the kitchen.
Tried This Recipe? Leave a Comment!
Did you make this recipe? I’d love to hear how it turned out! Please leave a comment and a rating below. Your feedback helps other home cooks and supports cookingwithemy!
For more delicious inspiration, follow me on Pinterest!

Cinnamon-Sugar Pizza with Crescent Rolls
Description
Indulge in a warm and gooey Cinnamon-Sugar Pizza made with flaky crescent rolls—perfect for satisfying your sweet cravings any time of day!
Ingredients
- 1tube refrigerated crescent roll dough
- 1/4 cupgranulated sugar
- 1 tablespooncinnamon
- 1/4 cupmelted butter
- 1 teaspoonvanilla extract
- Powdered sugar (optional, for drizzling)
Instructions
- Preheat your oven to 375°F (190°C).
- Unroll the crescent roll dough onto a parchment-lined baking sheet, pinching seams to form a smooth crust.
- In a small bowl, mix granulated sugar and cinnamon until well combined.
- Brush melted butter over the dough and sprinkle the cinnamon-sugar mixture evenly on top.
- Bake for 12-15 minutes or until golden brown.
- Allow to cool slightly before slicing into squares or wedges; drizzle with powdered sugar if desired.
Nutrition
- Calories: 185
- Sugar: 8g
- Fat: 9g
- Carbohydrates: 24g
- Protein: 2g
Conclusion
This recipe delivers a warm, comforting blend of sweet and spicy flavors that make it ideal for family gatherings or a cozy night in. With its simple preparation and irresistible taste, it’s sure to become a favorite in your kitchen routine. For a fun variation, try swapping out the main ingredient for bananas to add a tropical twist. If you enjoy cinnamon-infused treats, be sure to explore Sweet Cinnamon Twists and Cinnamon Sugar French Toast Muffins for more delicious ideas.