Introduction
Is there anything more comforting than a warm, velvety bowl of tomato soup on a crisp day? Honestly, this classic dish feels like a hug in a bowl. Furthermore, it instantly transports many of us back to simpler times. This recipe for Easy Homemade Roasted Tomato Soup delivers that deep, nostalgic flavor without any fuss. Ultimately, it proves that the best meals are often the simplest ones to make.
Easy Homemade Roasted Tomato Soup is a fundamental recipe that transforms humble ingredients into something extraordinary. By roasting fresh tomatoes, garlic, and onions, we create a rich, caramelized depth of flavor that you simply cannot find in a can. This process matters because it unlocks natural sweetness and complexity, turning a simple soup into a gourmet experience. This recipe perfectly fits our blog’s tone of creating approachable, from-scratch food that empowers home cooks. Moreover, it aligns with our philosophy that incredible meals do not require complicated techniques or hard-to-find ingredients. For instance, this method is far simpler than making a traditional French Onion Soup, yet it feels just as special. This soup is a fantastic base for customization, much like our favorite Butternut Squash Soup recipe. You can enjoy it smooth and silky or leave it a bit chunky for a rustic texture. Consequently, it becomes a versatile staple in your cooking repertoire, perfect for a quick lunch or an elegant starter.
Why I Love This Recipe
This Easy Homemade Roasted Tomato Soup holds a special place in my heart because it represents my gateway into serious cooking. I vividly remember the first time I made it; the incredible aroma of roasting tomatoes and garlic that filled my entire apartment completely sold me on the magic of from-scratch meals. It was the first dish that made me feel like a real cook, proving that a few good ingredients and a simple technique could yield a result that felt both impressive and deeply satisfying. This soup is my ultimate comfort food and my go-to recipe for whenever I need a taste of home.
Health and Nutrition
Why it’s good for your body
This Easy Homemade Roasted Tomato Soup truly nourishes your body from the inside out. First, roasting the tomatoes deepens their flavor and significantly boosts their lycopene content. Lycopene, a powerful antioxidant, helps protect your cells from damage. Furthermore, your body absorbs this nutrient more easily from cooked tomatoes than from raw ones.
Additionally, this soup provides a fantastic dose of vitamins C and K. These vitamins support a robust immune system and promote healthy bones. Moreover, using olive oil, a source of heart-healthy monounsaturated fats, enhances the absorption of all these fat-soluble vitamins. Consequently, you maximize the nutritional payoff of every single spoonful.
Enjoying a bowl of this Easy Homemade Roasted Tomato Soup also contributes to your daily hydration and fiber intake. This combination helps you feel full and satisfied, which is great for mindful eating. Finally, because you control the ingredients, you avoid the excessive sodium and preservatives often found in canned versions. Therefore, you can feel good about serving this wholesome, comforting meal to your entire family.
How it fits in a healthy lifestyle
This Easy Homemade Roasted Tomato Soup seamlessly fits into various healthy eating plans. It is naturally gluten-free and vegan, making it a fantastic option for those with specific dietary needs. For a more substantial meal that supports muscle repair, simply stir in a can of rinsed white beans or top it with a grilled chicken breast.
Its heart-healthy profile, thanks to the olive oil and absence of heavy cream, aligns perfectly with cardiovascular wellness goals. Pair it with a slice of whole-grain bread for a balanced lunch that provides sustained energy. This soup also embodies the principle of cooking with whole foods, a cornerstone of nutritious eating. For another great make-ahead meal that supports your wellness goals, try our Meal Prep Breakfast Burritos. They are perfect for busy mornings. And if you love the comfort of this soup, you will adore our Cozy Vegetable Lentil Soup for another nutrient-packed dinner option.
How to Prepare This Dish
Steps and time-saving tips
First, preheat your oven to 400°F to get it ready for roasting. Meanwhile, wash and halve your tomatoes, then toss them onto a large baking sheet. Drizzle everything generously with olive oil, and don’t forget to season well with salt and pepper. Next, roast those tomatoes for about 30 minutes until they blister and caramelize at the edges. This deep roasting builds the foundational flavor for your Easy Homemade Roasted Tomato Soup. While the tomatoes roast, you can chop your onion and garlic; this is a fantastic time-saver. Then, simply transfer everything to a blender, but be cautious with the hot liquid. Alternatively, use an immersion blender directly in the pot for even easier cleanup. Finally, stir in your vegetable broth and a splash of cream for richness. Give it a gentle simmer for ten minutes to let the flavors marry perfectly.
Mistakes I’ve made and learned from
I’ve definitely learned a few lessons the hard way with this Easy Homemade Roasted Tomato Soup. My biggest mistake was rushing the roasting process; I once pulled the tomatoes out too early because I was impatient. Unfortunately, this resulted in a soup that lacked that deep, sweet, and smoky flavor we all love. Now, I wait for those beautiful, dark caramelized spots to appear, no matter what. Another common error I made was blending the soup while it was far too hot, which created a messy and dangerous kitchen explosion. Letting it cool for just five minutes makes all the difference. For more tips on getting the most flavor from your vegetables, check out my guide on roasting vegetables. Also, if you’re pairing this with a sandwich, avoid my past blunder of a soggy grilled cheese by mastering the technique in my ultimate grilled cheese post.

Cultural Connection and Variations
Where this recipe comes from
My grandmother first showed me how to make this dish, but its roots stretch far beyond her kitchen. Essentially, people across the Mediterranean have simmered tomatoes with herbs for centuries. However, the act of roasting them first truly transforms the flavor. This method deeply caramelizes the sugars, creating a smoky sweetness that defines a proper Easy Homemade Roasted Tomato Soup.
Different regions put their own spin on it, of course. For instance, in Spain, they might add smoked paprika and almonds for a richer, nutty depth. Meanwhile, in Italy, they often keep it simple with just basil, letting the quality of the tomatoes shine. My family, consequently, always adds a Parmesan rind to the pot while it simmers. This little trick gives our version a wonderful umami backbone that makes every bowl special. Ultimately, this process creates a deeply comforting and versatile Easy Homemade Roasted Tomato Soup that welcomes your own personal touch.
How it fits in today’s cooking
This soup fits perfectly into our modern need for both comfort and convenience. It is a quintessential make-ahead meal that actually improves in flavor overnight. Furthermore, it bridges the gap between simple weeknight dinners and elegant starter courses for entertaining. Many home cooks now roast batches of vegetables on Sunday, making this soup an effortless weeknight victory.
Its versatility is its greatest modern asset. For a heartier meal, you can swirl in some cooked rice or lentils. Alternatively, pair it with a classic grilled cheese sandwich for the ultimate comfort food experience. This dish also celebrates seasonal, farm-fresh produce, making it a summer and early fall staple. After a trip to the farmer’s market, you might use your haul to make a fresh Caprese salad and a big pot of this soup. It remains a timeless classic because it nourishes both the body and the soul with every single spoonful.
Taste and Texture
What makes it delicious
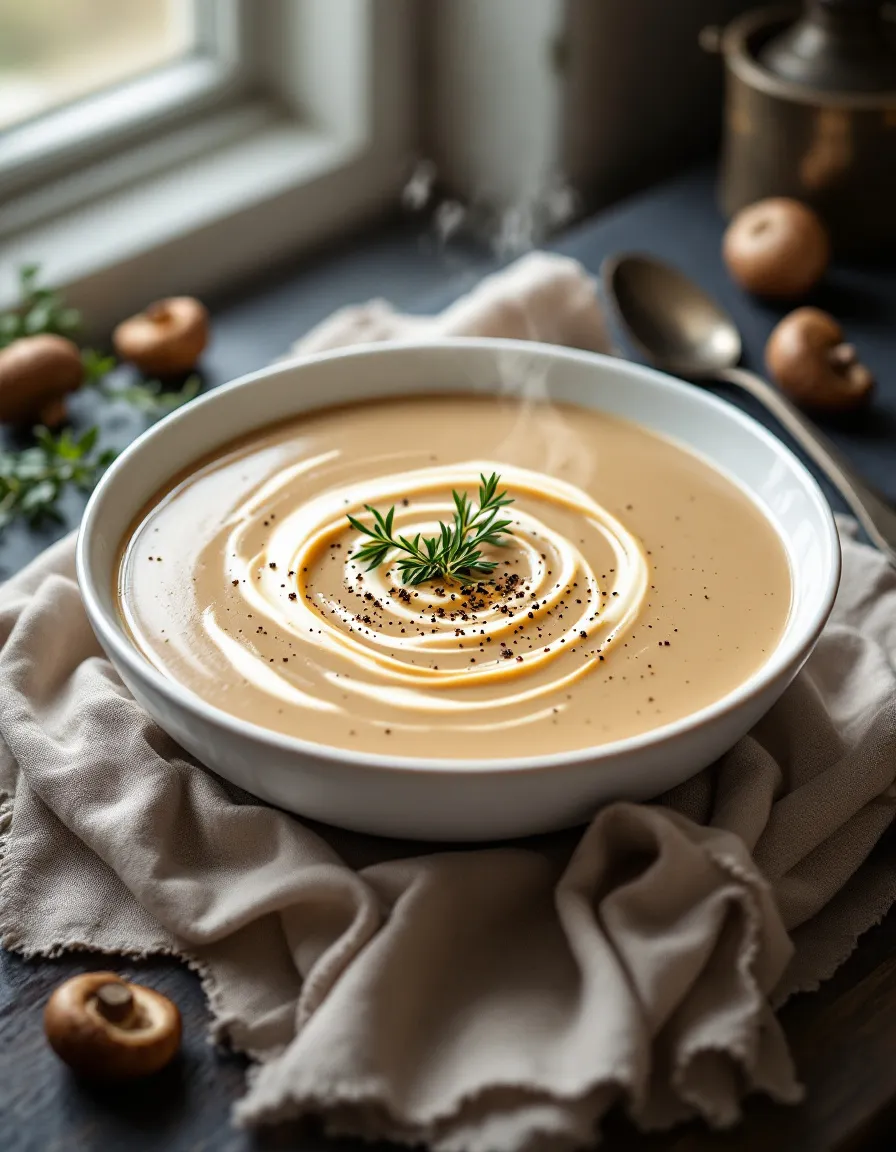
This Easy Homemade Roasted Tomato Soup delivers a rich and velvety experience. Roasting the tomatoes first caramelizes their natural sugars, creating a deep, sweet smokiness that balances the bright, tangy notes. Consequently, each spoonful feels incredibly smooth and luxurious on the palate. The roasted garlic and onions melt into the base, offering a fragrant and savory backbone. Ultimately, the soup finishes with a comforting warmth that makes every bite feel like a cozy embrace.
Boosting the flavor
You can easily elevate your Easy Homemade Roasted Tomato Soup with a few creative twists. For instance, swirl in a spoonful of basil pesto or a dash of heavy cream for an herby and luxurious finish. Alternatively, top it with crunchy garlic croutons or a sprinkle of parmesan cheese for contrasting texture. Furthermore, a side of crusty artisan bread is perfect for dipping and savoring every last drop. For more pairing ideas, explore our favorite garlic bread recipe. Additionally, a dollop of homemade pesto introduces a brilliant, fresh flavor that complements the soup’s richness beautifully.

Tips for Success
Best practices for results
Always roast your tomatoes until they blister and caramelize, as this step builds the foundational flavor for your Easy Homemade Roasted Tomato Soup. Furthermore, use an immersion blender directly in the pot for a smooth texture and to save on cleanup. For the best results, do not skip the fresh basil garnish right before serving.
Mistakes to avoid
Avoid overcrowding your sheet pan when roasting; otherwise, the tomatoes will steam instead of achieving a deep, caramelized flavor. Additionally, remember to taste and adjust seasoning after blending, since cold ingredients can mute flavors. For more guidance on balancing flavors, see our guide on seasoning perfection. Moreover, do not rush the roasting process, as low and slow heat develops the best sweetness for your Easy Homemade Roasted Tomato Soup. If your soup is too thick, you can easily thin it with a splash of broth or cream, a technique we also use in our creamy broccoli soup.
Serving and Pairing Suggestions
How to serve this dish
Serve this Easy Homemade Roasted Tomato Soup steaming hot in a pre-warmed bowl to keep it cozy longer. For a beautiful presentation, swirl a tablespoon of cream or a drizzle of basil oil on top right before you bring it to the table. Furthermore, a final sprinkle of fresh herbs like chopped basil or chives adds a pop of color and fresh flavor. This dish truly shines as a comforting weeknight dinner, yet it also makes an elegant starter for a holiday meal. Consequently, consider serving it in small mugs for a fun and casual party appetizer that guests can sip and enjoy.
What goes well with it
Nothing completes a bowl of Easy Homemade Roasted Tomato Soup like a perfectly grilled cheese sandwich. The crispy, buttery bread and melted cheese create a classic combination that everyone loves. Alternatively, a simple side salad with a tangy vinaigrette offers a refreshing, crisp contrast to the soup’s rich warmth. For the ultimate comfort food experience, pair your meal with a slice of our moist Classic Banana Bread. Finally, a glass of chilled, sparkling water with a squeeze of lemon cleanses the palate beautifully between each delicious spoonful of Easy Homemade Roasted Tomato Soup. You could also enjoy it with our famous Blueberry Muffins for a delightful sweet and savory brunch option.

For a naturally thicker Easy Homemade Roasted Tomato Soup, you can simply simmer it uncovered for an extra 10-15 minutes to allow some liquid to evaporate. Alternatively, blend in a small handful of stale bread or a cooked, peeled potato along with the roasted tomatoes for a creamy, rich texture without altering the flavor.
Yes, you can use high-quality canned whole peeled tomatoes. Drain them well, toss with oil, and roast them on a sheet pan to concentrate their flavor and achieve a similar caramelized effect. This method makes preparing Easy Homemade Roasted Tomato Soup possible year-round.
Properly stored in an airtight container, your homemade roasted tomato soup will stay fresh in the refrigerator for 4 to 5 days. For the best flavor, allow the soup to cool completely before refrigerating it. You can also freeze it for up to 3 months.
Fresh or dried basil is a classic pairing, but thyme and oregano also complement the soup’s flavor beautifully. For the best results, add hardy herbs like thyme sprigs to the roasting pan and stir in delicate fresh basil just before serving your Easy Homemade Roasted Tomato Soup.

Easy homemade Roasted Tomato Soup
- Total Time: PT35M
Description
Easy homemade Roasted Tomato Soup from fresh tomatoes, herbs and garlic. Add a splash of cream for extra decadence and ultimate comfort.
Ingredients
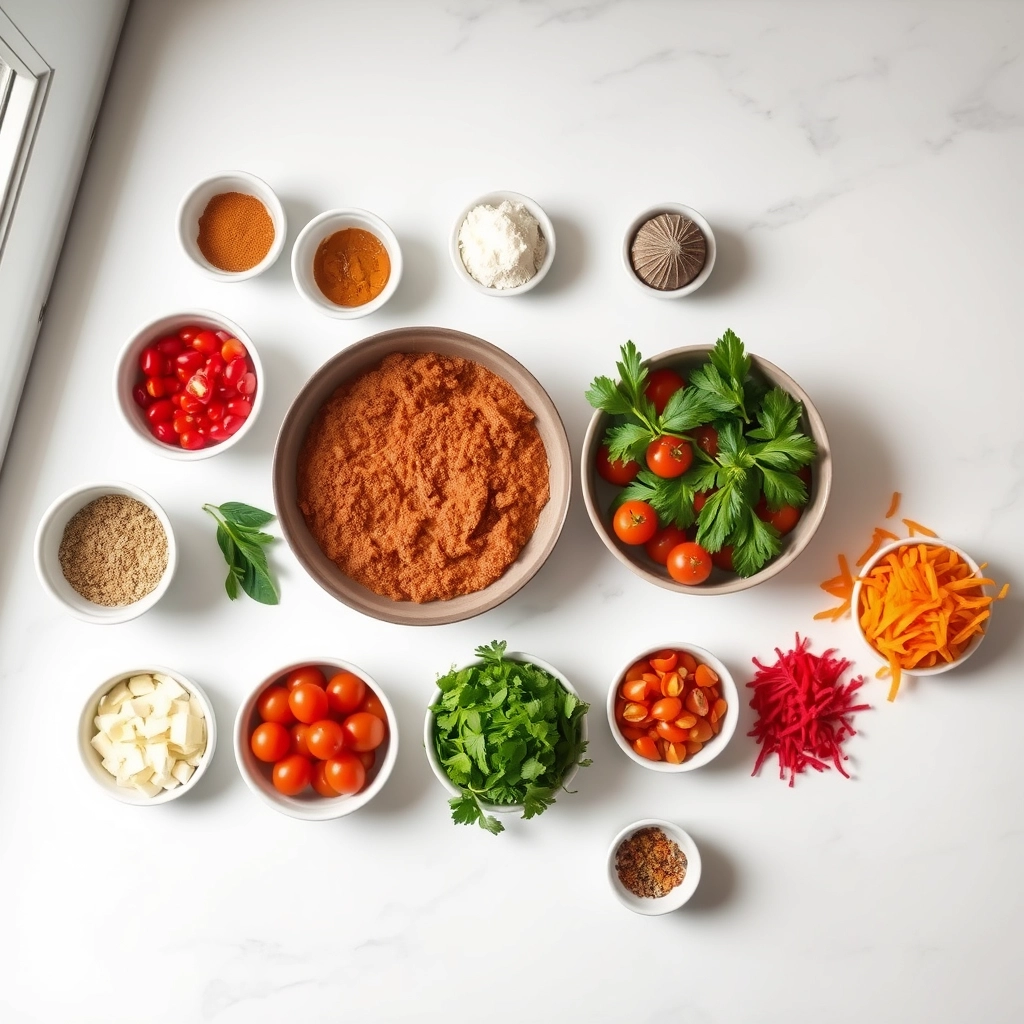
- 3 pounds roma tomatoes see body of post for tomato options
- 1 small yellow onion peeled and rough chopped
- 1 whole small garlic head
- 3 tablespoons olive oil
- salt and black pepper to taste
- 1–1 1/2 cups chicken stock depending on how thick you want the soup
- 3–4 sprigs fresh thyme left whole
- 2 tablespoons butter
- 1/4 cup half and half can use heavy cream
Instructions
- Instructions
- Preheat oven to 450°.
- Wash and quarter or halve the tomatoes so they're about the same size then rough chop the onions and transfer both to a large baking sheet.
- Prepare the garlic: cut the top off then place in a piece of foil slightly larger than the garlic clove. Drizzle a little olive oil over the top, season with salt and pepper and pinch the foil closed forming a little package.
- Season tomatoes and onions and salt and pepper, drizzle olive oil over the top and gently toss with your hands to coat.
- Place the garlic package on the baking sheet with the tomatoes then lay thyme sprigs over the top and roast 25 minutes or until the tomatoes are softened and are starting to caramelized on the bottom and edges.
- Remove the baking sheet from the oven, discard the thyme sprigs and transfer the tomato mixture to a large pot (including all juices and brown bits).
- When the foil is cool enough to handle, open the pouch and squeeze as much of the garlic as you like from the cloves (I use it all) into the soup (discard the outer shell).
- Add butter and stock then cook over medium to medium-low heat 5 minutes.
- Pulse with an immersion blender until smooth, add a splash of cream then taste and adjust salt and pepper to your preference.
- Serve hot with a few fresh basil leaves, grilled cheese croutons or a sprinkle of parmesan cheese.
- Prep Time: PT5M
- Cook Time: PT30M