Introduction
Hi there! I’m Emily, the heart and soul behind brekcakes.com. From my earliest memories, the kitchen has always been a place of warmth and creativity. It’s where I discovered the magic of turning simple ingredients into extraordinary meals and learned that the best dishes are often made with love as the main ingredient.
There’s something undeniably comforting about a dish that brings people together without demanding hours in the kitchen. That’s exactly why I adore this Easy Pasta Salad—it’s vibrant, versatile, and effortlessly delicious. Whether you’re prepping for a summer picnic, a quick weeknight dinner, or just craving something fresh, this recipe delivers every time. Plus, it’s the kind of meal that invites you to make it your own, so feel free to toss in your favorite veggies or proteins. After all, cooking should be as fun as it is fulfilling.
Easy Pasta Salad is exactly what it sounds like: a no-fuss, crowd-pleasing dish that combines tender pasta with crisp vegetables, tangy dressing, and endless customization options. What makes it special isn’t just its simplicity but how it adapts to any occasion. Need a side dish for your next barbecue? It’s perfect. Want a light lunch that keeps well in the fridge? Done. Unlike fussy recipes that require precision, this one encourages creativity. At brekcakes.com, we celebrate approachable cooking, and this recipe embodies that spirit. It’s a gateway to confident, joyful meals—much like our quick dinner ideas or the vegetarian meal prep guides we love sharing. Whether you’re a beginner or a seasoned cook, Easy Pasta Salad meets you right where you are.
Why I Love This Recipe
This Easy Pasta Salad holds a special place in my heart because it’s the dish I turn to when life gets busy but I still want something wholesome and satisfying. I first made it for a potluck years ago, and watching friends go back for seconds—then asking for the recipe—sealed the deal. It’s become my go-to for lazy Sundays, last-minute gatherings, and even as a fridge staple for my family. Every bite reminds me that great food doesn’t need to be complicated to be memorable.
Health and Nutrition
Why it’s good for your body
Easy Pasta Salad packs a nutritious punch while keeping flavors fresh and vibrant. First, it delivers a balanced mix of complex carbs from whole-grain pasta, which fuels your energy levels steadily. Additionally, the colorful veggies like bell peppers and cherry tomatoes provide essential vitamins and antioxidants. These nutrients support your immune system and help fight inflammation.
Moreover, Easy Pasta Salad often includes lean proteins like grilled chicken or chickpeas, which keep you full longer and aid muscle repair. Olive oil in the dressing adds heart-healthy fats, promoting better cholesterol levels. Since the dish is versatile, you can easily tweak it to boost fiber or protein based on your needs.
Finally, the hydrating ingredients like cucumbers and olives contribute to your daily fluid intake. Whether you enjoy it as a light lunch or a side dish, Easy Pasta Salad makes healthy eating simple and satisfying.
How it fits in a healthy lifestyle
Easy Pasta Salad fits seamlessly into a balanced diet, whether you’re meal-prepping or need a quick dinner. For gluten-free diets, swap regular pasta for a chickpea or quinoa-based alternative. If you’re focusing on heart health, the olive oil and veggies align perfectly with Mediterranean diet principles.
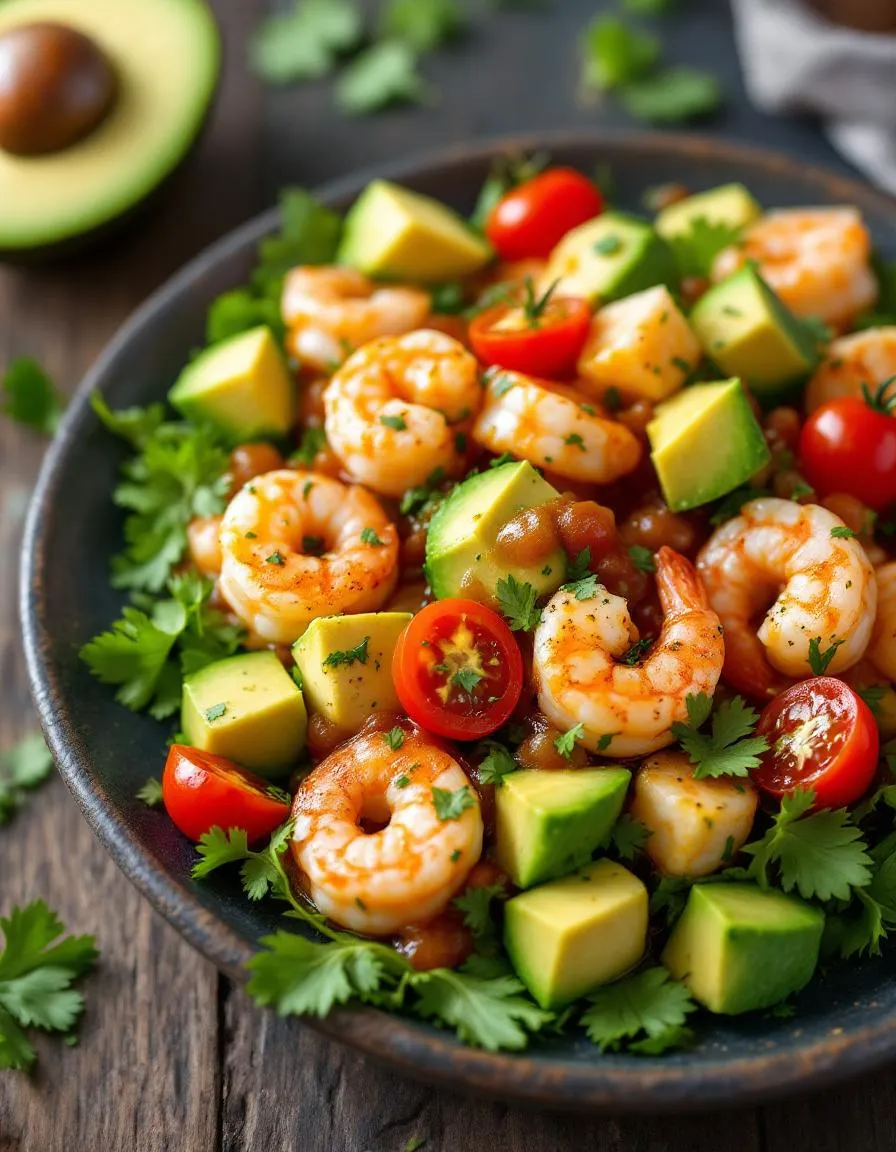
This dish also works well for active lifestyles since you can load it with extra protein like grilled shrimp or tofu. For more high-protein meal ideas, check out our high-protein meals guide. Plus, it’s a great way to use seasonal produce, reducing food waste while maximizing nutrition.
Planning ahead? Easy Pasta Salad stores beautifully, making it ideal for meal prep tips to stay on track during busy weeks. With endless variations, it adapts to your goals without sacrificing flavor or convenience.
PrintEasy Pasta Salad
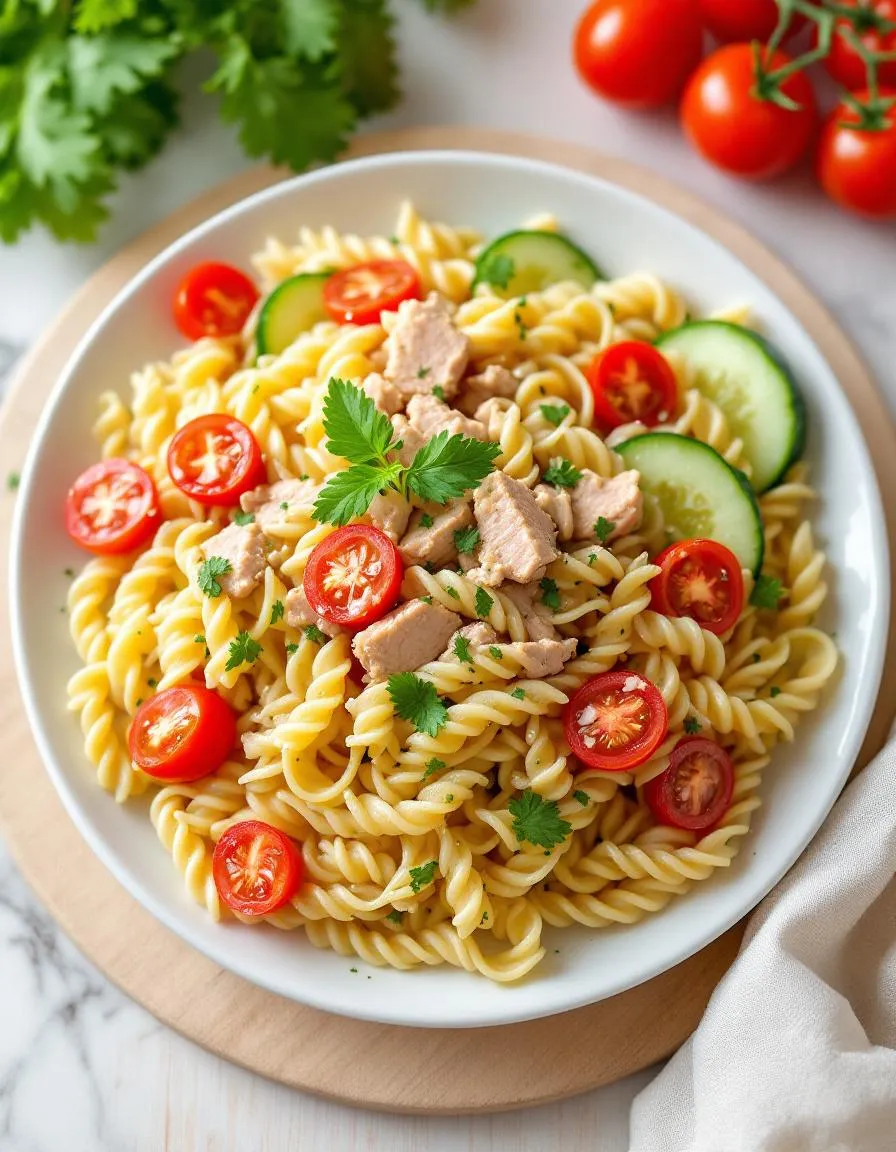
Description
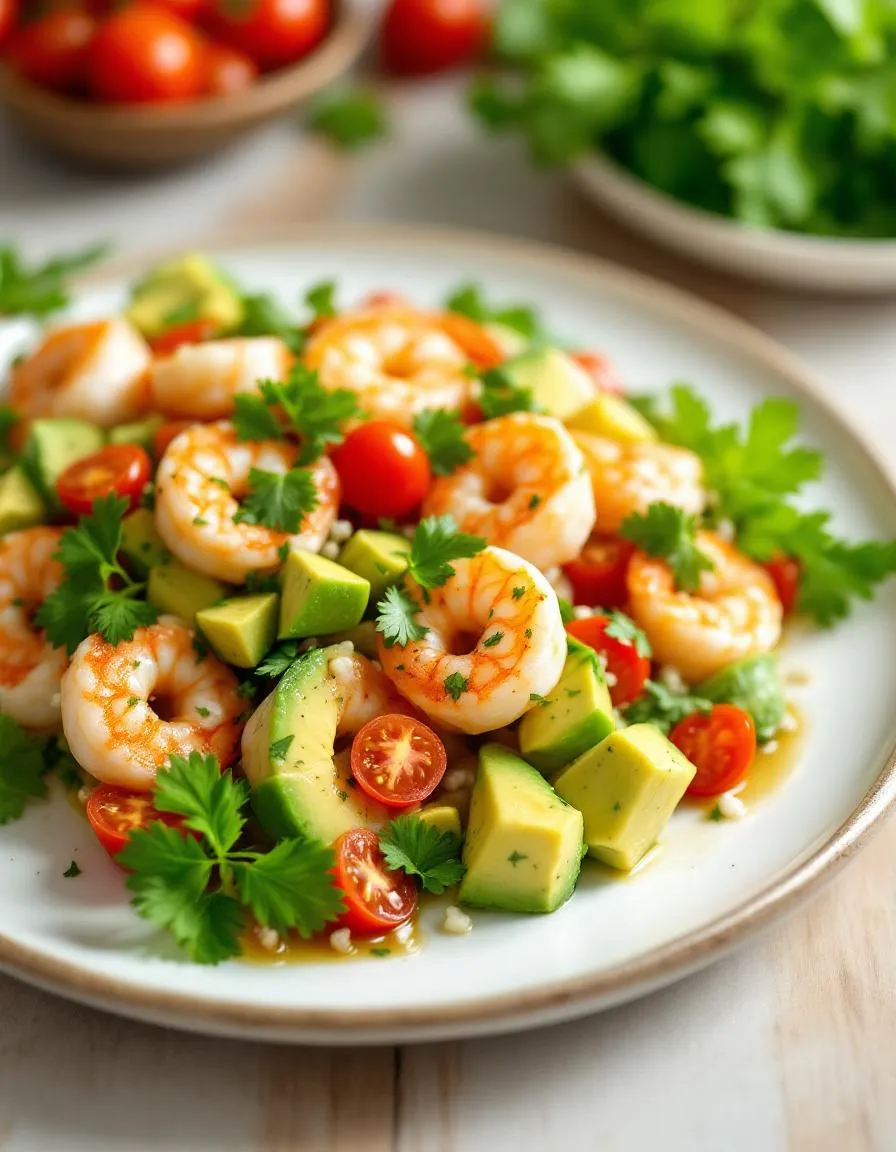
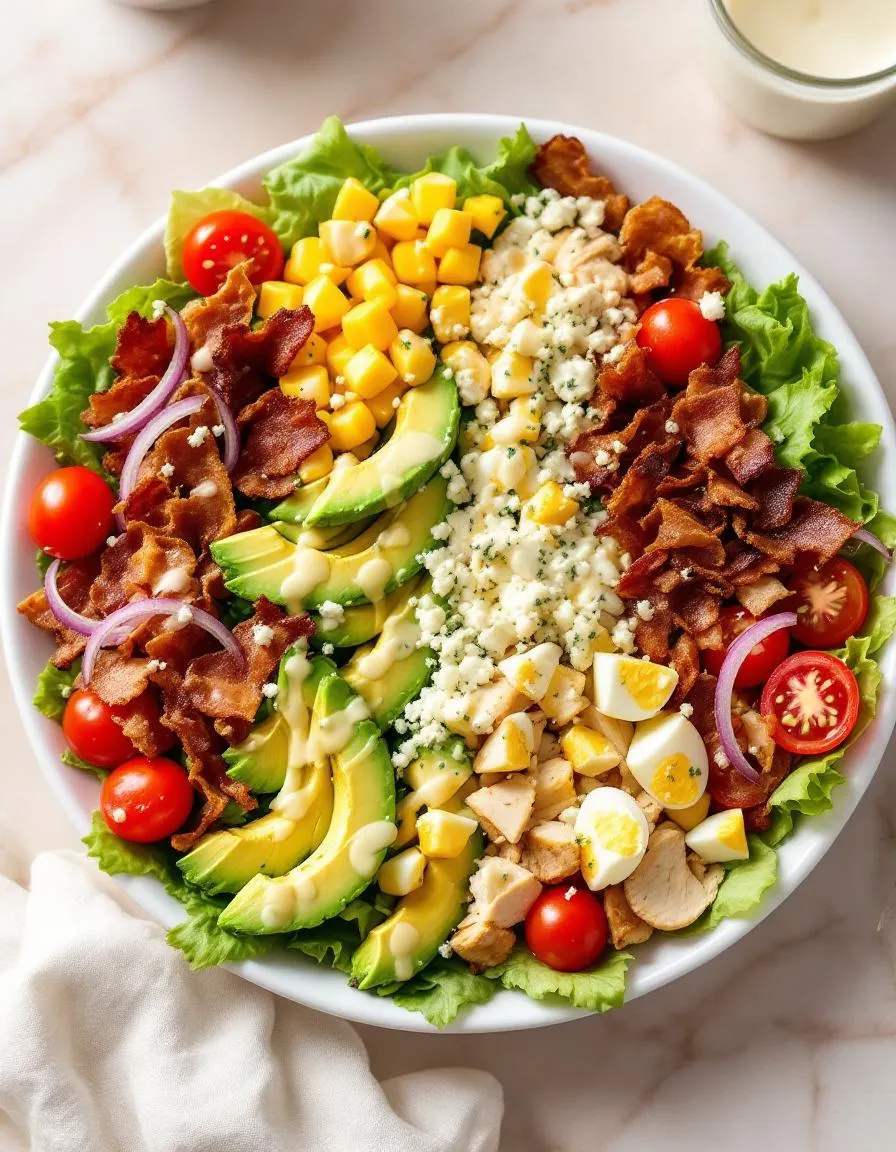
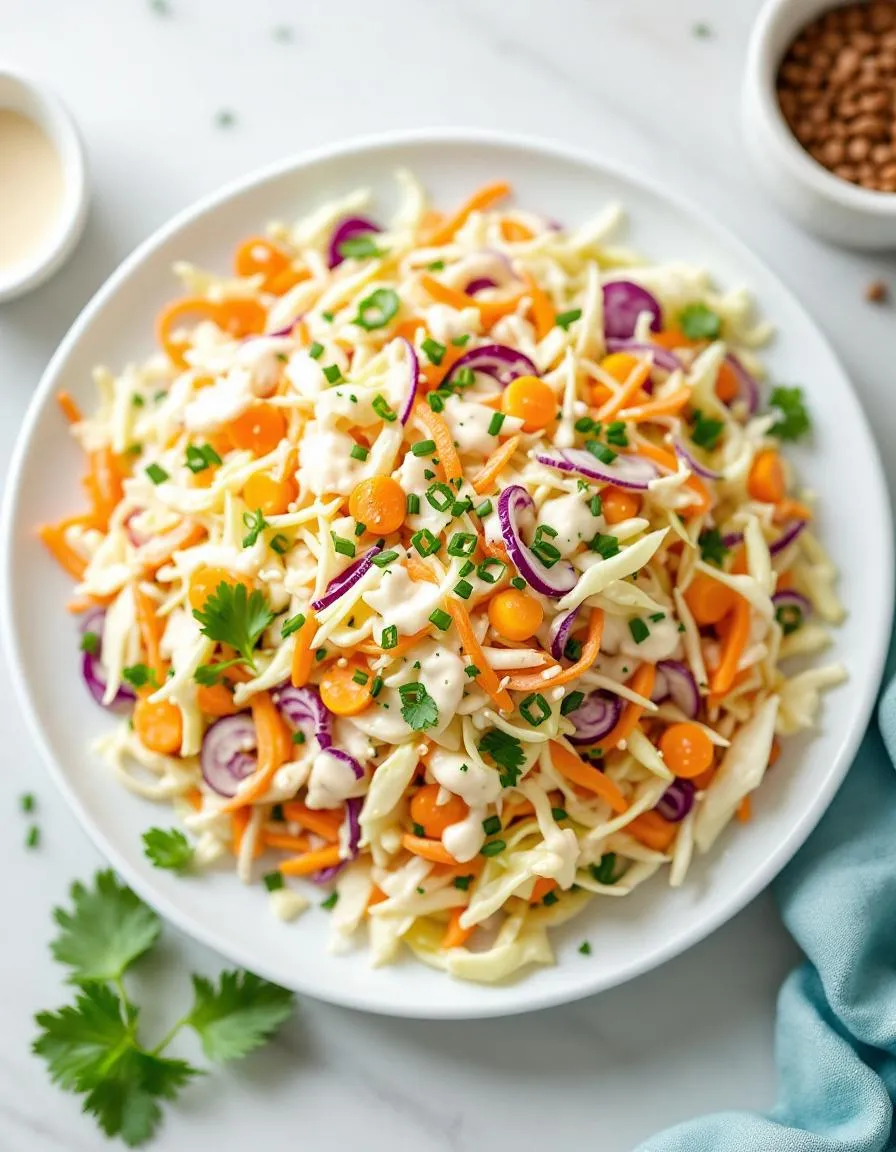
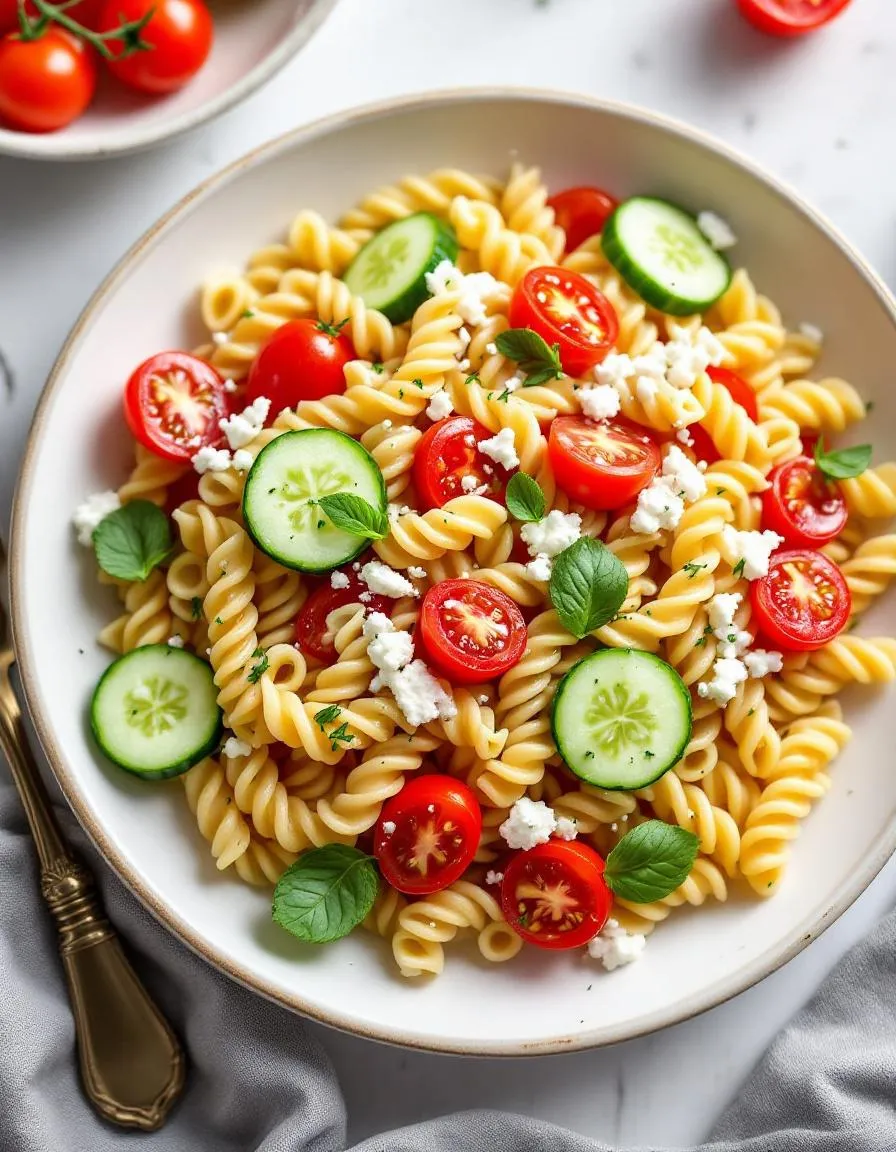
A refreshing and simple pasta salad perfect for picnics or quick meals.
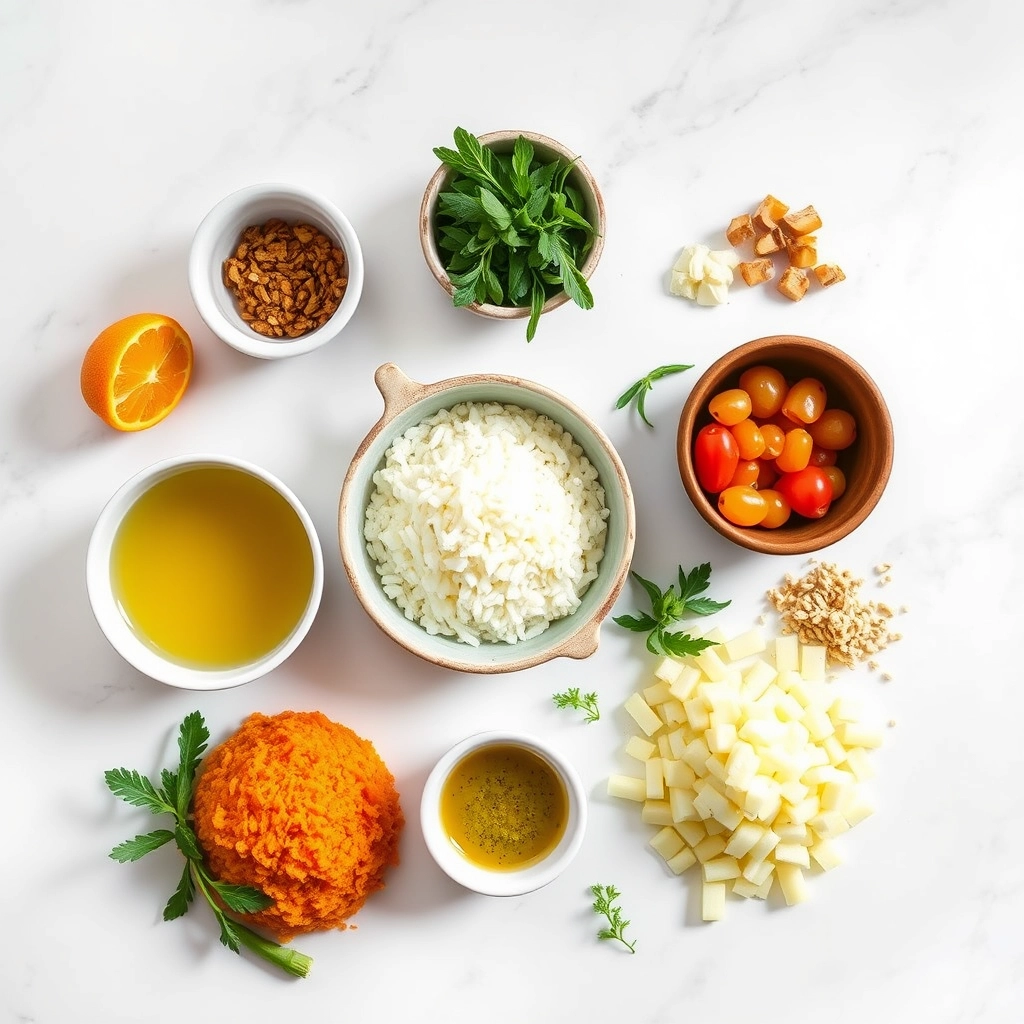
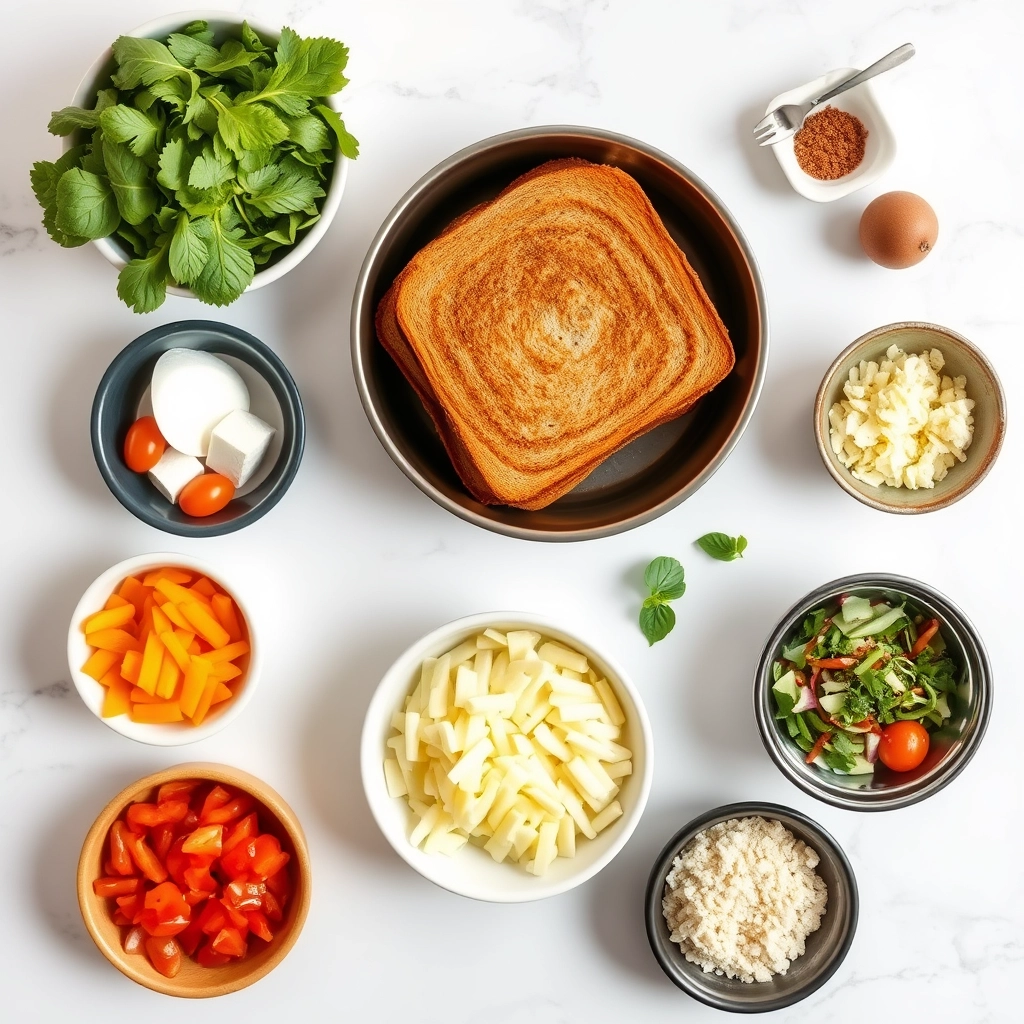
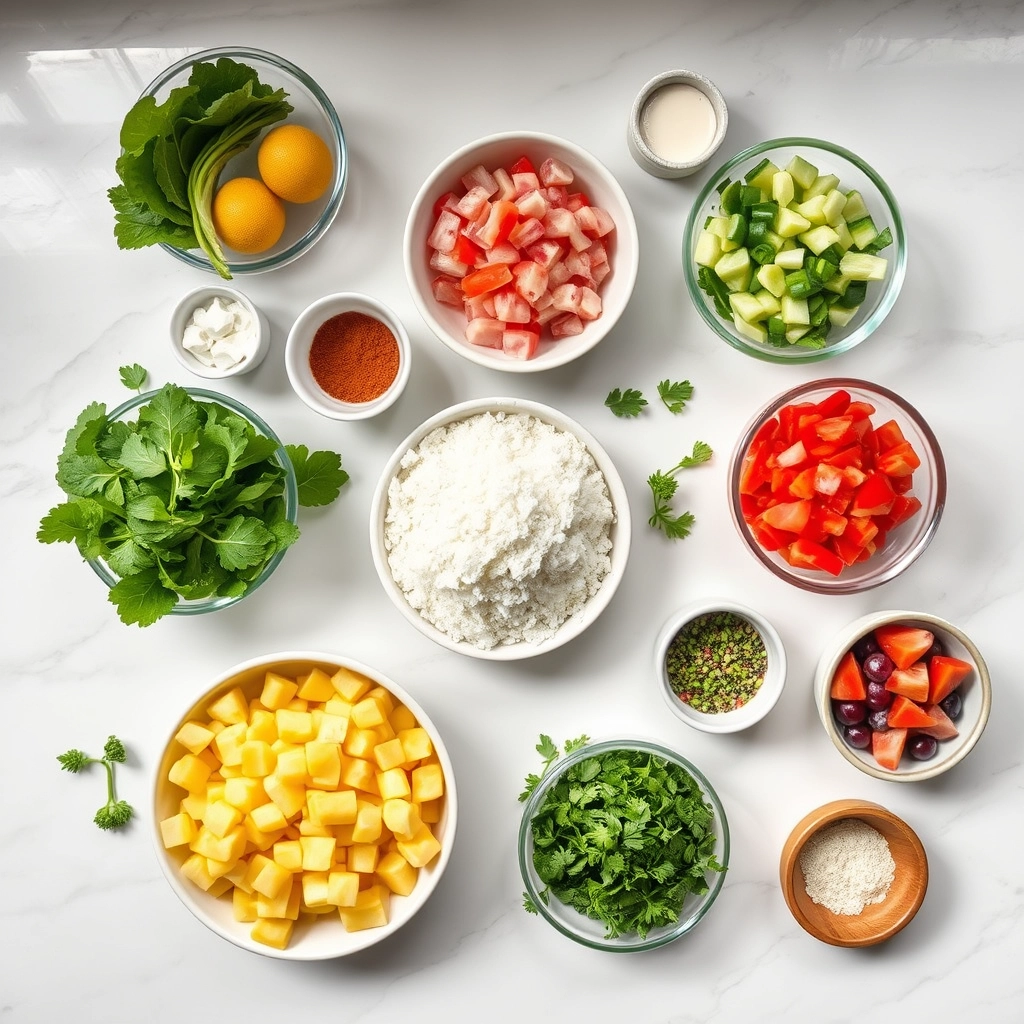
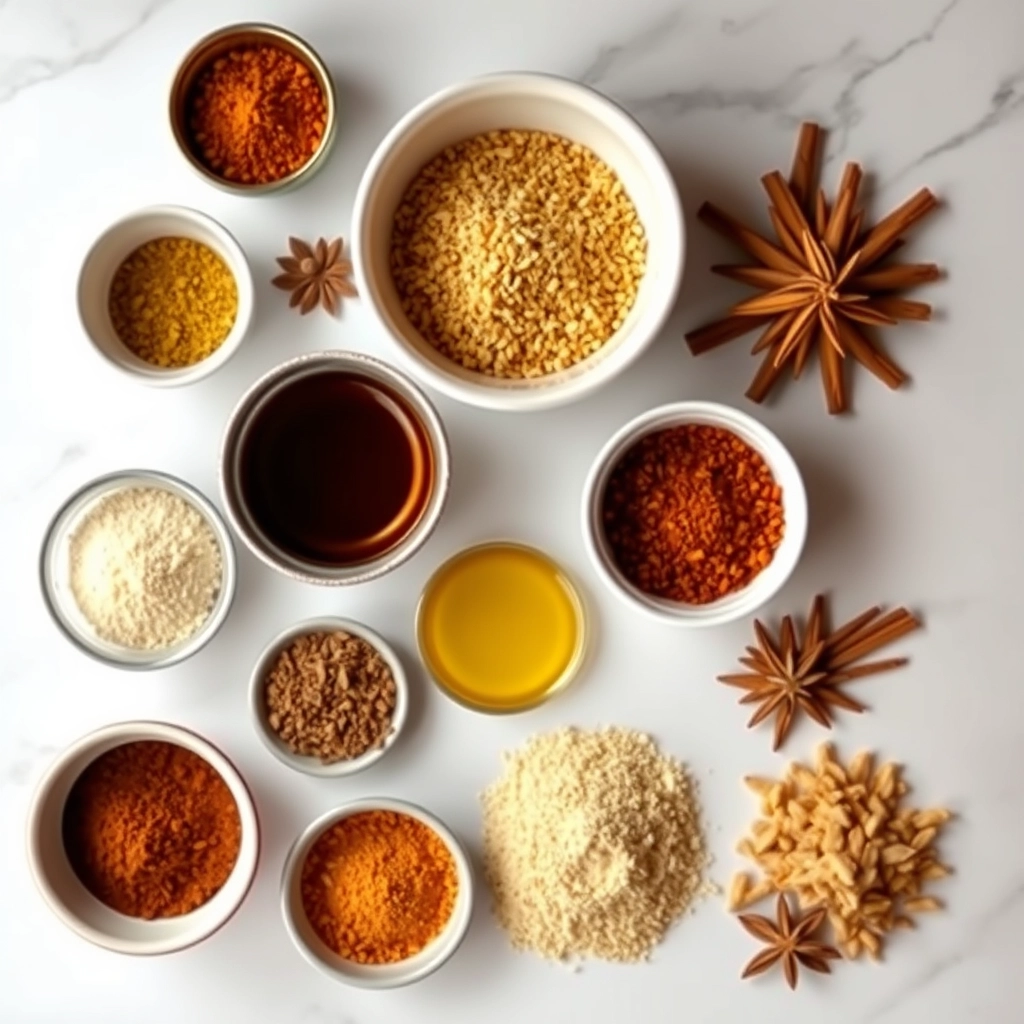
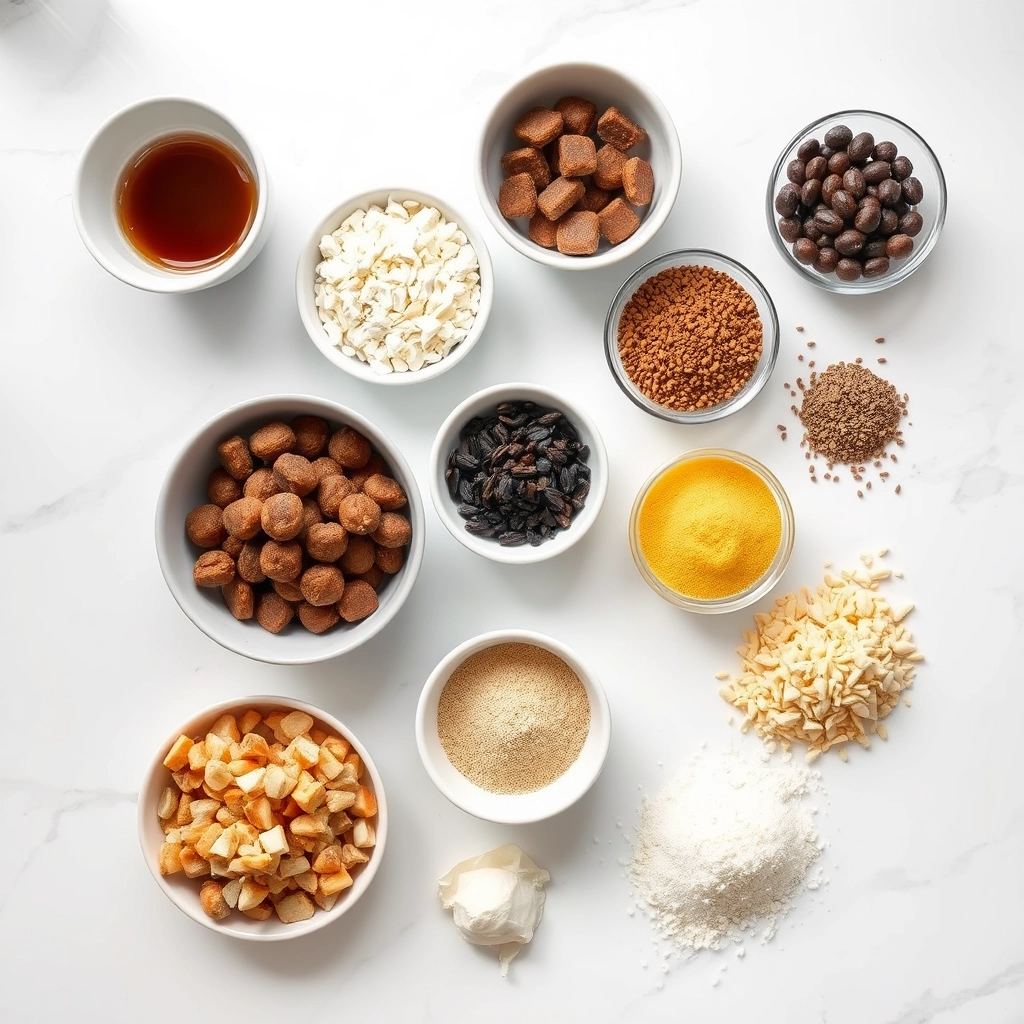
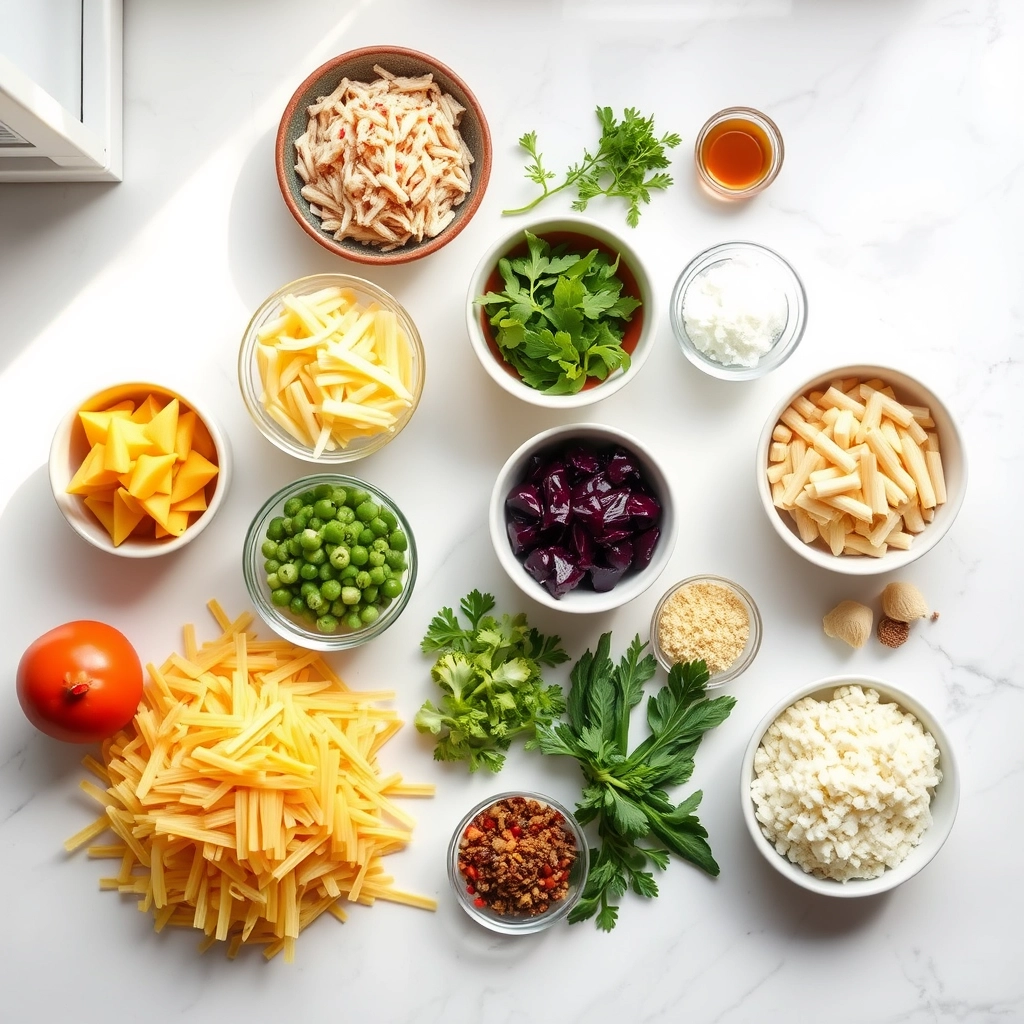
Ingredients
For the Crust:
- 8 oz rotini pasta
- 1 cup cherry tomatoes, halved
- 1/2 cup cucumber, diced
- 1/4 cup red onion, finely chopped
- 1/4 cup black olives, sliced
- 1/2 cup Italian dressing
- 1/4 cup feta cheese, crumbled
- 1 tsp dried oregano
- Salt and pepper to taste
Instructions
1. Prepare the Crust:
- Cook pasta according to package instructions. Drain and rinse under cold water.
- In a large bowl, combine pasta, cherry tomatoes, cucumber, red onion, and black olives.
- Pour Italian dressing over the salad and toss to coat evenly.
- Sprinkle with feta cheese, oregano, salt, and pepper. Mix gently.
- Refrigerate for at least 30 minutes before serving to allow flavors to meld.
Notes
You can customize the seasonings to taste.
How to Prepare This Dish
Steps and time-saving tips
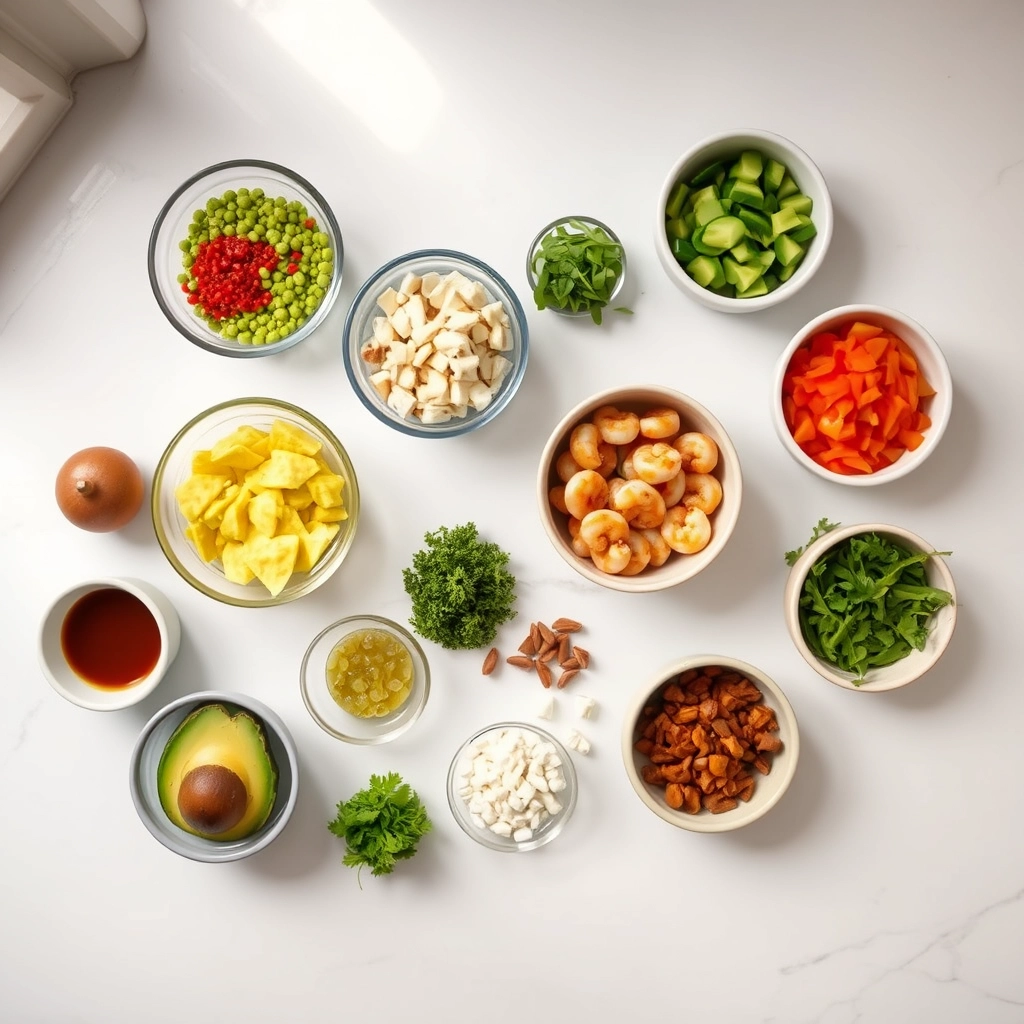
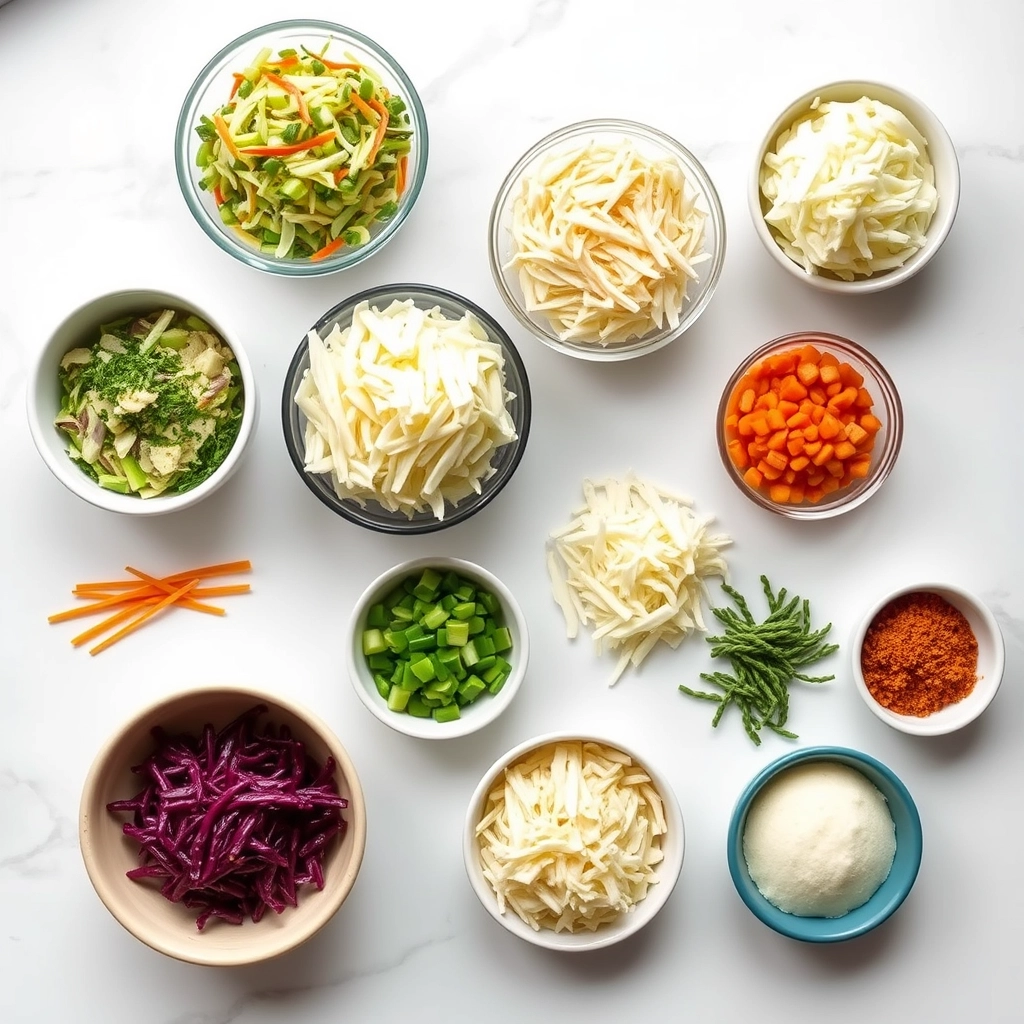
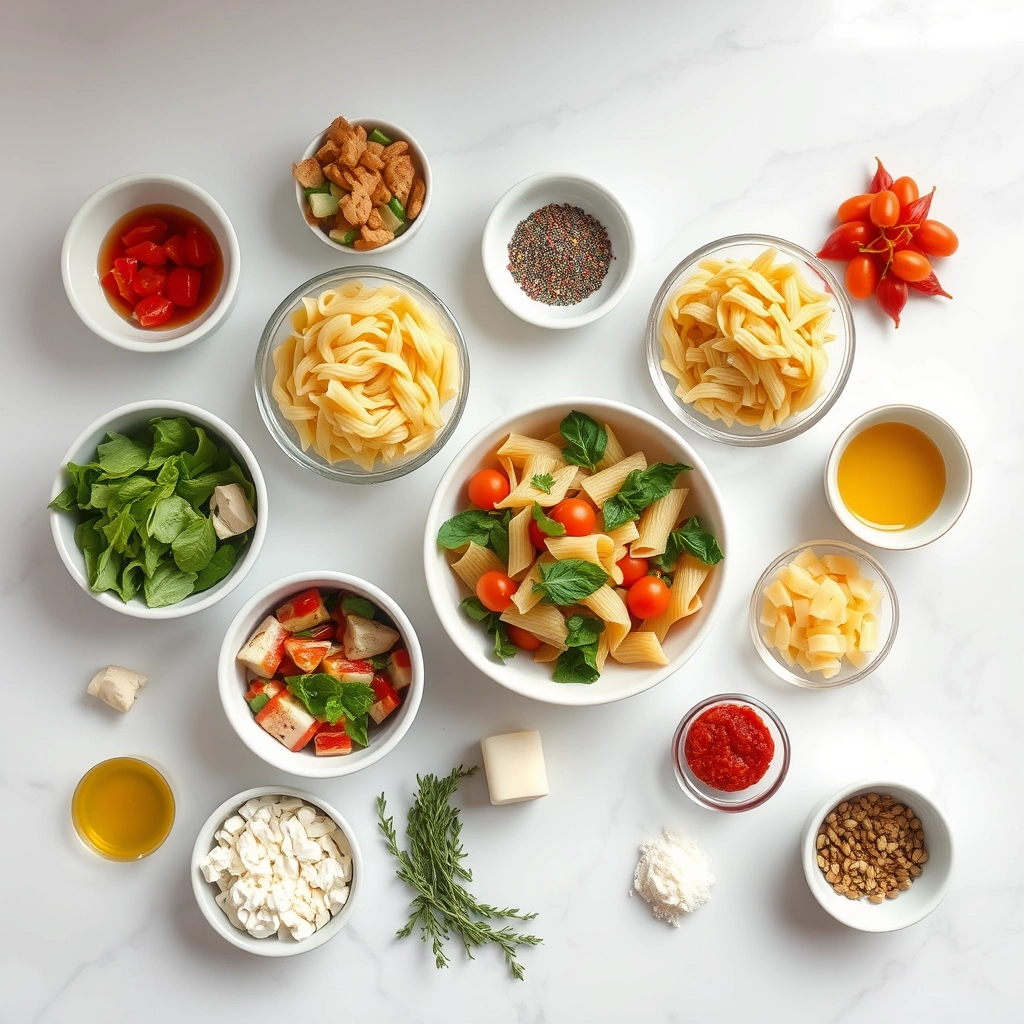
Start by boiling your pasta until it reaches al dente perfection, then drain and rinse it under cold water to stop the cooking process. Meanwhile, chop fresh veggies like bell peppers, cucumbers, and cherry tomatoes into bite-sized pieces for a crisp texture. Toss the cooled pasta and veggies into a large bowl, then drizzle with olive oil and a squeeze of lemon juice to brighten the flavors. Next, fold in your favorite protein—grilled chicken, chickpeas, or feta cheese work wonderfully. For the dressing, whisk together Greek yogurt, garlic, and herbs for a creamy finish, or keep it light with a simple vinaigrette. Finally, chill the Easy Pasta Salad for at least 30 minutes to let the flavors meld. To save time, prep ingredients ahead or use store-bought rotisserie chicken. If you’re short on fridge space, layer the salad in a mason jar for portable freshness.
Mistakes I’ve made and learned from
Early on, I made the mistake of overcooking the pasta, which turned my Easy Pasta Salad mushy. Now, I set a timer for one minute less than the package suggests and taste-test for that perfect bite. Another blunder? Skipping the rinse—warm pasta clumped together, so I always cool it thoroughly. I also learned the hard way that overdressing weighs down the dish; start with half the amount and add more as needed. For more kitchen hacks, check out my guide on perfect pasta texture and meal prep strategies to avoid common pitfalls. Trust me, a little patience goes a long way!
Cultural Connection and Variations
Where this recipe comes from
Easy Pasta Salad traces its roots to the vibrant potluck culture of mid-20th century America, where home cooks needed crowd-pleasing dishes that could travel well. However, its inspiration stretches further back to Mediterranean pasta dishes like Italian pasta fredda and Greek kritharaki salads. Families often tweak the recipe based on what’s fresh or nostalgic. For instance, some add tangy pepperoncini for a Southern twist, while others toss in crisp apples for a Midwestern crunch.
Globally, versions of Easy Pasta Salad pop up with local flair. In Japan, they might include shredded nori and sesame dressing. Meanwhile, Australian barbecue versions often feature grilled halloumi. My grandma’s version, packed with olives and feta, nods to her Greek heritage. No matter where you go, though, the core appeal stays the same: a chilled, versatile dish that brings people together.
How it fits in today’s cooking
Easy Pasta Salad still shines as a modern staple because it’s endlessly adaptable. Meal preppers love it for healthy lunch rotations, while busy parents rely on it for no-fuss picnics. Its bright flavors also make it a hit at summer gatherings, especially when paired with refreshing seasonal drinks.
Today’s cooks often lighten it up with quinoa pasta or load it with farmers’ market veggies. Others reinvent it as a grain bowl base or pack it with plant-based proteins. Whether you’re honoring tradition or experimenting, Easy Pasta Salad keeps earning its spot at the table—one colorful bite at a time.
Taste and Texture
What makes it delicious
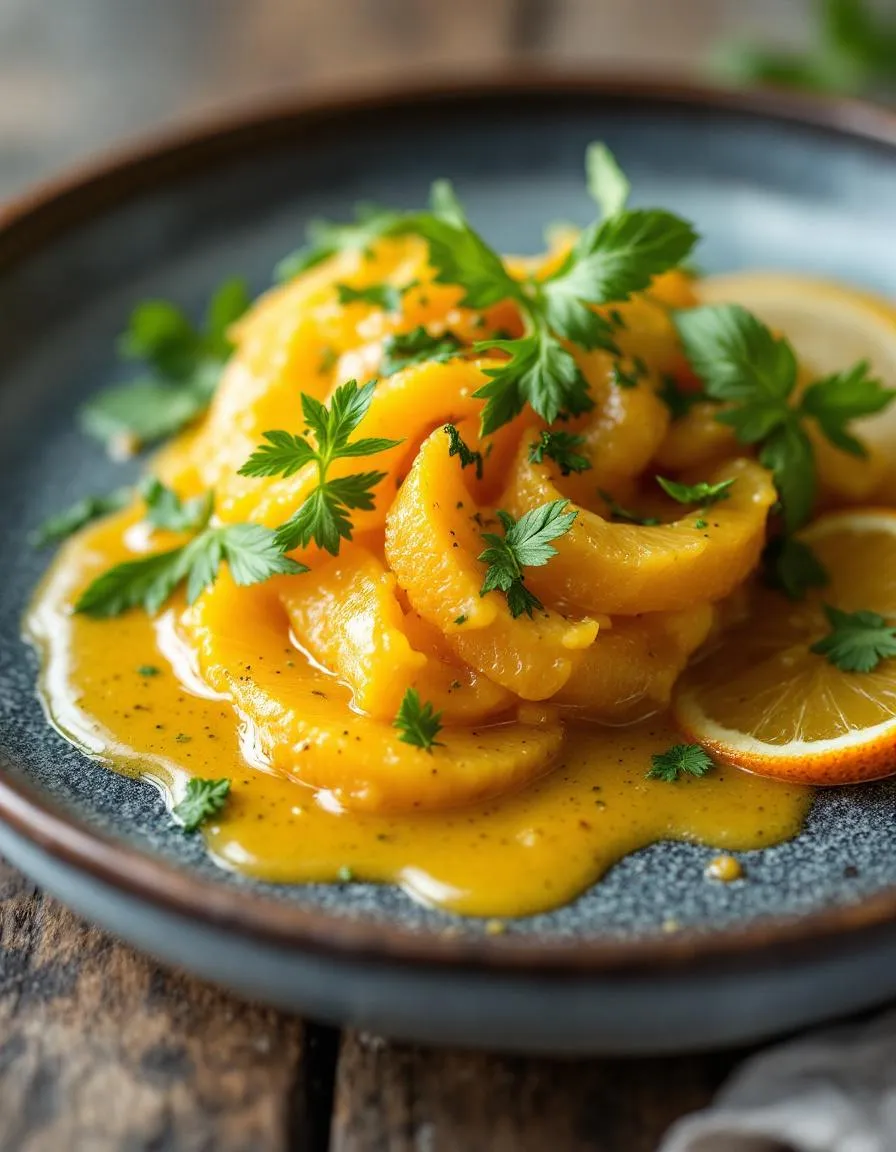
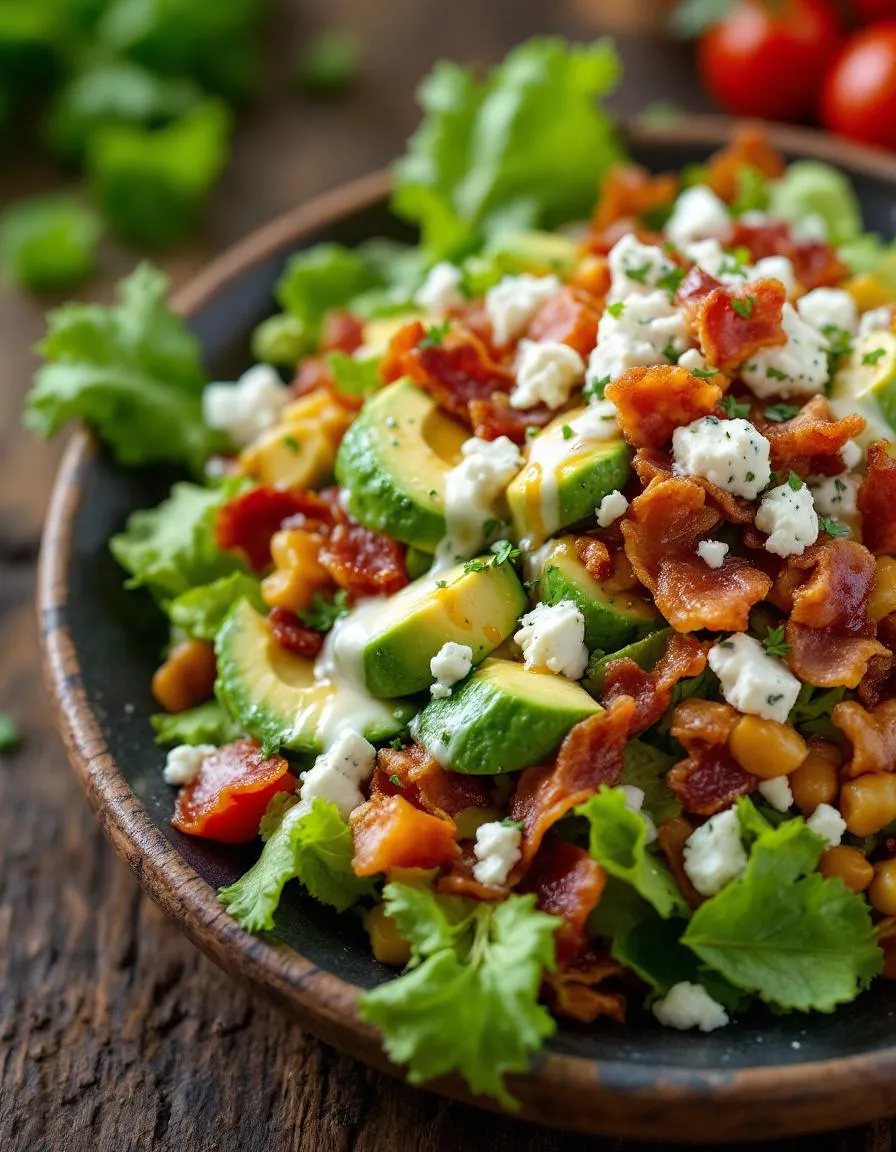
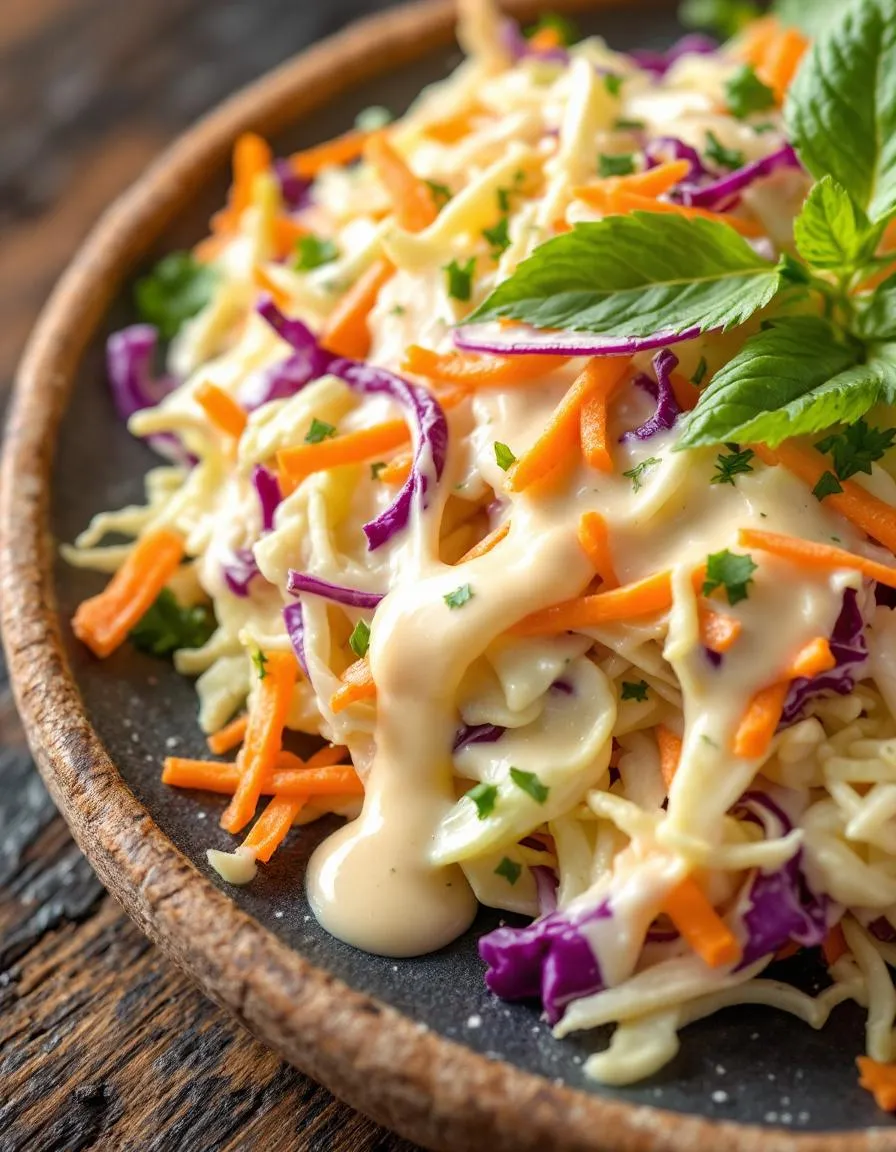
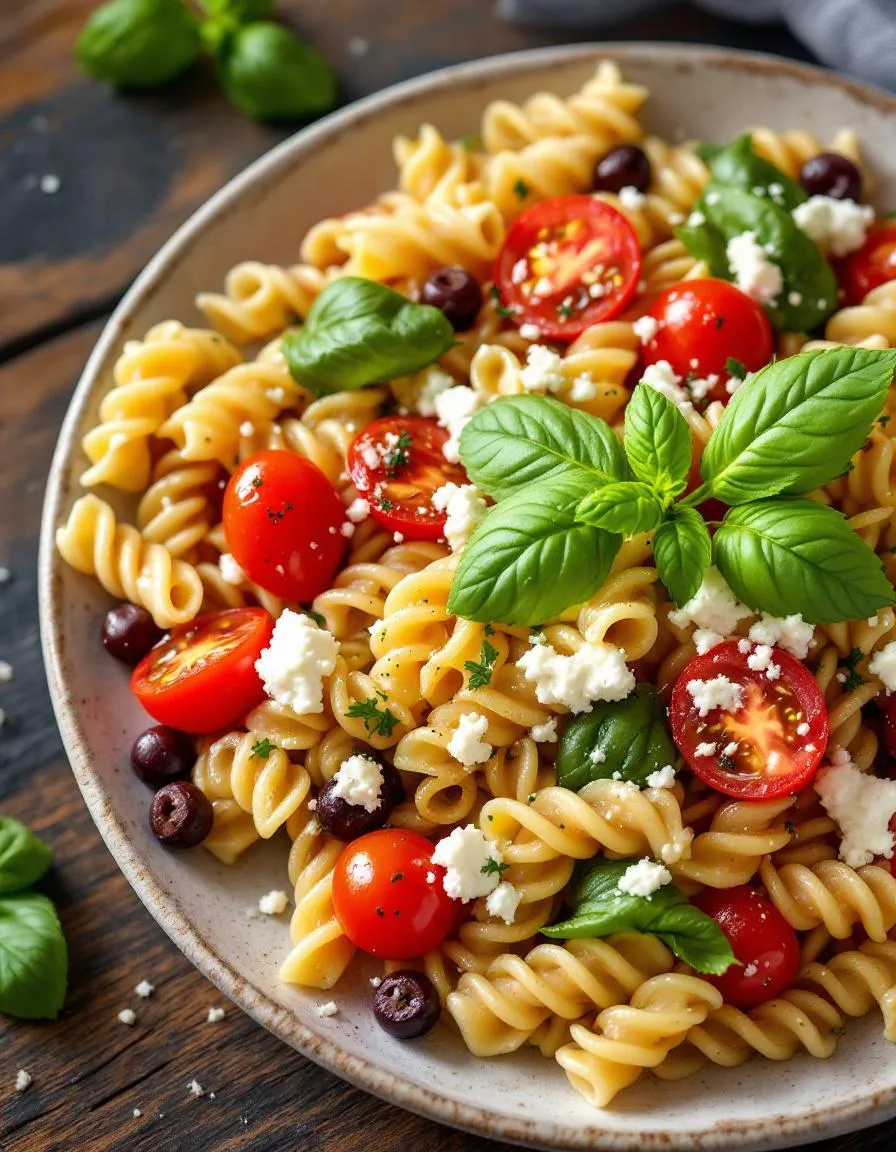
Easy Pasta Salad bursts with bright, fresh flavors and satisfying textures in every bite. The tender pasta soaks up a tangy dressing, while crisp veggies like bell peppers and cucumbers add a refreshing crunch. Juicy cherry tomatoes pop with sweetness, and briny olives or feta cheese lend a savory depth. Meanwhile, fragrant herbs like basil or parsley weave in a lively aroma. Whether you serve it chilled or at room temperature, Easy Pasta Salad delivers a balanced mix of creamy, chewy, and crisp elements that keep you coming back for more.
Boosting the flavor
For an extra flavor kick, try tossing in roasted garlic or a sprinkle of chili flakes to add warmth. You can also swap the dressing for a zesty lemon tahini sauce or a creamy avocado lime blend. Crumbled bacon or toasted nuts introduce a smoky, crunchy contrast. If you love bold flavors, marinated artichokes or sun-dried tomatoes pack a punch. For more inspiration, check out our guide to perfect salad dressings or explore creative vegan pasta twists to customize your dish. With a few tweaks, Easy Pasta Salad becomes even more irresistible.

Tips for Success
Best practices for results
Always cook your pasta al dente for the best texture in Easy Pasta Salad, as overcooked noodles turn mushy when chilled. Meanwhile, rinse the pasta under cold water immediately after draining to stop the cooking process and prevent clumping. For maximum flavor, toss the salad with dressing while the pasta is still slightly warm so it absorbs the seasonings better. Additionally, refrigerate Easy Pasta Salad for at least an hour before serving to let the flavors meld perfectly.
Mistakes to avoid
Avoid overdressing the salad, since too much liquid can make the pasta soggy. Instead, start with half the dressing and add more as needed. Many people also forget to season the pasta water generously, which is key for building depth in Easy Pasta Salad. For more seasoning tips, check out our guide on balancing flavors. Finally, don’t skip the fresh herbs—they brighten the dish, unlike dried alternatives. Learn how to substitute herbs correctly if you’re in a pinch.
Serving and Pairing Suggestions
How to serve this dish
Easy Pasta Salad shines as a versatile dish that suits any occasion. For a casual backyard BBQ, serve it in a large, colorful bowl with a sprinkle of fresh herbs on top. Alternatively, layer it in individual mason jars for a picnic-ready presentation. During holidays, elevate it by adding festive garnishes like pomegranate seeds or edible flowers. Whether you’re hosting brunch or a potluck, this dish always impresses with minimal effort.
What goes well with it
Pair Easy Pasta Salad with a crisp white wine like Sauvignon Blanc to balance its vibrant flavors. For a non-alcoholic option, try a refreshing homemade lemonade, which adds a tangy contrast. If you’re serving it as part of a larger spread, consider adding garlic bread for a satisfying crunch. Each pairing enhances the dish while keeping the meal light and enjoyable.

Short, sturdy shapes like rotini, penne, or farfalle work best for Easy Pasta Salad because they hold dressing well and won’t get mushy. Avoid long noodles like spaghetti, as they’re harder to mix and eat in a chilled salad.
Easy Pasta Salad stays fresh for 3-5 days when stored in an airtight container. For best texture, add delicate ingredients like fresh herbs or avocado just before serving if meal prepping.
Absolutely! Easy Pasta Salad actually tastes better when made 4-24 hours ahead, as the flavors meld together. Just reserve some dressing to refresh it before serving if needed.
Italian vinaigrette or creamy ranch are classic choices for Easy Pasta Salad, but any oil-based dressing works well. Avoid thick mayonnaise-based dressings unless thinning them with vinegar or lemon juice first.