Table of Contents
Freakin’ Fantastic Fried Rice: The Ultimate Guide to Restaurant-Quality Fried Rice at Home
| Category | Details |
|---|---|
| Prep Time | 15 minutes |
| Cook Time | 15 minutes |
| Total Time | 30 minutes |
| Servings | 4-6 people |
| Difficulty | Easy |
| Cuisine | Asian-American |
Why This Fried Rice is Freakin’ Fantastic
Let’s be honest: we’ve all had disappointing fried rice. That soggy, bland, greasy mess that makes you wish you’d just ordered takeout. Well, friends, those days are over. This Freakin’ Fantastic Fried Rice recipe isn’t just another side dish—it’s a flavor-packed, texture-perfect main event that will legitimately change your weeknight dinner game. Born from the need to transform leftover rice and simple fridge staples into something extraordinary, this recipe delivers that elusive “wok hei” (the breath of the wok) flavor using a regular home skillet.

What sets this recipe apart is its beautiful simplicity meeting profound depth of flavor. We’re talking fluffy, separate grains of rice coated in a savory, umami-rich sauce, studded with sweet pops of peas and carrots, intertwined with soft scrambled eggs and the aromatic base of sautéed onion. It’s comfort food that feels exciting, a budget-friendly meal that tastes like a million bucks, and a versatile canvas ready for your personal touch. Whether you’re a kitchen novice or a seasoned home cook, this guide from The Kitchen Team will walk you through every secret to fried rice perfection.
What Makes This Recipe The Best: The Science of Success
Great fried rice is a culinary balancing act, and this recipe is engineered for success. The magic starts with cold, cooked rice. This is non-negotiable. Freshly cooked rice is too moist and steamy, causing it to clump and become mushy in the skillet. Rice that has been cooled (preferably overnight in the fridge) has dried out slightly, giving each grain structural integrity. This allows them to sear properly instead of steam, resulting in that perfect, slightly chewy texture that defines excellent fried rice.
Next, our fat of choice: butter. While many recipes use a neutral oil, butter provides a rich, nutty foundation that oil simply cannot match. It browns the onions to sweet perfection and helps create fond (those delicious browned bits) on the bottom of the pan, which then deglazes with the soy sauce to create a complex, layered sauce.
The use of frozen peas and carrots is a stroke of genius for both convenience and quality. Frozen vegetables are flash-frozen at peak ripeness, locking in nutrients and flavor. They also release just the right amount of moisture into the dish as they heat through, helping to distribute the sauce without making anything soggy. Finally, the technique of scrambling the eggs directly in the pan ensures they stay tender and integrate seamlessly into the rice, rather than becoming a dry, separate omelet strip.
Ingredients & Why They Work
Every ingredient in this recipe has a purpose. Here’s your complete shopping and prep list, with explanations to turn you from a recipe follower into a recipe understander.
| Ingredient | Quantity | Role in the Recipe |
|---|---|---|
| Cold, Cooked Long-Grain White Rice (like Jasmine) | 4 cups | The Star. Provides the base. Cold rice fries without getting gummy. |
| Unsalted Butter | 3 tablespoons | The Flavor Base. Brownes for nuttiness and helps achieve perfect sear. |
| Yellow Onion, diced | 1 medium | The Aromatic. Sweetens as it cooks, building foundational flavor. |
| Frozen Peas & Carrots Mix | 12 oz bag | Color & Sweetness. Adds vibrancy, texture, and a touch of natural sugar. |
| Soy Sauce (regular or low-sodium) | 1/2 cup | The Umami Engine. Salty, savory, and gives the rice its classic color. |
| Large Eggs, beaten | 3 | Protein & Texture. Creates tender, creamy ribbons throughout the dish. |
| Optional Garnishes: Sliced Green Onions, Toasted Sesame Seeds | For serving | The Finish. Adds freshness, color, and a final layer of texture and flavor. |
Step-by-Step Cooking Instructions
Follow these steps carefully for foolproof results every single time.
Step 1: Prep is Everything
Ensure all your ingredients are measured, chopped, and within arm’s reach of the stove (this is called “mise en place”). Fried rice cooks quickly, and you won’t have time to rummage through the fridge. Crack and beat your eggs in a small bowl. Dice your onion. Have your frozen veggies, soy sauce, and cold rice ready to go.
Step 2: Building the Flavor Base
Place a large skillet, wok, or cast-iron pan over medium-high heat. Add the butter. Once it’s melted and just starting to foam, add the diced onion. Cook, stirring frequently, for 3-4 minutes until the onion is soft and translucent. You’re not looking for color here, just sweetness.
Step 3: Adding Vegetables & Rice
Add the entire bag of frozen peas and carrots to the skillet. Stir and cook for 2-3 minutes until they are completely thawed and heated through. Now, add the cold rice. Use your spatula to break up any large clumps, ensuring the grains are separate. Pour the soy sauce evenly over the rice and vegetable mixture. Stir thoroughly to combine. Let the rice cook, undisturbed, for 1-2 minutes at a time before stirring. This allows it to develop a slight crispness on the bottom—that’s flavor!
Step 4: The Egg Technique
This is the signature move. Push all the rice mixture to one side of the skillet, tilting the pan slightly so any excess liquid runs to the other side. Pour the beaten eggs into the empty space. Let them set for about 30 seconds, then gently scramble them with your spatula until they are just cooked through but still soft and slightly runny—they will finish cooking in the next step.
Step 5: The Final Mix & Serve
Now, integrate the scrambled eggs into the rice mixture, folding gently until everything is evenly distributed. Taste and adjust—if you used low-sodium soy sauce, you might want an extra splash. Remove from heat immediately to prevent the eggs from overcooking. Transfer to a serving bowl and garnish generously with sliced green onions and a sprinkle of toasted sesame seeds.
Serving Suggestions & Perfect Pairings
This fried rice is hearty enough to stand alone, but it also plays incredibly well with others. Here are The Kitchen Team’s favorite ways to serve it:
- The Classic Combo: Serve alongside crispy egg rolls, steamed dumplings (potstickers), and a simple cucumber salad for a full DIY takeout feast.
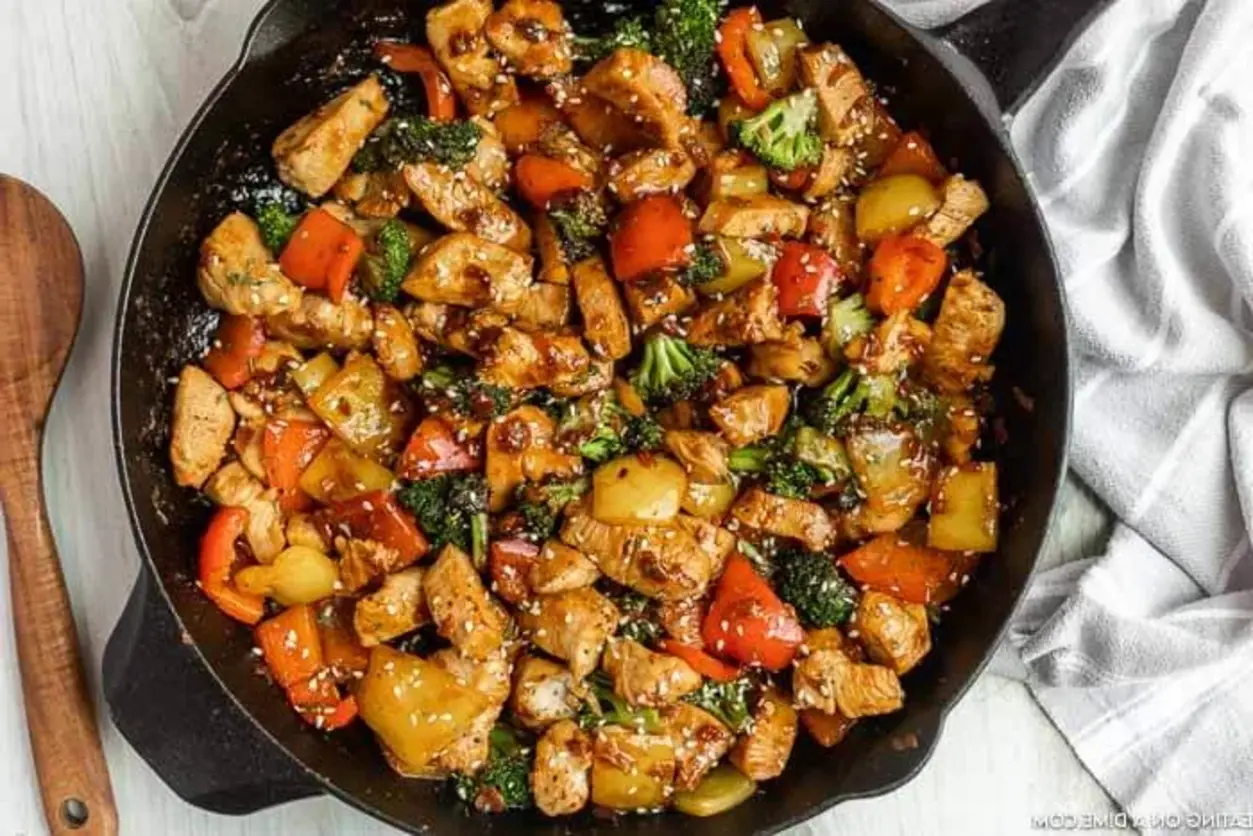
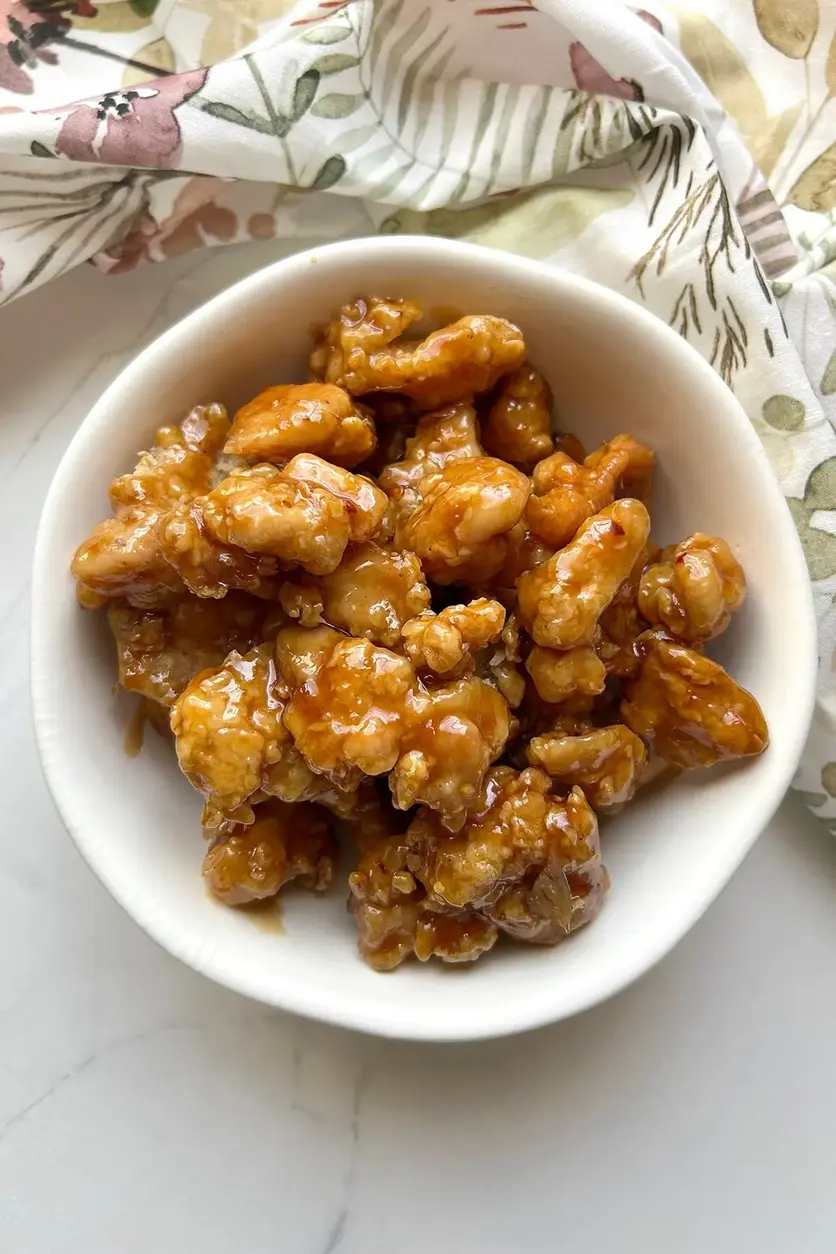
- Protein Power-Up: Top individual bowls with grilled teriyaki chicken, shrimp, thinly sliced steak, or crispy tofu for a more substantial meal.
- Soup & Rice: Pair with a light, brothy soup like egg drop soup or miso soup for a comforting and complete dinner.
- Brunch Brilliance: Serve it as a base for a fried egg, with the runny yolk mixing into the rice for an unforgettable breakfast or brunch dish.
Storage & Reheating Guide
Leftovers? They might be even better the next day! Store cooled fried rice in an airtight container in the refrigerator for up to 4 days.
Reheating for Best Results: The microwave can make fried rice soggy. For best results, reheat it in a skillet over medium heat with a tiny splash of water or broth. Cover for a minute to steam it through, then uncover and stir-fry for a minute to re-crisp the grains. You can also use the air fryer at 350°F for 3-4 minutes, shaking halfway through.
Creative Recipe Variations
The beauty of this recipe is its adaptability. Make it your own with these easy twists:
| Variation | Ingredient Swap/Add | Result |
|---|---|---|
| Pineapple Fried Rice | Add 1 cup diced fresh pineapple with the veggies. Use 1 tbsp less soy sauce. | Tropical, sweet & savory balance. |
| Spicy Kimchi Fried Rice | Add 1 cup chopped kimchi and 1 tbsp gochujang with the rice. | Tangy, fermented, and pleasantly spicy. |
| Garlic & Ginger Fried Rice | Sauté 2 tbsp minced garlic & 1 tbsp minced ginger with the onions. | An aromatic powerhouse with a flavor kick. |
| “Clean Out the Fridge” Fried Rice | Add diced bell peppers, corn, broccoli, or mushrooms. | Zero-waste, nutrient-packed, and unique every time. |
| Brown Rice Power Bowl | Use cold cooked brown rice or quinoa instead of white rice. | Higher fiber, nuttier flavor, and extra chew. |
Your Fried Rice Questions Answered (FAQ)
We strongly advise against it. Fresh rice is too moist. If you’re desperate, spread freshly cooked rice in a thin layer on a baking sheet and pop it in the freezer for 15-20 minutes to rapidly chill and dry the surface. It’s not perfect, but it’s better than using steaming rice.
Long-grain varieties like Jasmine or Basmati are ideal because they have less starch and stay separate when cooked. Medium-grain rice (like Calrose) can work but may be slightly stickier. Avoid short-grain or sushi rice for this application.
Ensure your pan is properly preheated before adding the butter, and use enough fat. A well-seasoned cast iron or carbon steel wok is the best non-stick tool. Also, don’t stir constantly—let the rice sit and form a slight crust before flipping.
Absolutely! For gluten-free, use tamari or a certified gluten-free soy sauce. The recipe is naturally vegetarian as written. For a vegan version, omit the eggs and butter, using a neutral oil instead, and consider adding cubed firm tofu for protein.
It distributes over 4 cups of rice and a bag of vegetables, so it’s perfectly balanced. Remember, soy sauce is the primary seasoning agent. If you’re concerned about sodium, use a low-sodium variety and you can always add a little more at the end if needed.
Yes! For chicken, shrimp, or pork, dice it small and cook it in the butter before adding the onions. Remove it from the pan, then add it back in with the rice. For pre-cooked meat (like leftover roast pork or ham), add it with the frozen veggies to just heat through.
The #1 culprit is rice that is too wet (not cold enough). The #2 culprit is overcrowding the pan, which steams the rice. The #3 culprit is stirring too often, which prevents evaporation and searing.
Coconut aminos are a great, slightly sweeter alternative. You could also use a combination of oyster sauce (for depth) and a little water, or a teriyaki sauce for a different flavor profile.
Made This Recipe? Share the Love!
If this Freakin’ Fantastic Fried Rice made your dinner awesome, we’d be thrilled if you shared it with your friends and family! Tag us on social media @cookingwithemy so we can see your masterpiece.
📌 Save This Recipe for Later!
Don’t lose this guide to perfect fried rice! Pin the image below to your Dinner Ideas or Meal Prep board on Pinterest so you always have it handy.
Follow us on Pinterest for more fantastic recipes: Pinterest.com/cookingwithemy
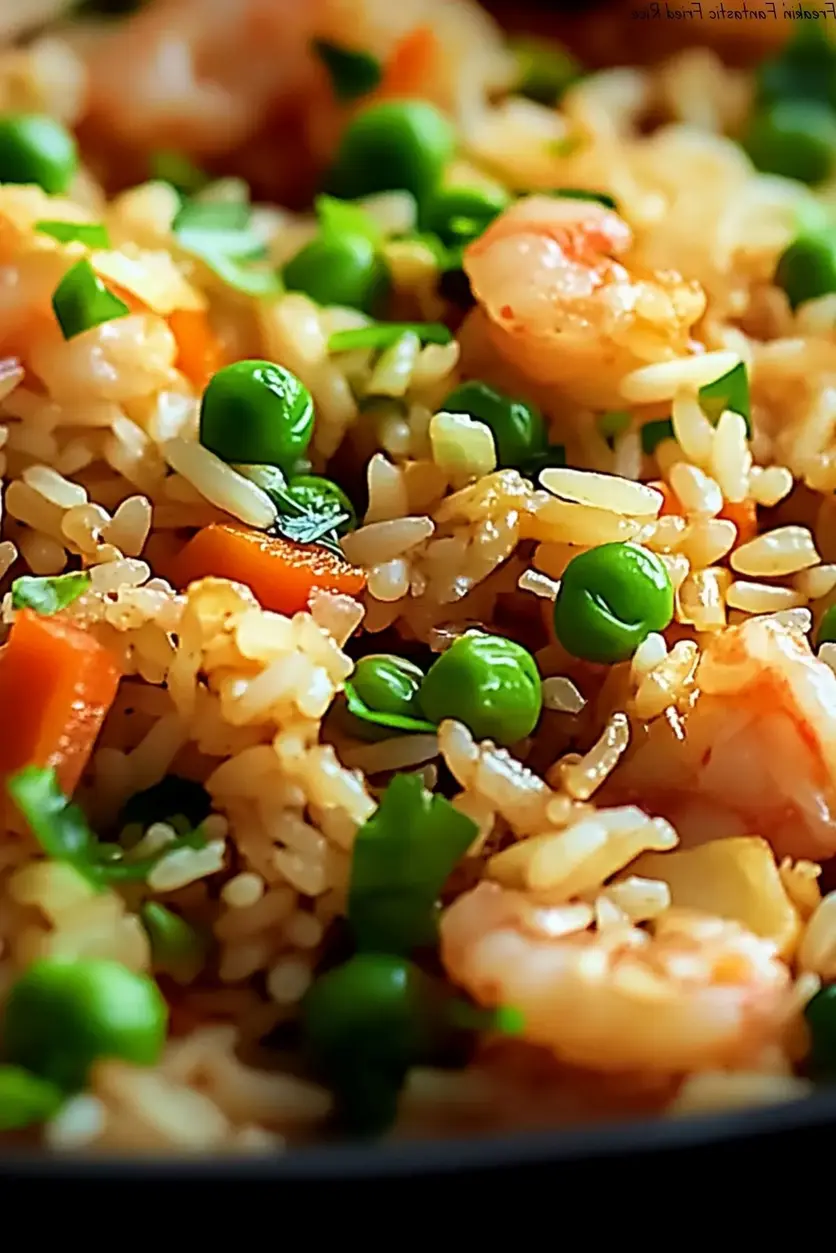
[Image: A vibrant, high-quality photo of the finished Freakin’ Fantastic Fried Rice in a bowl, garnished with green onions and sesame seeds, with chopsticks resting on the side.]
Click the “Save” button on the image above to pin it!
From all of us at The Kitchen Team at cookingwithemy.com, thank you for cooking with us! We hope this recipe becomes a freakin’ fantastic staple in your home.
Freakin Fantastic Fried Rice
Description
This Freakin Fantastic Fried Rice recipe is a delicious and satisfying dish that combines fluffy rice with savory soy sauce, colorful vegetables, and scrambled eggs. It’s a perfect balance of flavors and textures that will leave you craving for more.
Ingredients
Scale
- 4 cups cold, cooked rice
- 3 tablespoons butter
- 1 onion, diced
- 12 oz frozen peas and carrots
- 1/2 cup soy sauce
- 3 eggs, beaten
Instructions
- Heat butter in a large skillet, then add diced onions and cook until translucent. Add frozen peas and carrots and cook until heated through.
- Stir in the cold, cooked rice and soy sauce. Cook for a few minutes, stirring occasionally.
- Push the rice to one side of the skillet and pour beaten eggs into the other side. Cook until scrambled, then mix with the rice.
- Enjoy your Freakin Fantastic Fried Rice hot and garnish with green onions or sesame seeds if desired.