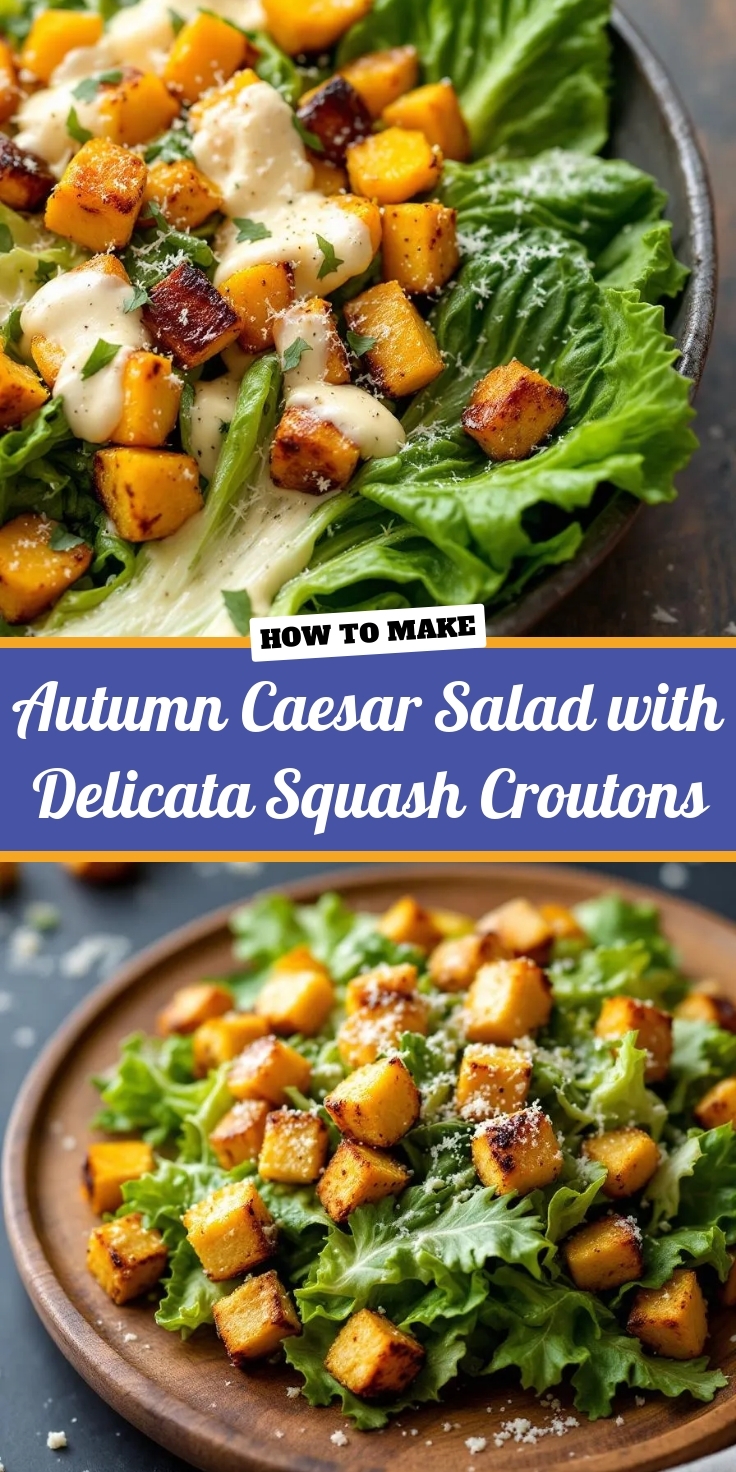
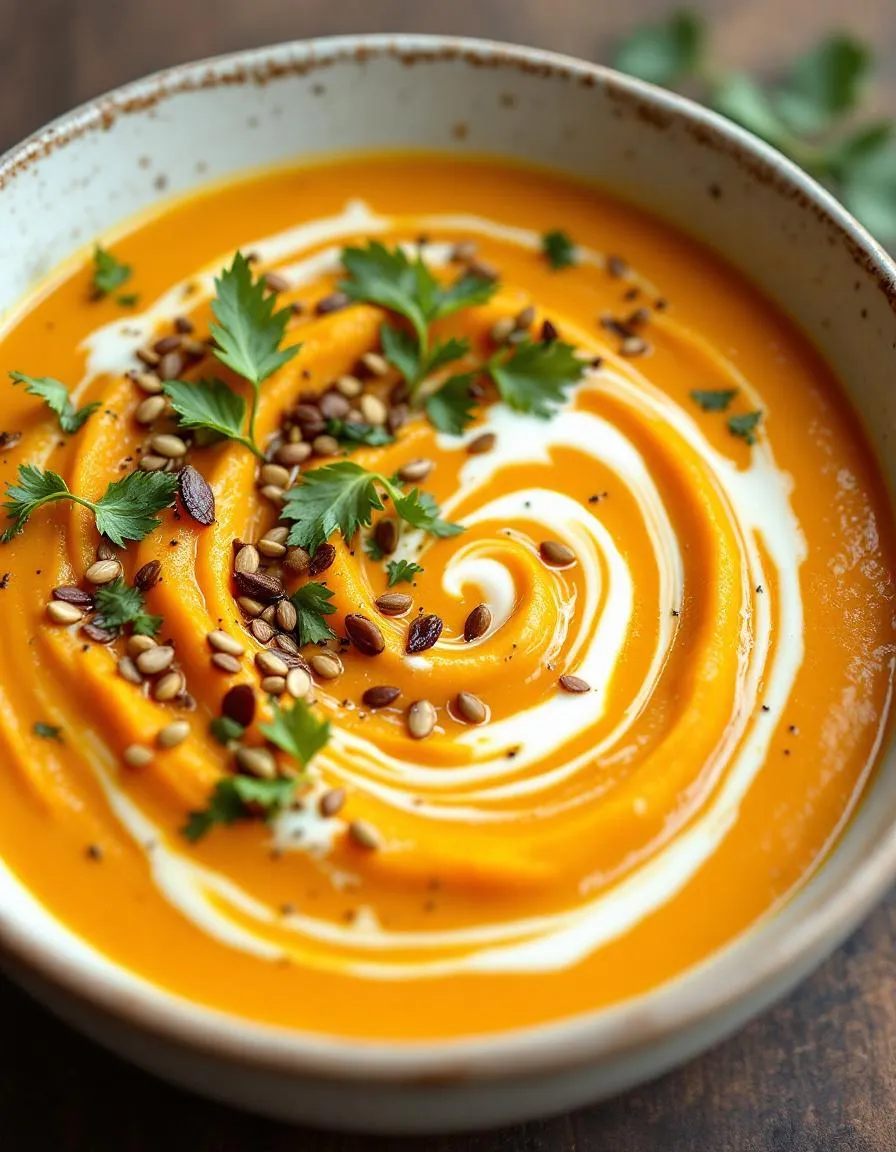
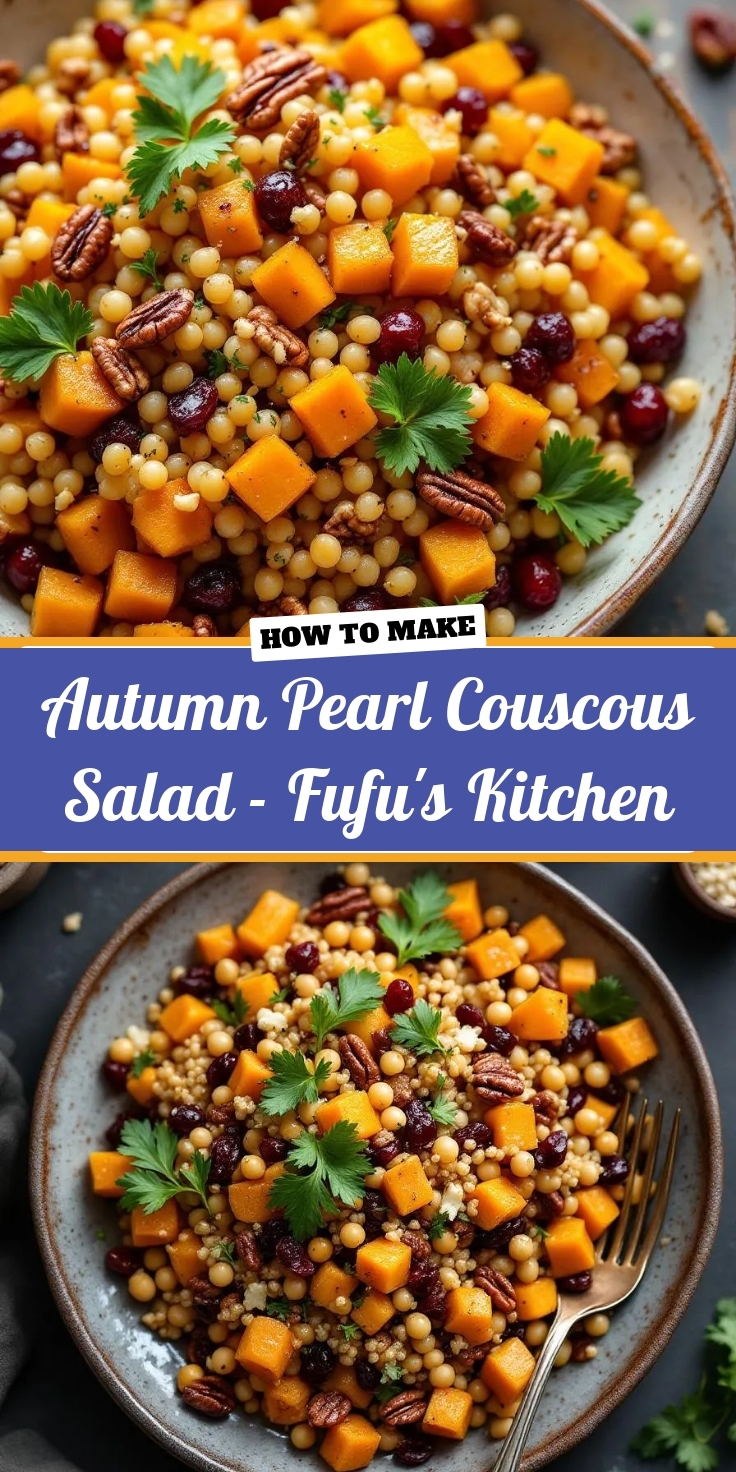
As the air turns crisp and the leaves begin their fiery transformation, we naturally crave food that warms us from the inside out. We seek comfort, yet we still yearn for something vibrant and fresh on our plates. This is precisely where the magic of this Autumn Pearl Couscous Salad – Fufu’s Kitchen comes into play. It masterfully captures the very essence of the season in a single, stunning bowl. Furthermore, it wraps you in a cozy embrace while simultaneously delivering a spectacular burst of flavor and texture that will absolutely become your new seasonal obsession.
About This Recipe
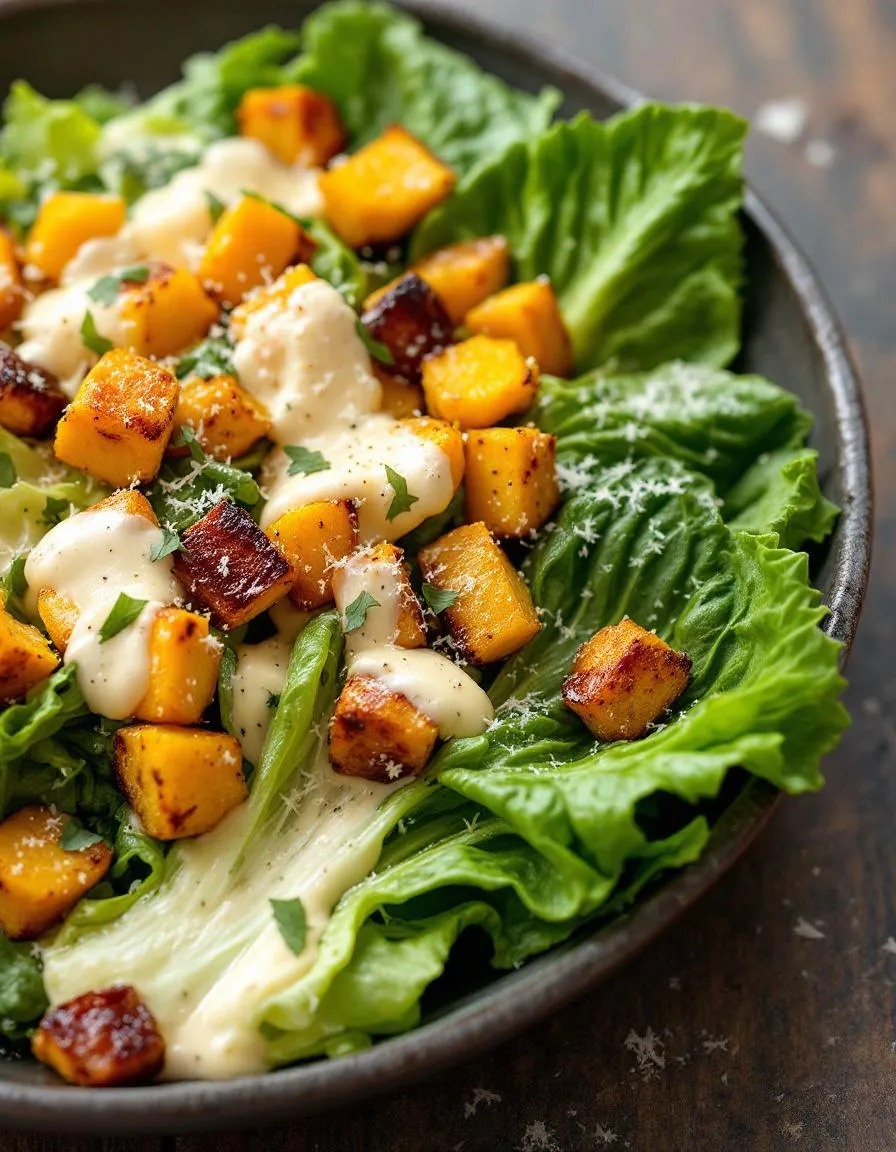
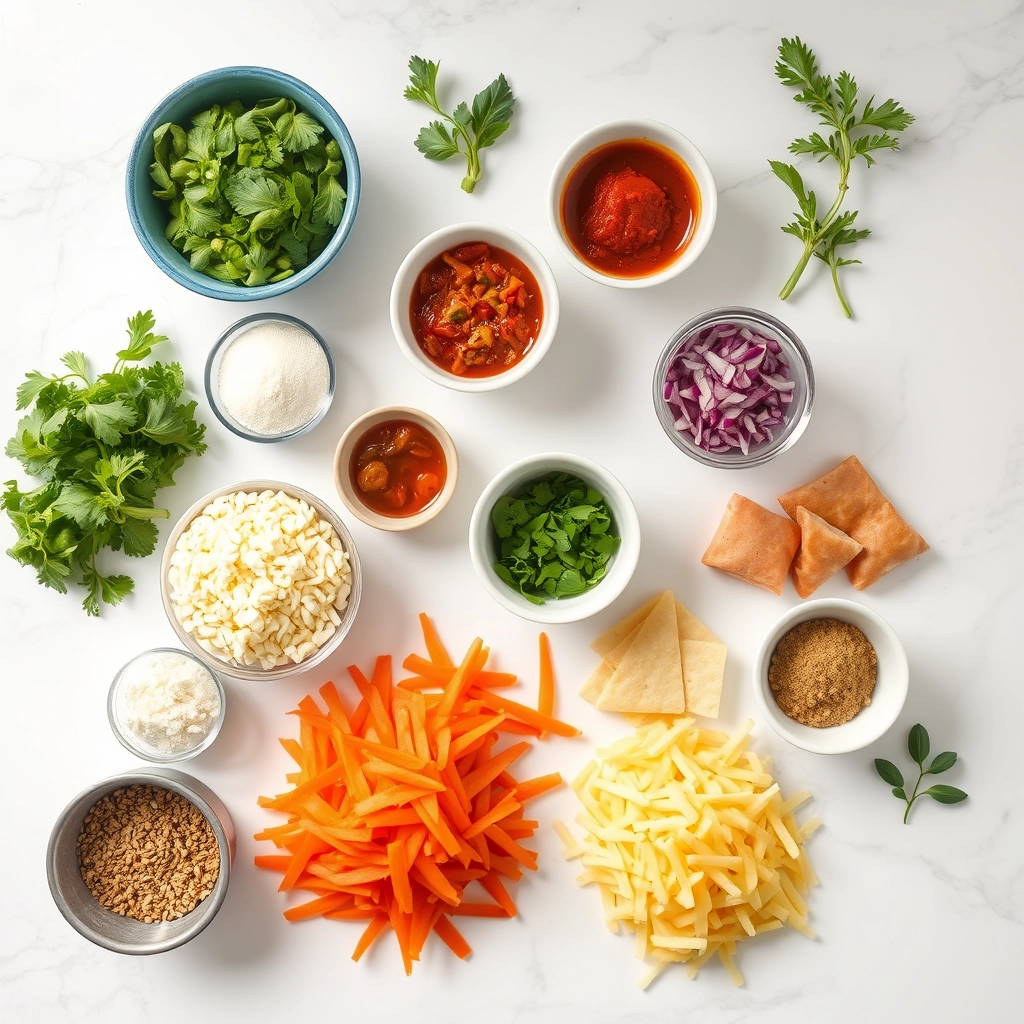
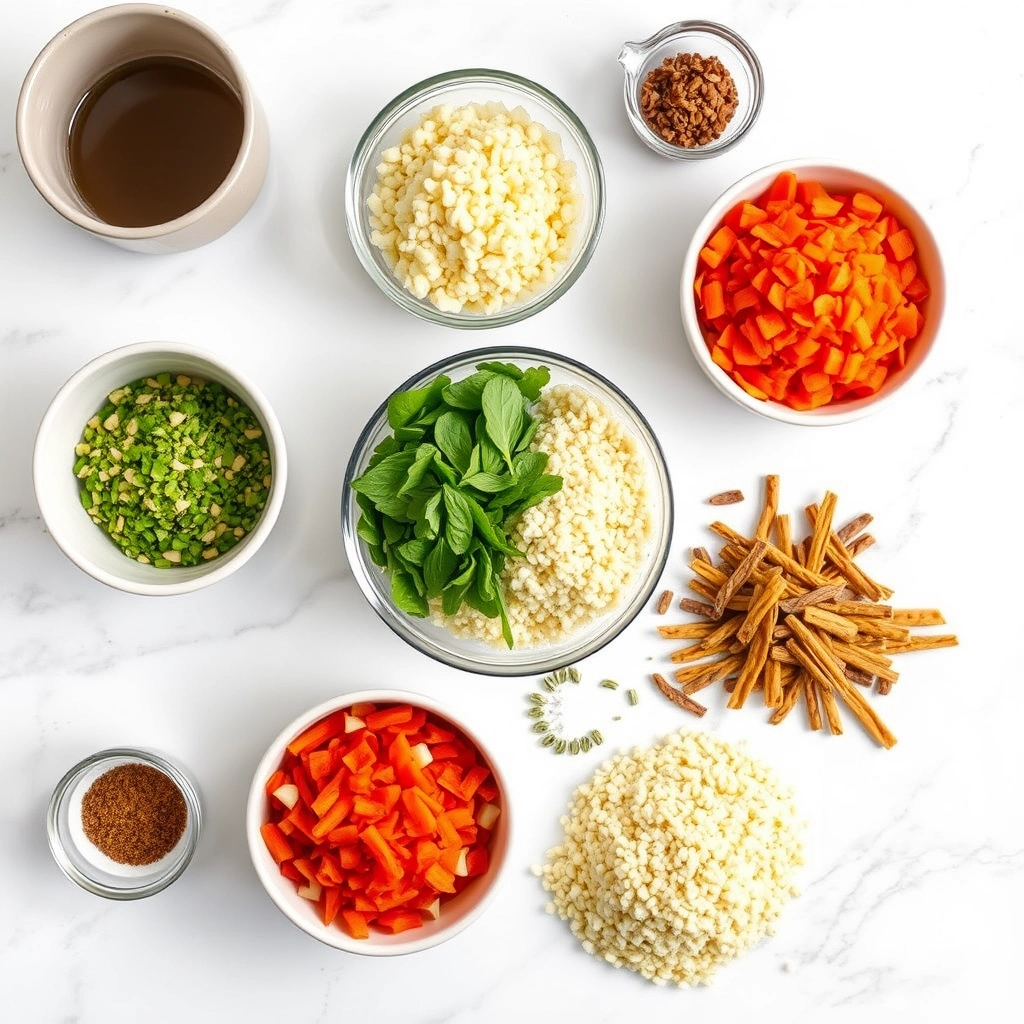
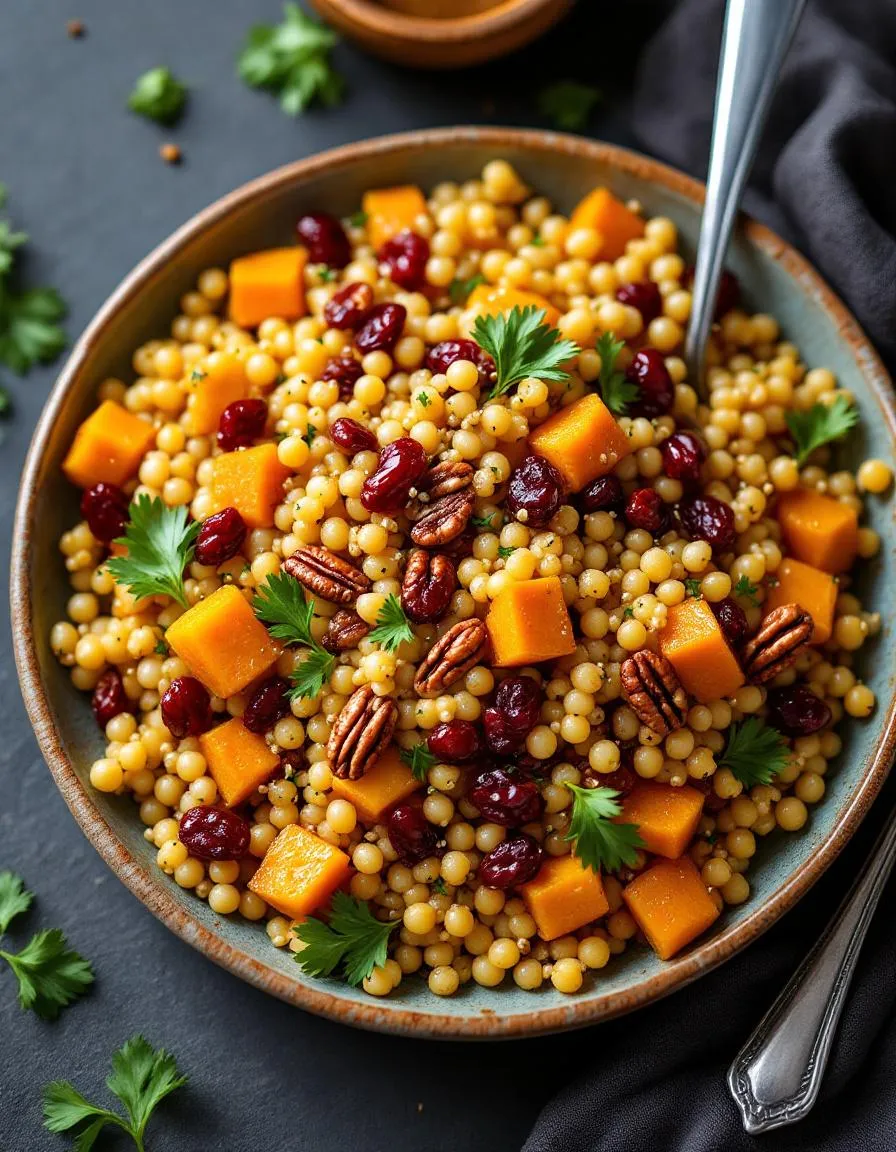
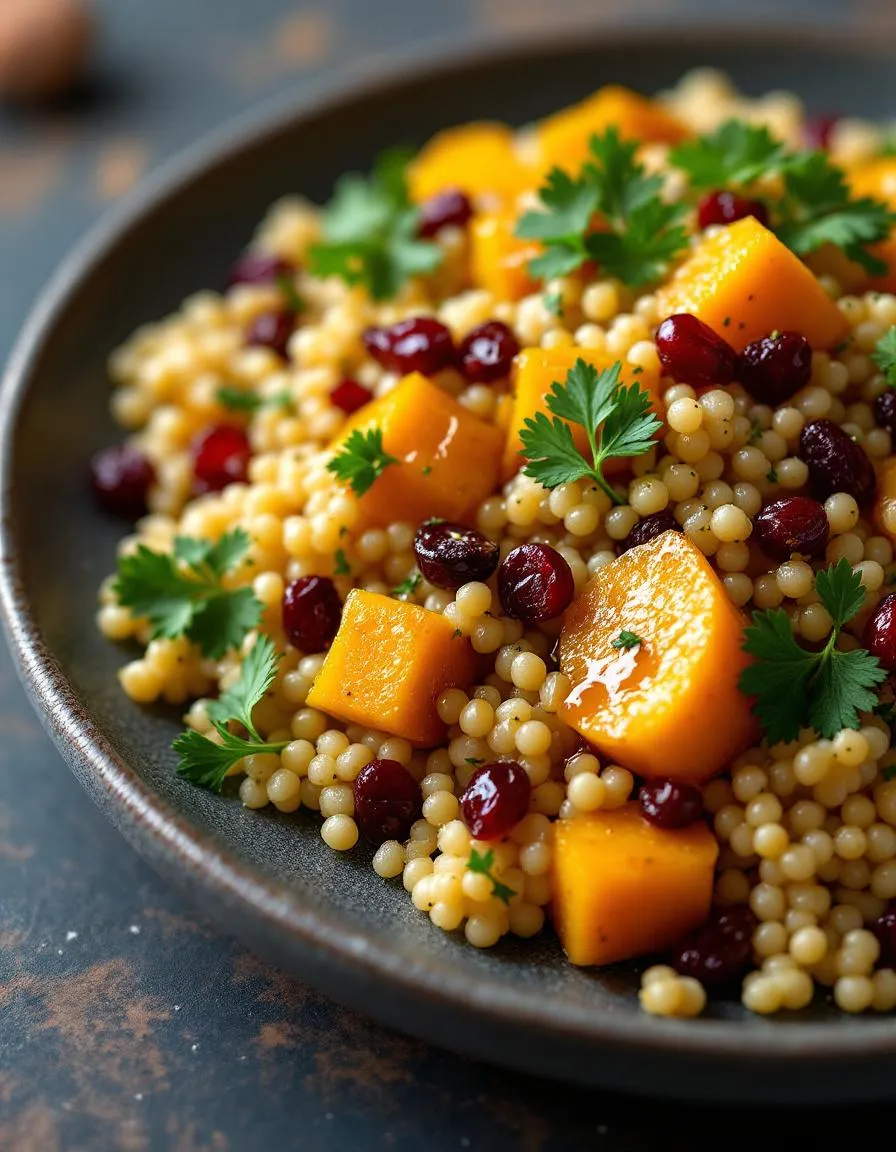
So what exactly is this Autumn Pearl Couscous Salad – Fufu’s Kitchen? Essentially, it is a celebration of harvest on a plate. We start with pearl couscous, which is also known as Israeli couscous. This delightful pasta offers a wonderfully chewy texture that perfectly soaks up the robust, herb-infused dressing. Then, we fold in sweet roasted butternut squash, tart dried cranberries, crunchy pecans, and sharp feta cheese. Consequently, every single forkful delivers a harmonious balance of sweet, savory, and tangy notes.
This dish matters because it truly fits any occasion. For instance, it acts as a magnificent make-ahead lunch that stays fresh and exciting all week. Alternatively, it serves as a stunning, crowd-pleasing side dish for your holiday table, especially alongside a classic herb-roasted turkey. Moreover, the recipe aligns perfectly with the cozy, approachable, and flavor-forward tone we champion here. We believe that incredible food should be accessible to everyone, and this Autumn Pearl Couscous Salad – Fufu’s Kitchen absolutely embodies that philosophy. It uses simple, whole ingredients but combines them in a truly extraordinary way. Ultimately, this salad is more than just a recipe; it is a reliable and delicious tradition in the making, much like our favorite celebratory cakes.
Why I Love This Recipe
I have a deeply personal connection to this Autumn Pearl Couscous Salad – Fufu’s Kitchen. It originally came from my grandmother’s kitchen notebook, a cherished book filled with her handwritten notes. She would always make a version of this salad for our large family gatherings every Thanksgiving. Therefore, the scent of roasting squash and toasting pecans instantly transports me back to her bustling kitchen. I have since adapted her original recipe, but the soul of it remains completely unchanged. Every time I make it, I feel like I am honoring her legacy and sharing a piece of our family’s story. This dish is my edible hug, and I am so thrilled to finally share it with you.
Health and Nutrition
Why it’s good for your body
This Autumn Pearl Couscous Salad – Fufu’s Kitchen truly nourishes your body from the inside out. First, the whole wheat pearl couscous provides a fantastic source of complex carbohydrates. Consequently, it delivers a steady supply of energy without the sharp spikes and crashes associated with simple sugars. Moreover, the colorful array of roasted squash, sweet potatoes, and apples packs a powerful antioxidant punch. These compounds actively combat oxidative stress and support your overall cellular health.
Additionally, the healthy fats from the olive oil and nuts play a crucial role. They help your body absorb all the fat-soluble vitamins present in the vegetables. Furthermore, the fresh herbs like parsley and mint do more than just add flavor; they also offer unique phytonutrients and digestive benefits. For a satisfying and nutrient-dense meal, you can always rely on Autumn Pearl Couscous Salad – Fufu’s Kitchen. Finally, the combination of fiber from the whole grains and vegetables promotes excellent digestive wellness and helps you feel full and satisfied.
How it fits in a healthy lifestyle
This vibrant salad seamlessly fits into almost any healthy eating plan. It naturally makes for a perfect plant-based main course or a hearty side dish, supporting those looking to incorporate more plant-based meals into their week. The ingredients offer a great balance of macronutrients, which is key for sustained energy and managing a healthy weight.
You can easily enjoy Autumn Pearl Couscous Salad – Fufu’s Kitchen as a make-ahead lunch that keeps you fueled throughout the afternoon. It also complements a heart-healthy diet beautifully, thanks to its focus on whole foods, vegetables, and good fats from olive oil. If you are meal prepping for a busy week, this salad holds up wonderfully in the fridge. For more inspiration on creating a balanced weekly menu, exploring our healthy meal prep ideas can give you a fantastic head start. This dish truly proves that eating well can be both simple and incredibly delicious.
PrintAutumn Pearl Couscous Salad
Description
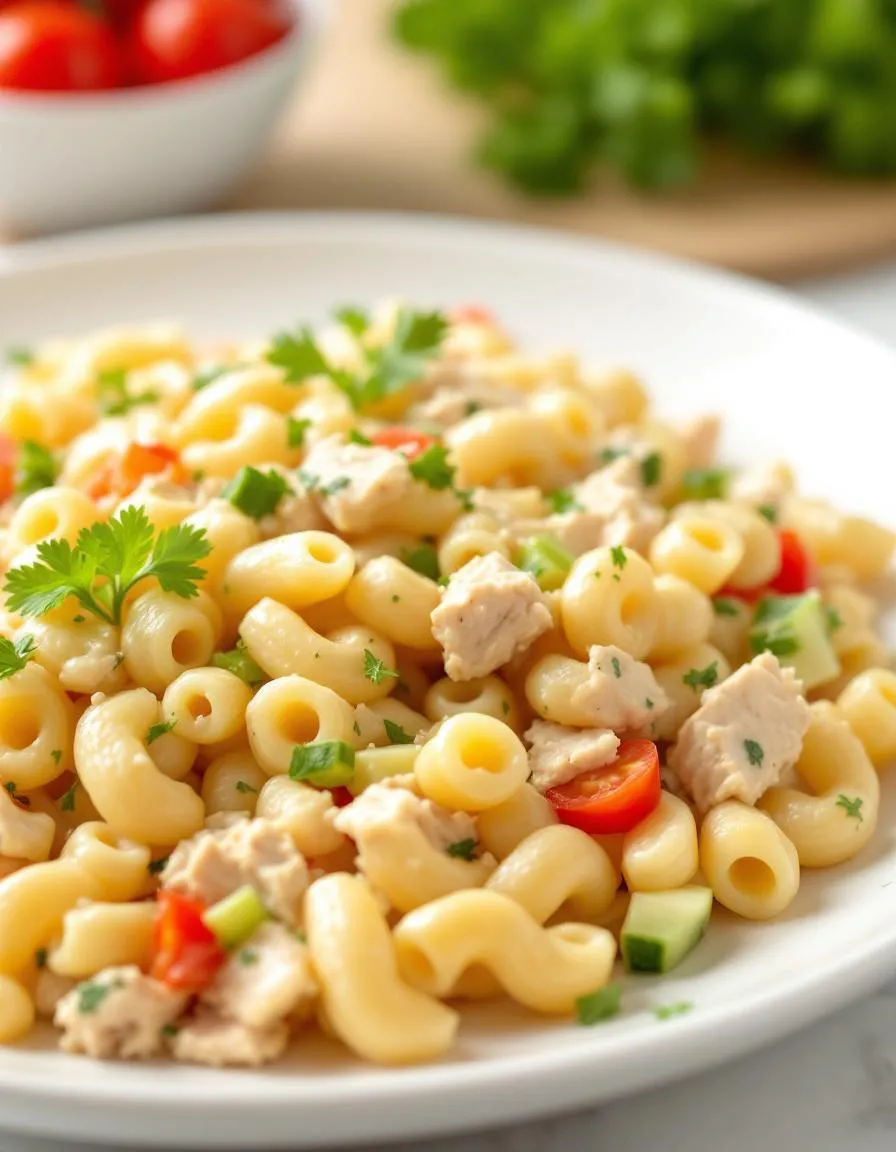
A warm and hearty pearl couscous salad with roasted autumn vegetables, dried cranberries, and a maple-dijon vinaigrette.
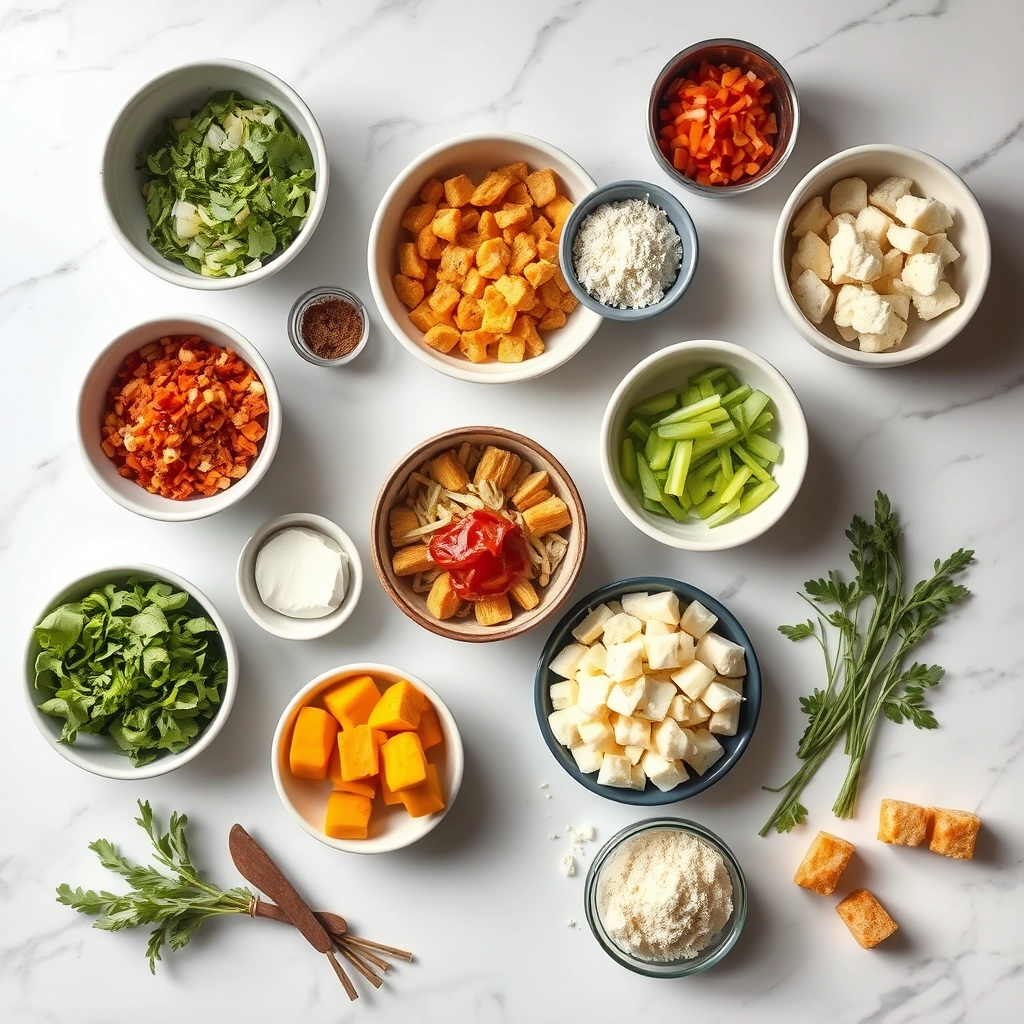
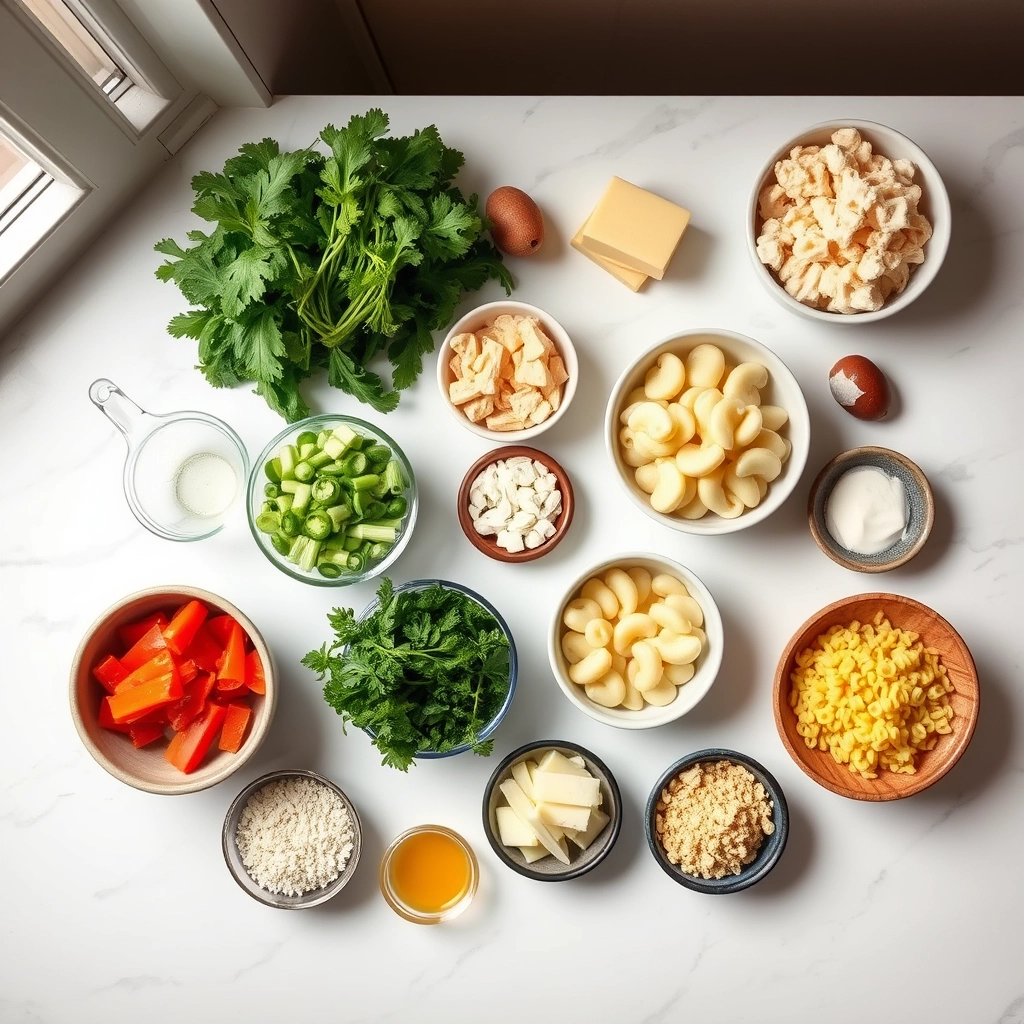
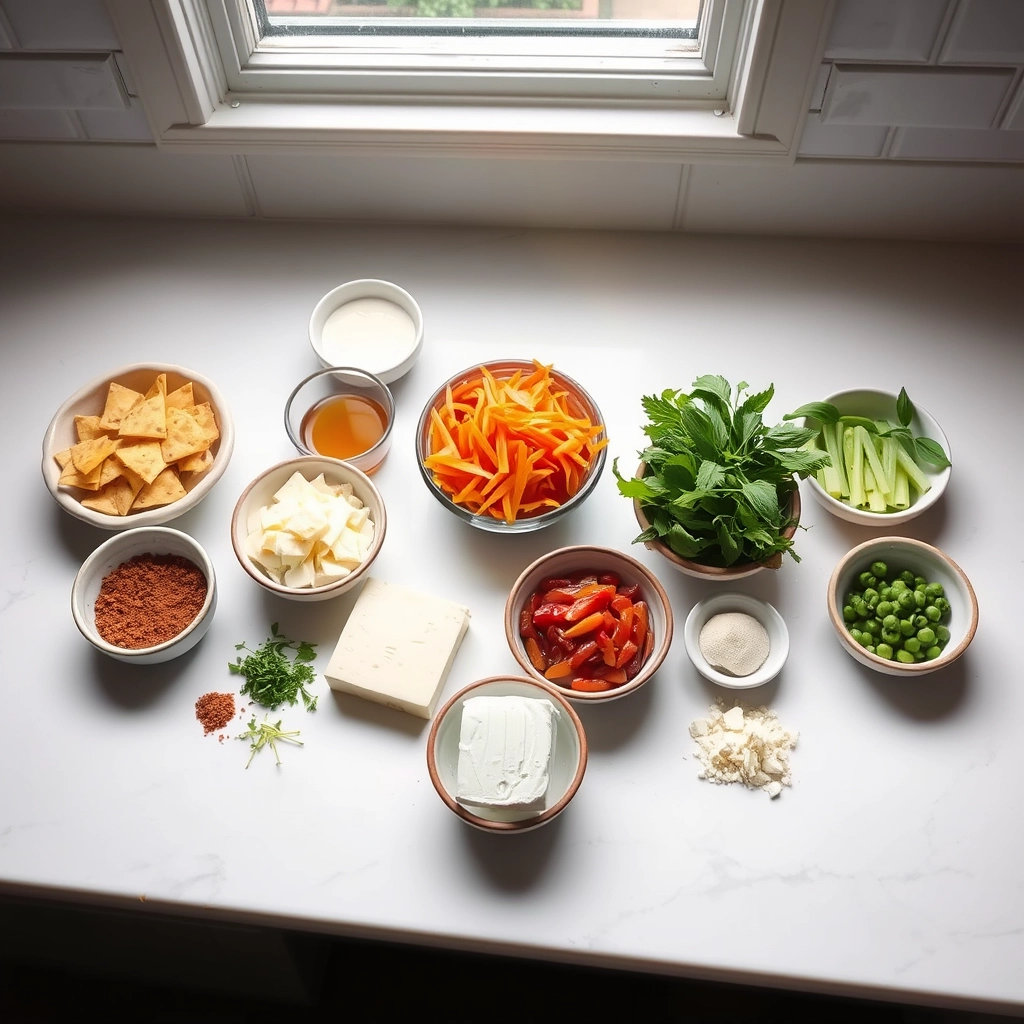
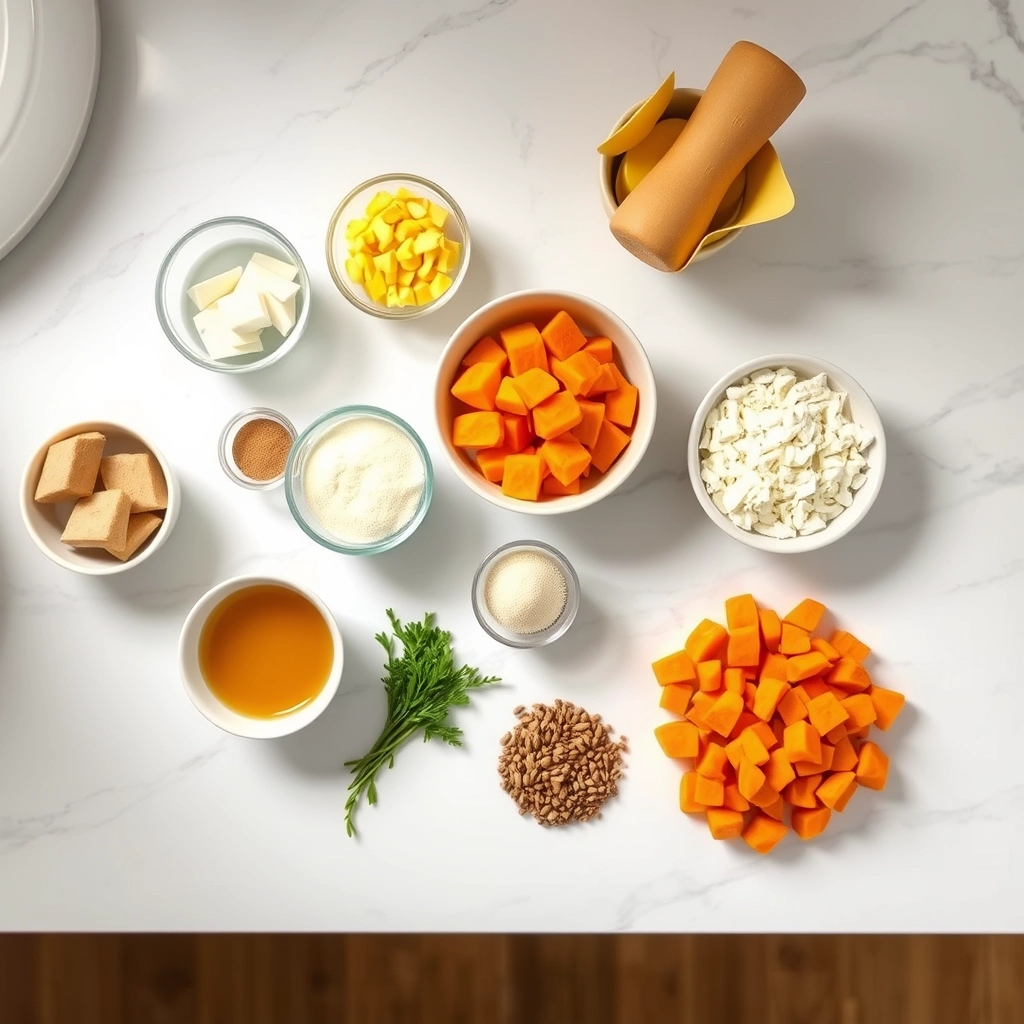
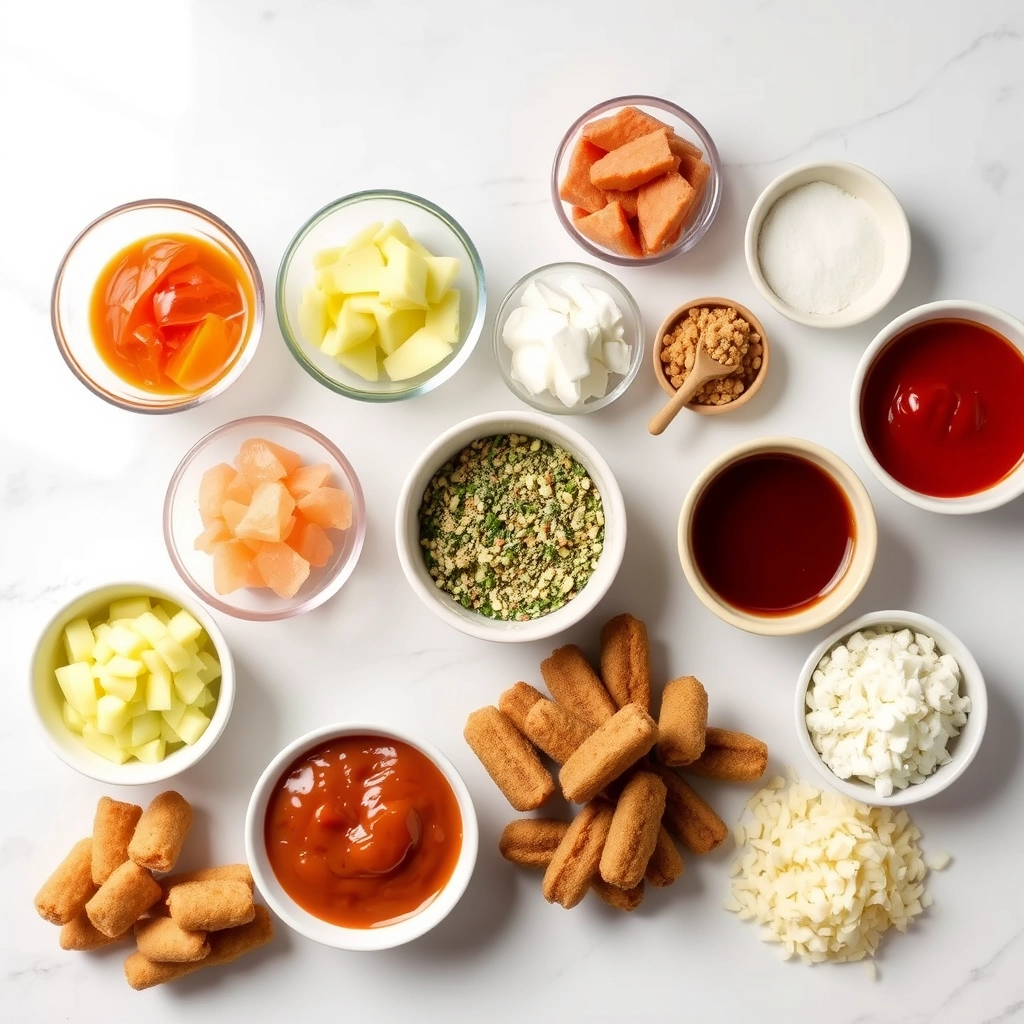
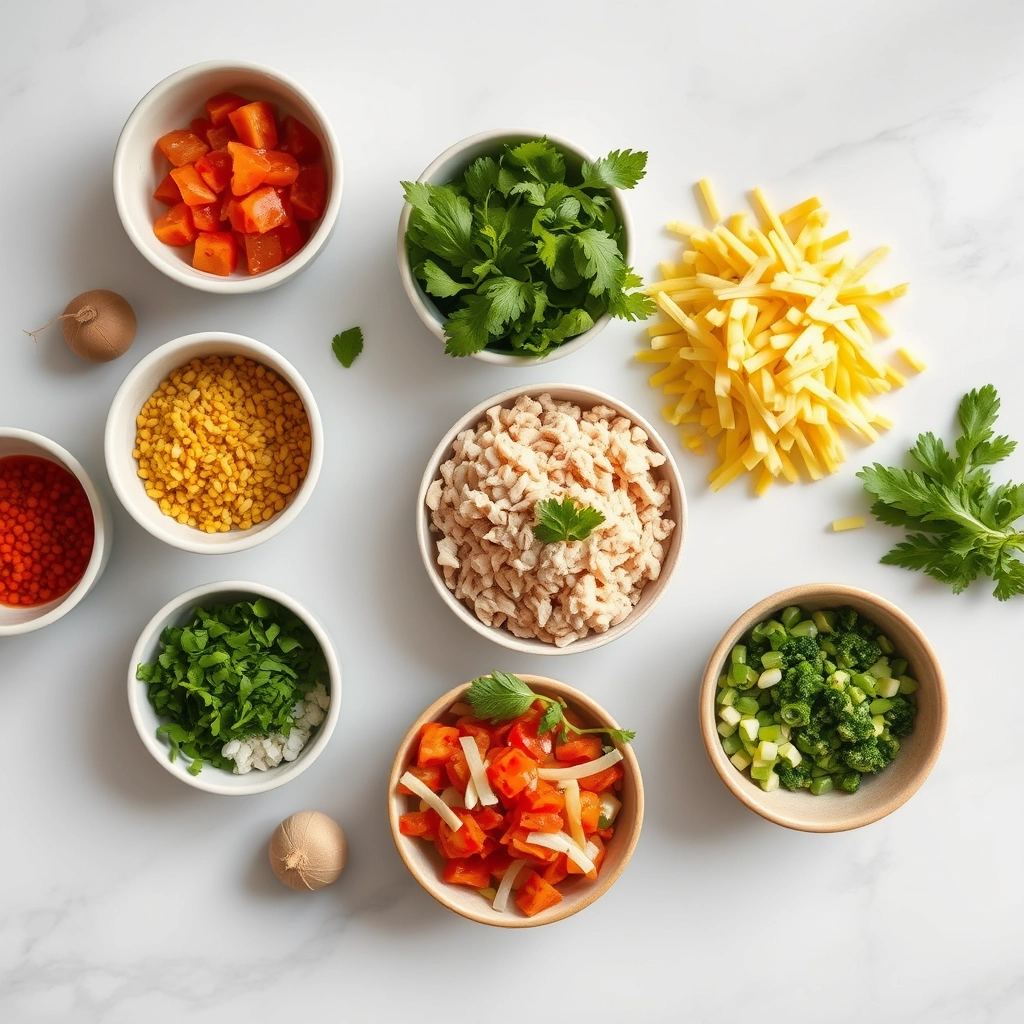
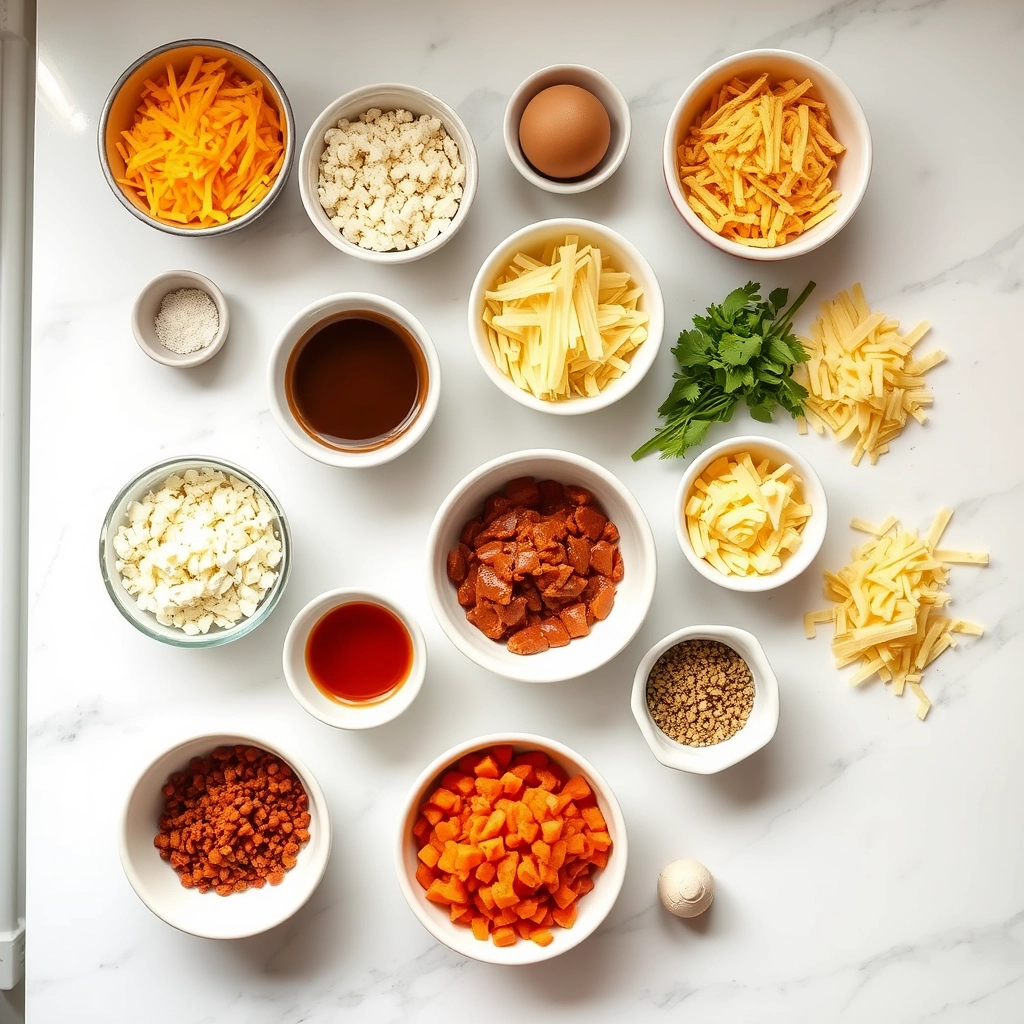
Ingredients
For the Crust:
- 1 cup pearl couscous
- 2 cups vegetable broth
- 1 small butternut squash, peeled and cubed
- 2 tablespoons olive oil
- 1 teaspoon smoked paprika
- 1/2 teaspoon cinnamon
- 1/2 cup dried cranberries
- 1/4 cup toasted pecans, chopped
- 2 tablespoons maple syrup
- 1 tablespoon dijon mustard
- Salt and pepper to taste
- Fresh parsley for garnish
Instructions
1. Prepare the Crust:
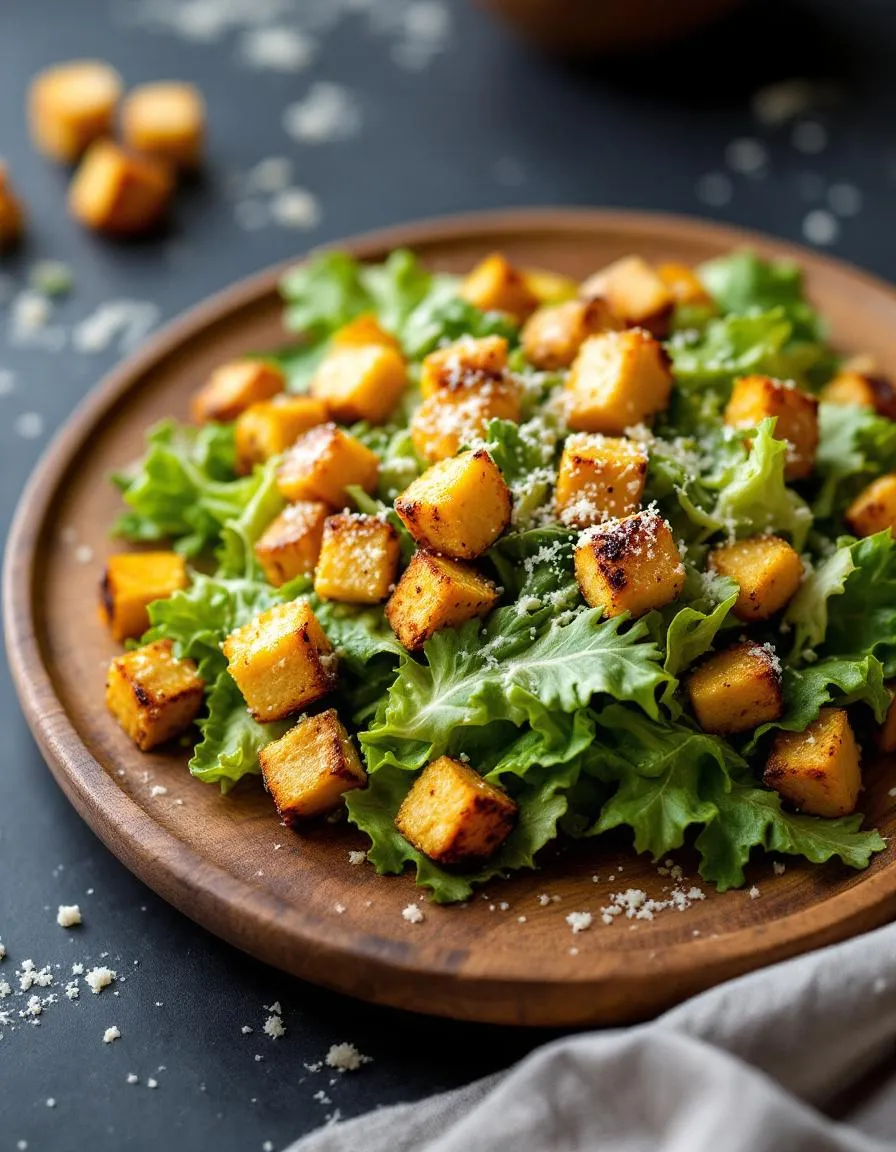
- Preheat oven to 400°F (200°C). Toss butternut squash with 1 tablespoon olive oil, smoked paprika, cinnamon, salt, and pepper. Roast for 25 minutes until tender.
- Cook pearl couscous in vegetable broth according to package directions. Drain any excess liquid and let cool slightly.
- Whisk together remaining olive oil, maple syrup, dijon mustard, salt, and pepper to make the vinaigrette.
- Combine cooked couscous, roasted squash, dried cranberries, and pecans in a large bowl. Drizzle with vinaigrette and toss gently to combine.
- Garnish with fresh parsley and serve warm or at room temperature.
Notes
You can customize the seasonings to taste.
How to Prepare This Dish
Steps and time-saving tips
First, cook your pearl couscous in a pot of well-salted boiling water until it is perfectly al dente. Meanwhile, you can chop all your fresh vegetables. Next, drain the couscous thoroughly and immediately spread it onto a large baking sheet. This crucial step stops the cooking process and prevents a mushy texture. While the couscous cools, whisk together your vibrant dressing right in your serving bowl. Use extra virgin olive oil, fresh lemon juice, and a touch of honey for that perfect sweet-tangy balance. Then, add the cooled couscous to the bowl and toss everything together. Gently fold in your roasted butternut squash, dried cranberries, and toasted pecans. Finally, crumble some creamy feta cheese over the top for a salty finish. For the best flavor, let your Autumn Pearl Couscous Salad – Fufu’s Kitchen chill in the refrigerator for at least thirty minutes. This allows all the wonderful flavors to meld together beautifully. Honestly, you can also prepare the entire salad a day ahead for an incredible make-ahead lunch.
Mistakes I’ve made and learned from
I have definitely learned a few lessons the hard way with this Autumn Pearl Couscous Salad – Fufu’s Kitchen. Initially, I would overcook the couscous, which turned my beautiful salad into a gummy, unappetizing mess. The key is to set a timer and taste it a minute before the package instructions say it’s done. Another common mistake was adding the dressing while the couscous was still hot. Consequently, the pearls absorbed all the liquid and left the salad dry. Now, I always spread the couscous on a tray to cool completely first. I also used to skip toasting the nuts, but that step is non-negotiable. Toasting unlocks a deep, nutty flavor that completely elevates the dish. For more on getting textures just right, my guide on perfect textures was a game-changer. And if you’re worried about timing, my meal prep strategies ensure everything comes together without any last-minute stress.
Cultural Connection and Variations
Where this recipe comes from
My inspiration for this Autumn Pearl Couscous Salad – Fufu’s Kitchen recipe comes from a beautiful crossroads of cultures. Pearl couscous, also known as Israeli couscous, originally gives us a base with a delightful, chewy texture that soaks up flavor beautifully. However, I always weave in the vibrant, communal spirit of West African cooking that I cherish. While many cultures feature grain-based salads, this particular combination of sweet roasted squash, tart cranberries, and hearty nuts feels like a celebration of harvests everywhere. Families in the Mediterranean might prepare a similar dish with more olives and feta, leaning into their local palate. Conversely, someone in the Middle East may toast the couscous first for a deeper, nuttier flavor profile before simmering it. This Autumn Pearl Couscous Salad – Fufu’s Kitchen truly becomes a global citizen on a plate, adapting to the ingredients each region holds dear.
In my own kitchen, this dish marks the shift in seasons. It makes a regular appearance on our holiday table, often alongside other favorites. The beauty of this recipe lies in its flexibility. You can easily swap the butternut squash for sweet potato or use pecans instead of walnuts based on what you have. Ultimately, every family makes it their own, and that is the most wonderful variation of all.
How it fits in today’s cooking
This salad fits perfectly into our modern approach to meals. It champions whole, seasonal ingredients and comes together in one pot for minimal cleanup, a true win for busy weeknights. Furthermore, its make-ahead nature makes it a superstar for meal prep, as the flavors only improve after mingling in the fridge overnight. You can easily enjoy it as a robust main or as a stunning side dish for a larger gathering.
Its relevance extends to holiday feasts and cozy autumn dinners alike. For instance, it pairs wonderfully with a classic roasted turkey breast for a festive yet simple meal. Moreover, its satisfying blend of textures and flavors makes it a fantastic, wholesome option for everyday comfort cooking. If you are looking for a sweet ending to balance the savory notes of the salad, a slice of apple crisp completes the autumn experience perfectly. Today’s cooks continue to embrace this dish because it delivers both incredible flavor and practical convenience without any compromise.
Taste and Texture
What makes it delicious
This Autumn Pearl Couscous Salad – Fufu’s Kitchen delivers a brilliant symphony of textures and tastes. Each forkful combines the soft, chewy pearls of couscous with the juicy burst of sweet pomegranate arils and the satisfying crunch of toasted pecans. Consequently, the creamy feta cheese and rich olive oil dressing coat everything in a luxurious, savory layer. Ultimately, the fresh herbs like mint and parsley provide a fragrant, bright finish that makes this Autumn Pearl Couscous Salad – Fufu’s Kitchen incredibly refreshing and complex.
Boosting the flavor
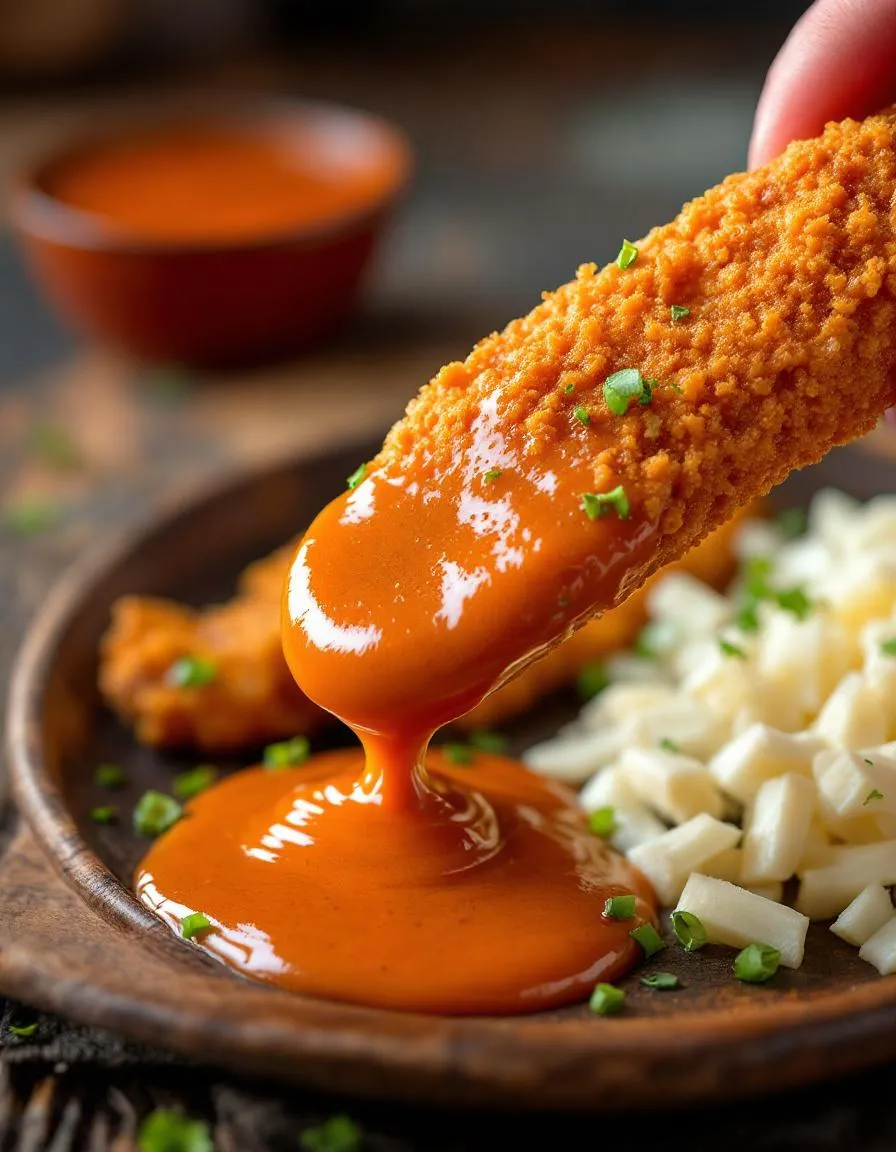
You can easily amplify the flavor profile with a few creative tweaks. For instance, try adding a pinch of smoked paprika or a drizzle of our Harissa Honey Dressing to introduce a gentle, warming heat. Alternatively, top your salad with grilled chicken or crispy chickpeas for extra protein and a delightful textural contrast. Furthermore, a squeeze of fresh lemon juice just before serving will always brighten all the flavors. For another layer of earthy sweetness, consider stirring in some roasted vegetables, much like those in our Roasted Root Vegetable Medley.
Tips for Success
Best practices for results
First, always fluff the cooked couscous with a fork immediately after it absorbs the water; this simple step prevents clumps and guarantees a perfect, light texture for your Autumn Pearl Couscous Salad – Fufu’s Kitchen. Furthermore, allow all your chopped vegetables to chill thoroughly before combining them with the dressing; consequently, your final salad will stay crisp and refreshing for hours. Finally, toast your nuts and seeds to unlock their deepest flavor, which will add a wonderful crunch to every single bite.
Mistakes to avoid
Avoid overdressing the salad right away, as the couscous will continue to absorb the liquid and potentially become soggy; instead, add the vinaigrette gradually just before serving. Moreover, do not skip the resting time for the dressed salad, as this crucial step allows the flavors to meld together beautifully. For more guidance on creating the perfect vinaigrette every time, check out our guide on salad dressing basics. Additionally, ensure you do not overcook the pearl couscous; otherwise, it will turn mushy and ruin the salad’s texture. If you are new to working with grains, our tutorial on how to cook grains provides excellent foundational tips for perfect results every time.
Serving and Pairing Suggestions
How to serve this dish
Showcase your Autumn Pearl Couscous Salad – Fufu’s Kitchen beautifully for maximum impact. For instance, serve it in a large, rustic ceramic bowl to let the vibrant autumn colors truly pop. Furthermore, a final sprinkle of pomegranate arils and fresh herbs on top adds a gorgeous finishing touch.
This versatile salad truly shines at any gathering. It makes a stunning centerpiece for a holiday potluck or a refreshingly light side for a weekend brunch. Ultimately, you can also pack it for a picturesque picnic, as it travels exceptionally well.
What goes well with it
Pair this hearty salad with a simple grilled protein for a complete meal. For example, juicy grilled chicken or flaky salmon fillets complement the textures and earthy flavors of Autumn Pearl Couscous Salad – Fufu’s Kitchen perfectly.
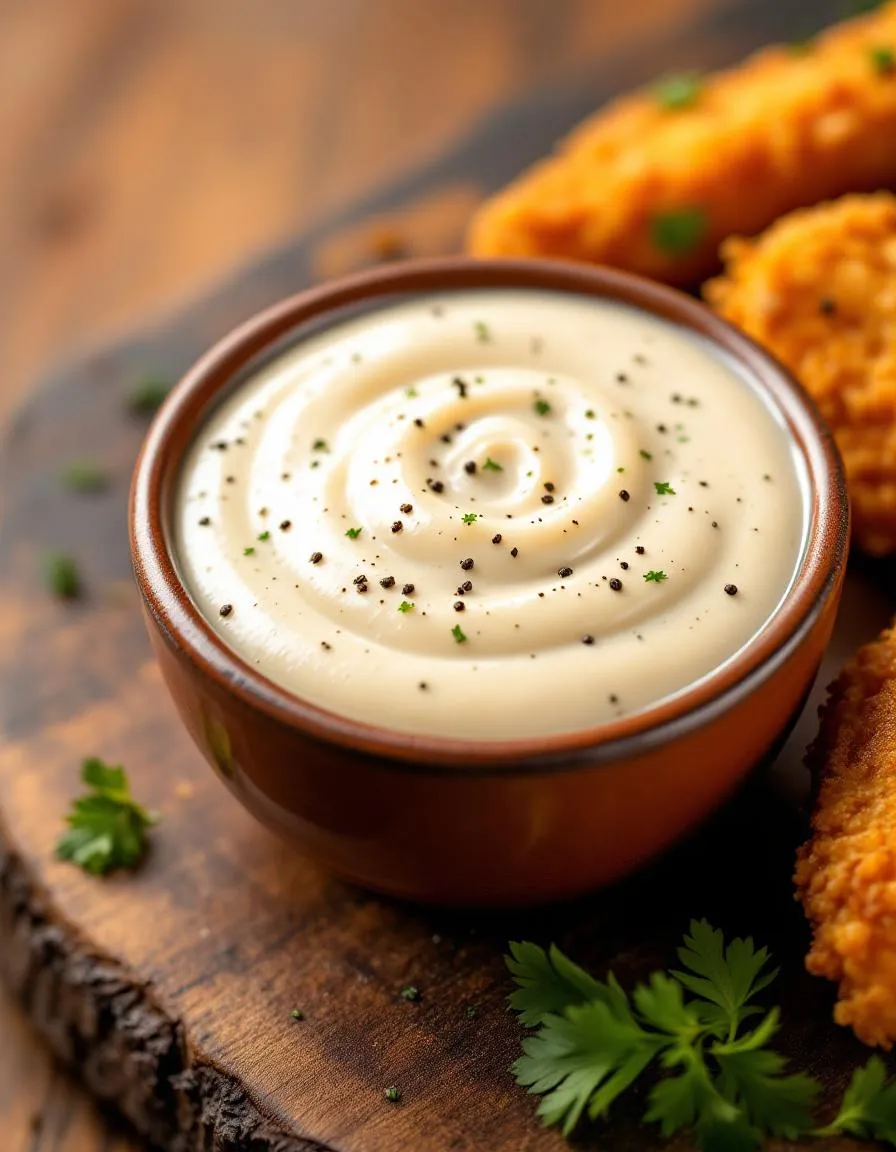
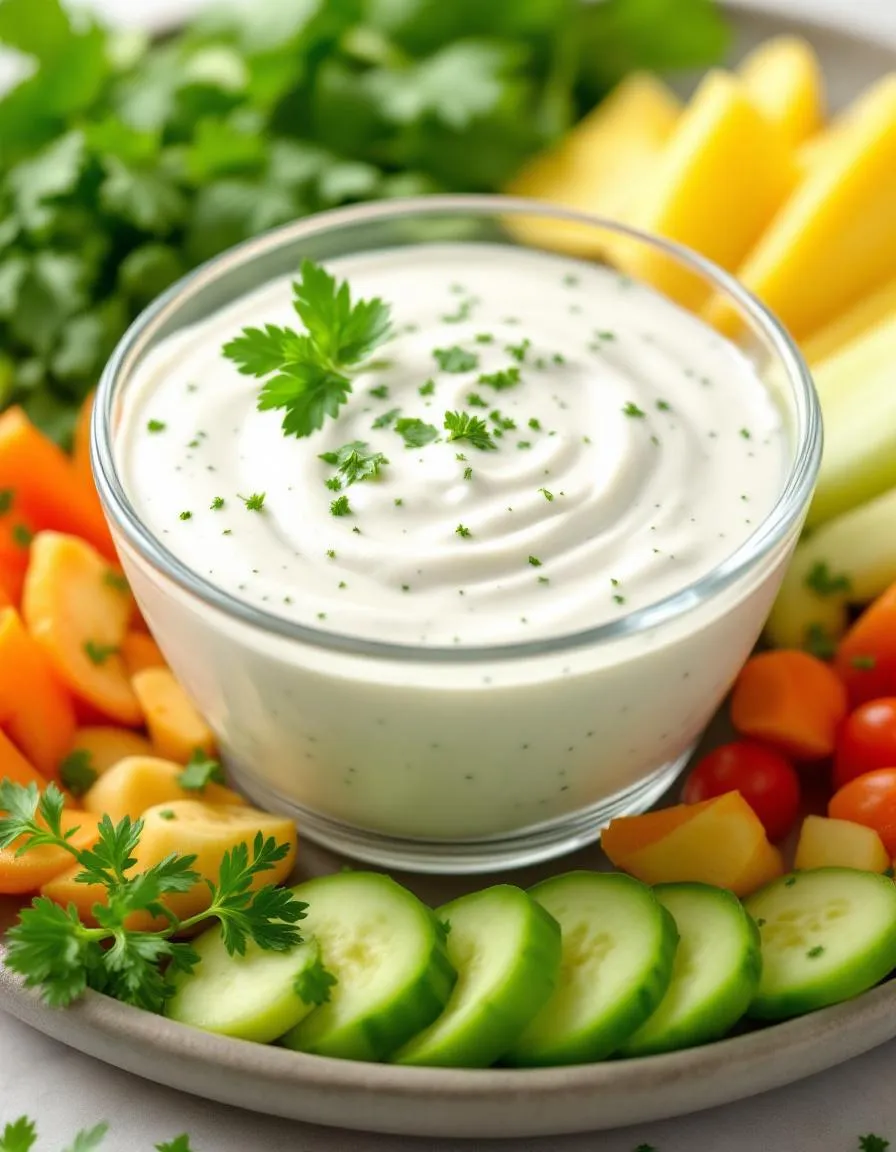
Alternatively, consider offering a cool, creamy dip on the side. A tangy tzatziki or a smooth hummus provides a delightful contrast that your guests will love. Additionally, our popular Creamy Garlic Dip makes an excellent companion for this dish.
For a drink pairing, a crisp white wine like Sauvignon Blanc balances the salad’s richness. Otherwise, a sparkling apple cider offers a festive non-alcoholic option. Moreover, this salad pairs wonderfully with our Fresh Herb Focaccia for a truly satisfying spread.
A bright, acidic vinaigrette works best for this Autumn Pearl Couscous Salad. The recipe from Fufu’s Kitchen typically uses a combination of olive oil, lemon juice, and warm spices like cinnamon or cumin to complement the sweet roasted vegetables and chewy pearl couscous, creating a perfectly balanced flavor profile.
Yes, this salad is an excellent make-ahead dish. The flavors of the Autumn Pearl Couscous Salad from Fufu’s Kitchen actually meld and improve after a few hours in the refrigerator. Just wait to add fresh herbs like parsley or mint until right before serving to keep them vibrant.
Grilled chicken, chickpeas, or crumbled feta cheese are fantastic additions that turn this side into a hearty main. The robust flavors of the Autumn Pearl Couscous Salad – Fufu’s Kitchen pair wonderfully with these proteins, making for a satisfying and complete meal.
The key is to toast the dry couscous in a bit of olive oil before adding liquid, which helps each pearl maintain its shape. Then, use a precise ratio of liquid to couscous (usually 1:1.25) and simmer it uncovered, fluffing with a fork immediately after cooking to prevent clumping, just as recommended for the Autumn Pearl Couscous Salad.